
Glass Etching with J Tech Laser
A customer of ours, Ryan Cook of Maplehurst Ave LLC (maplehurstave.com), has done a great post awhile back on the Inventables forum on how to etch glass with a J Tech laser. We have gotten a lot of questions about this, so we asked Ryan if we could share the post here for everyone to see how to do this. Note that the 3.8W laser he used is now the 4.2W laser. The power levels have increased in the last two years. You can also do this process with the 7W laser and speed it up a bit.
Note- The 445nm diode lasers we develop are in the visible wavelength, so anything your eyes see through the laser will go through as well. If you want to engrave on clear items, you need to have a layer of something dark for the laser to be able to absorb into. For example, on clear acrylic you can laser on the paper it comes with or you can paint on glass like in the following post. Let’s see how Ryan did his etching of glass.
Here is the excerpt below:
I just wanted to post this here since I wasn’t able to find a lot of examples with feeds and speeds and/or the process of etching with the Jtech 3.8w all in one place.
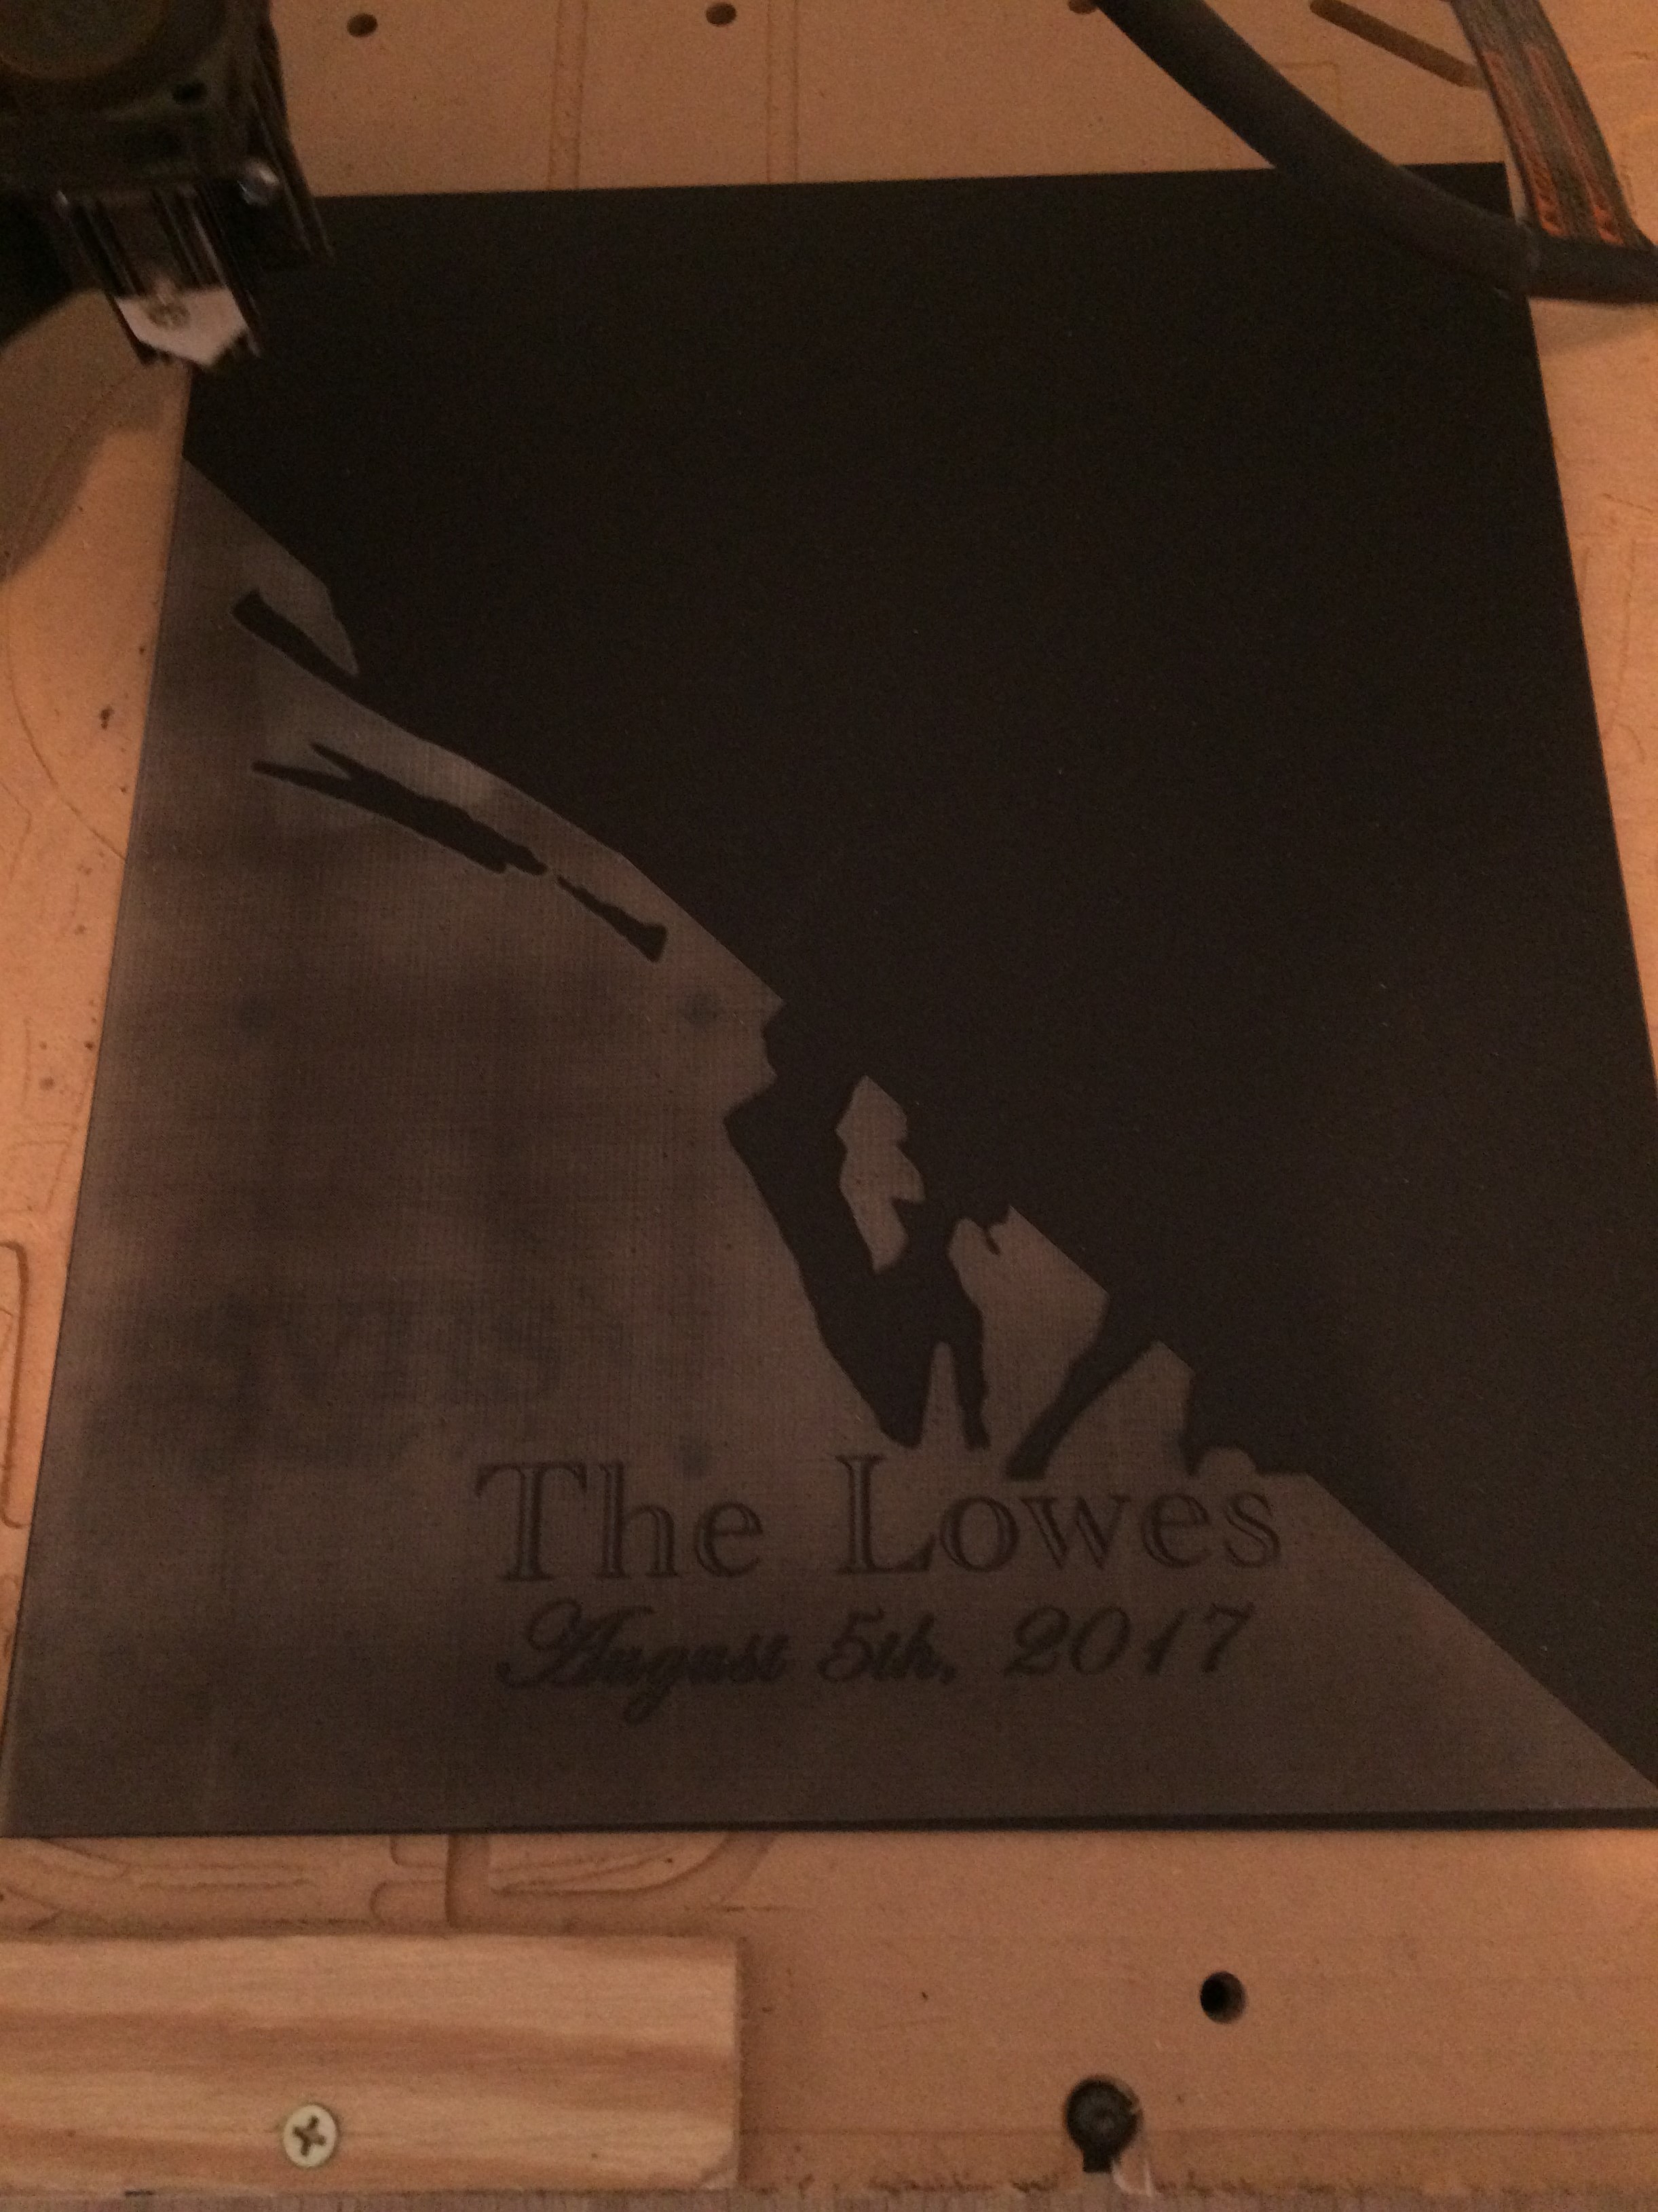
I first started by spray painting a pane of glass matte black so I would be able to focus the laser easier and the beam wouldn’t go through and burn my waste board. The photo shows the etch halfway through, I forgot to take a picture of the full painted pane but I digress…
I have a 1000 X-Carve and I run GRBL 1.1f with PicEngrave Pro 5 and use UGS to send the code. For my feeds and speeds I ran it at:
50 in/min
High Resolution Lens
Full Laser Power (255)
Line Resolution was at 0.008″
Left 45 degree
Obviously these may differ from what you can do but I just tried this as a test.
The etch took about 7 hrs to complete and this was the result right after:
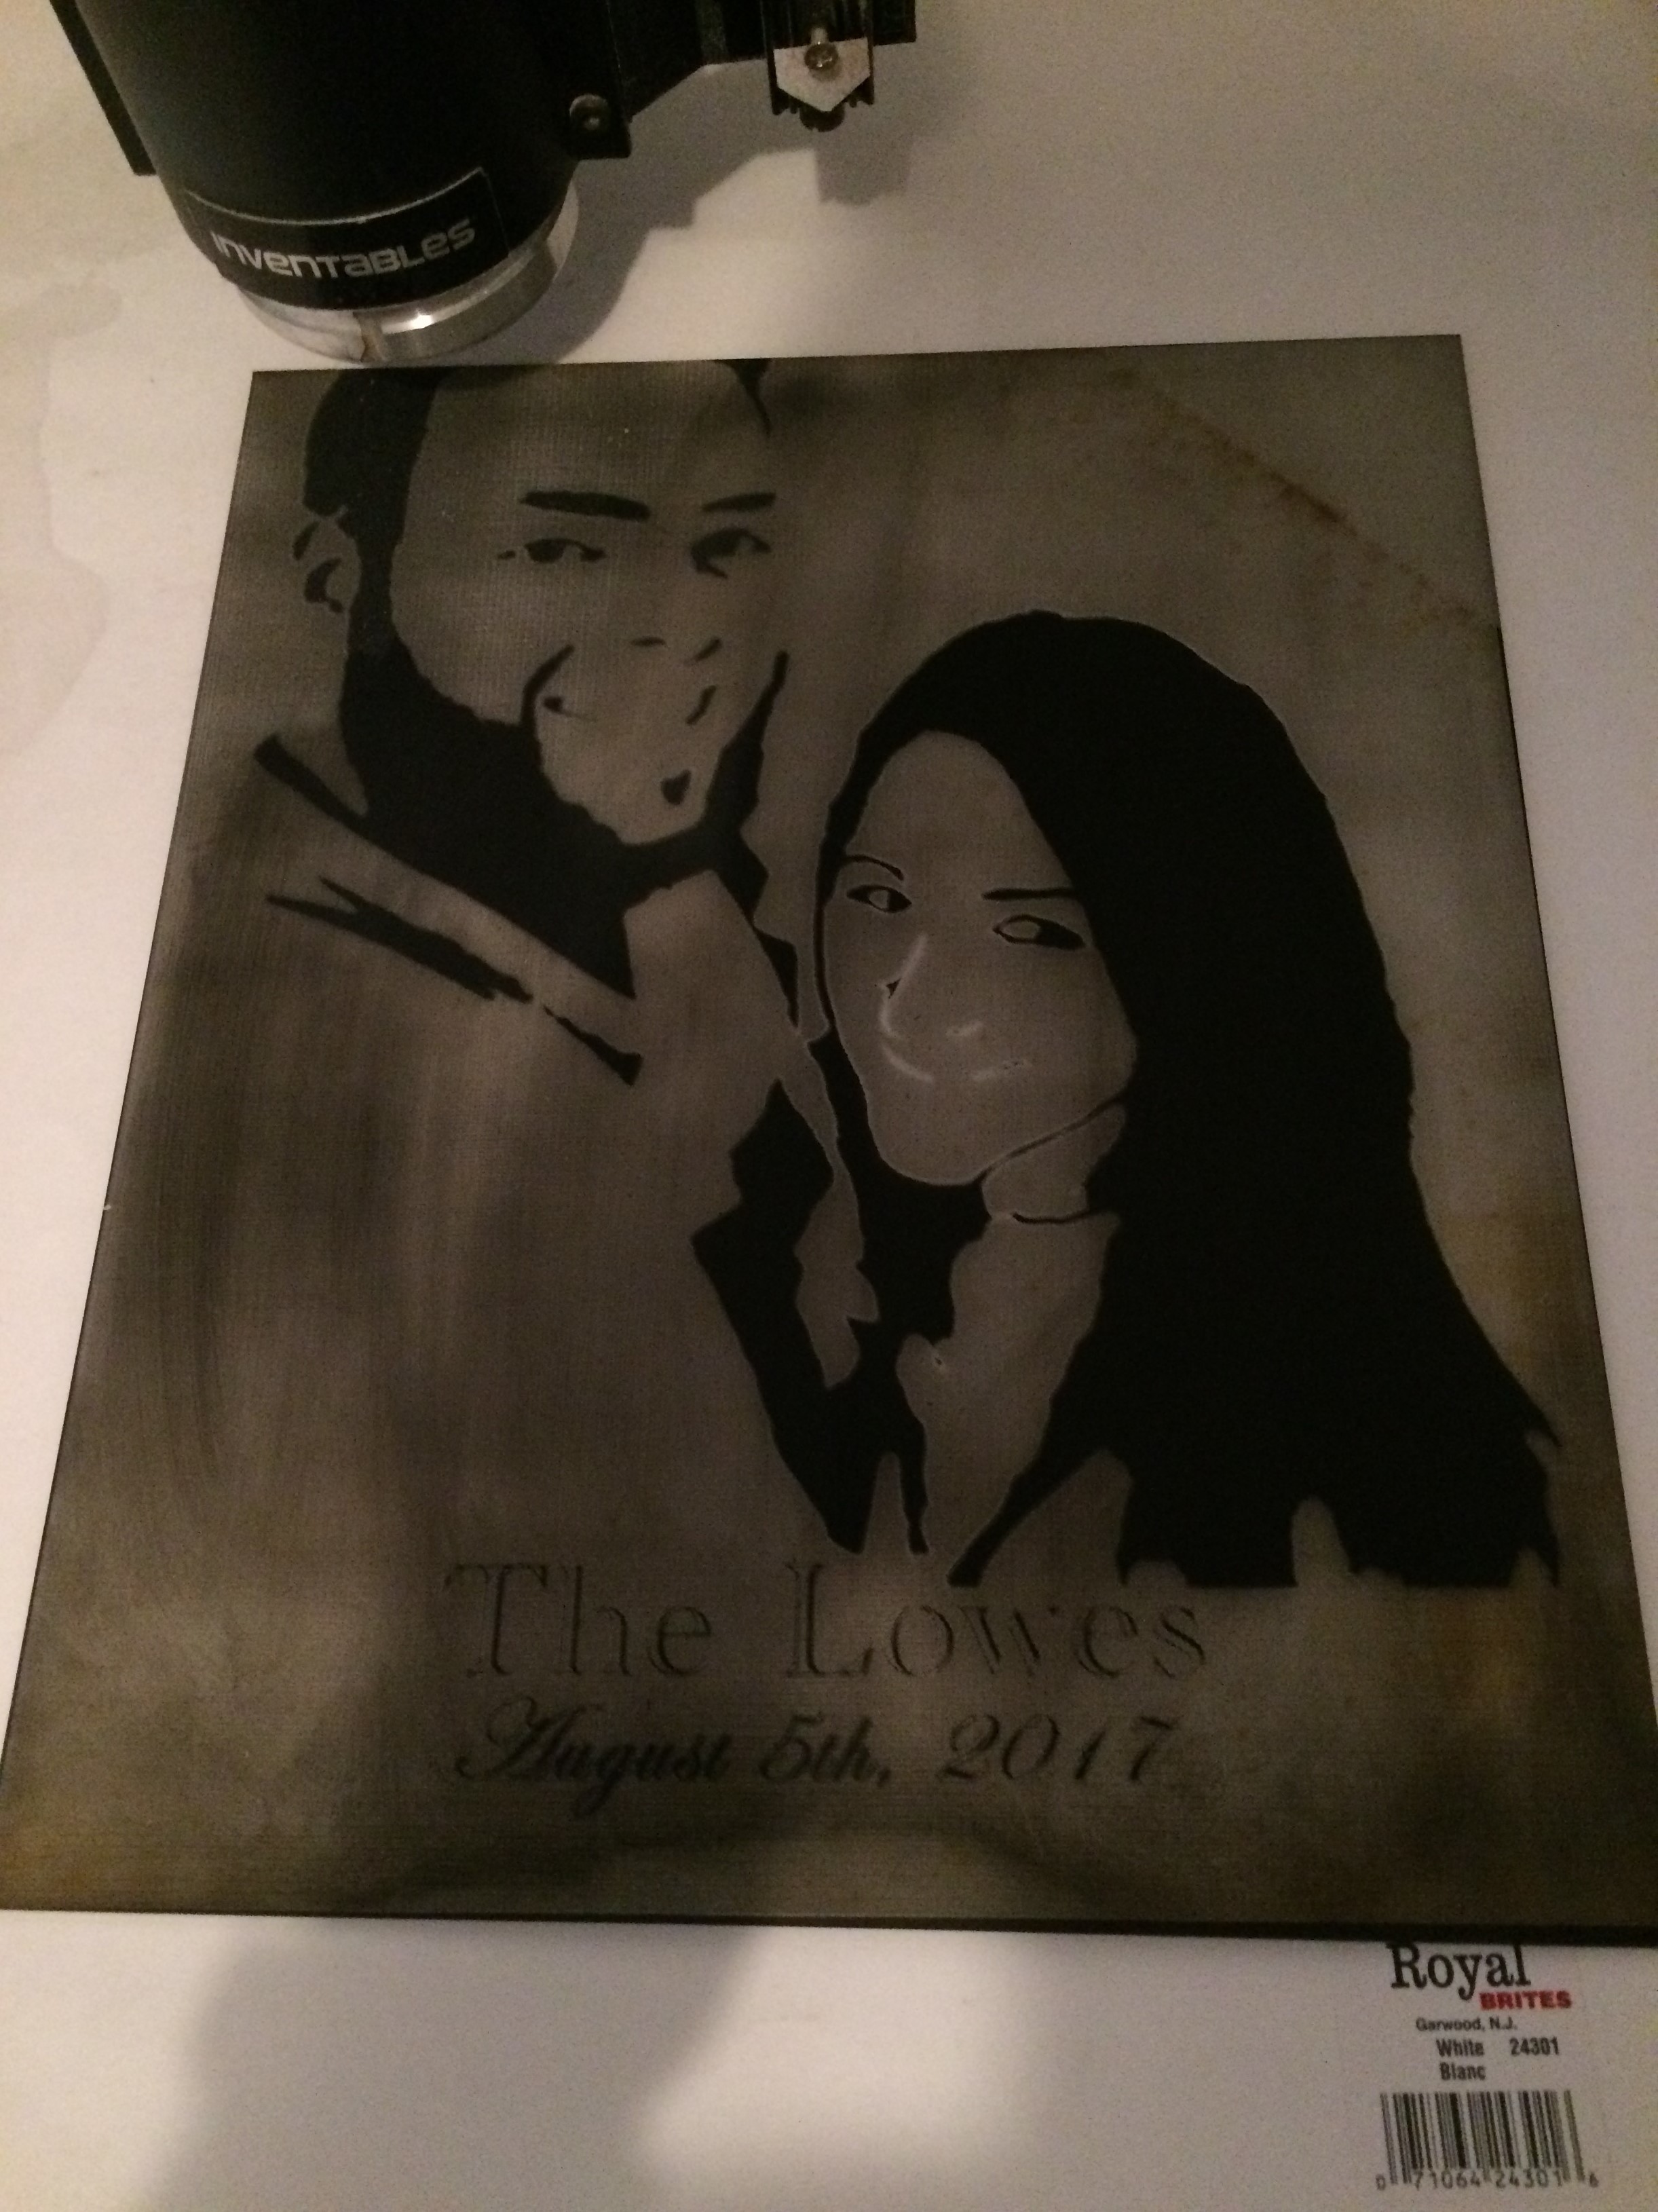
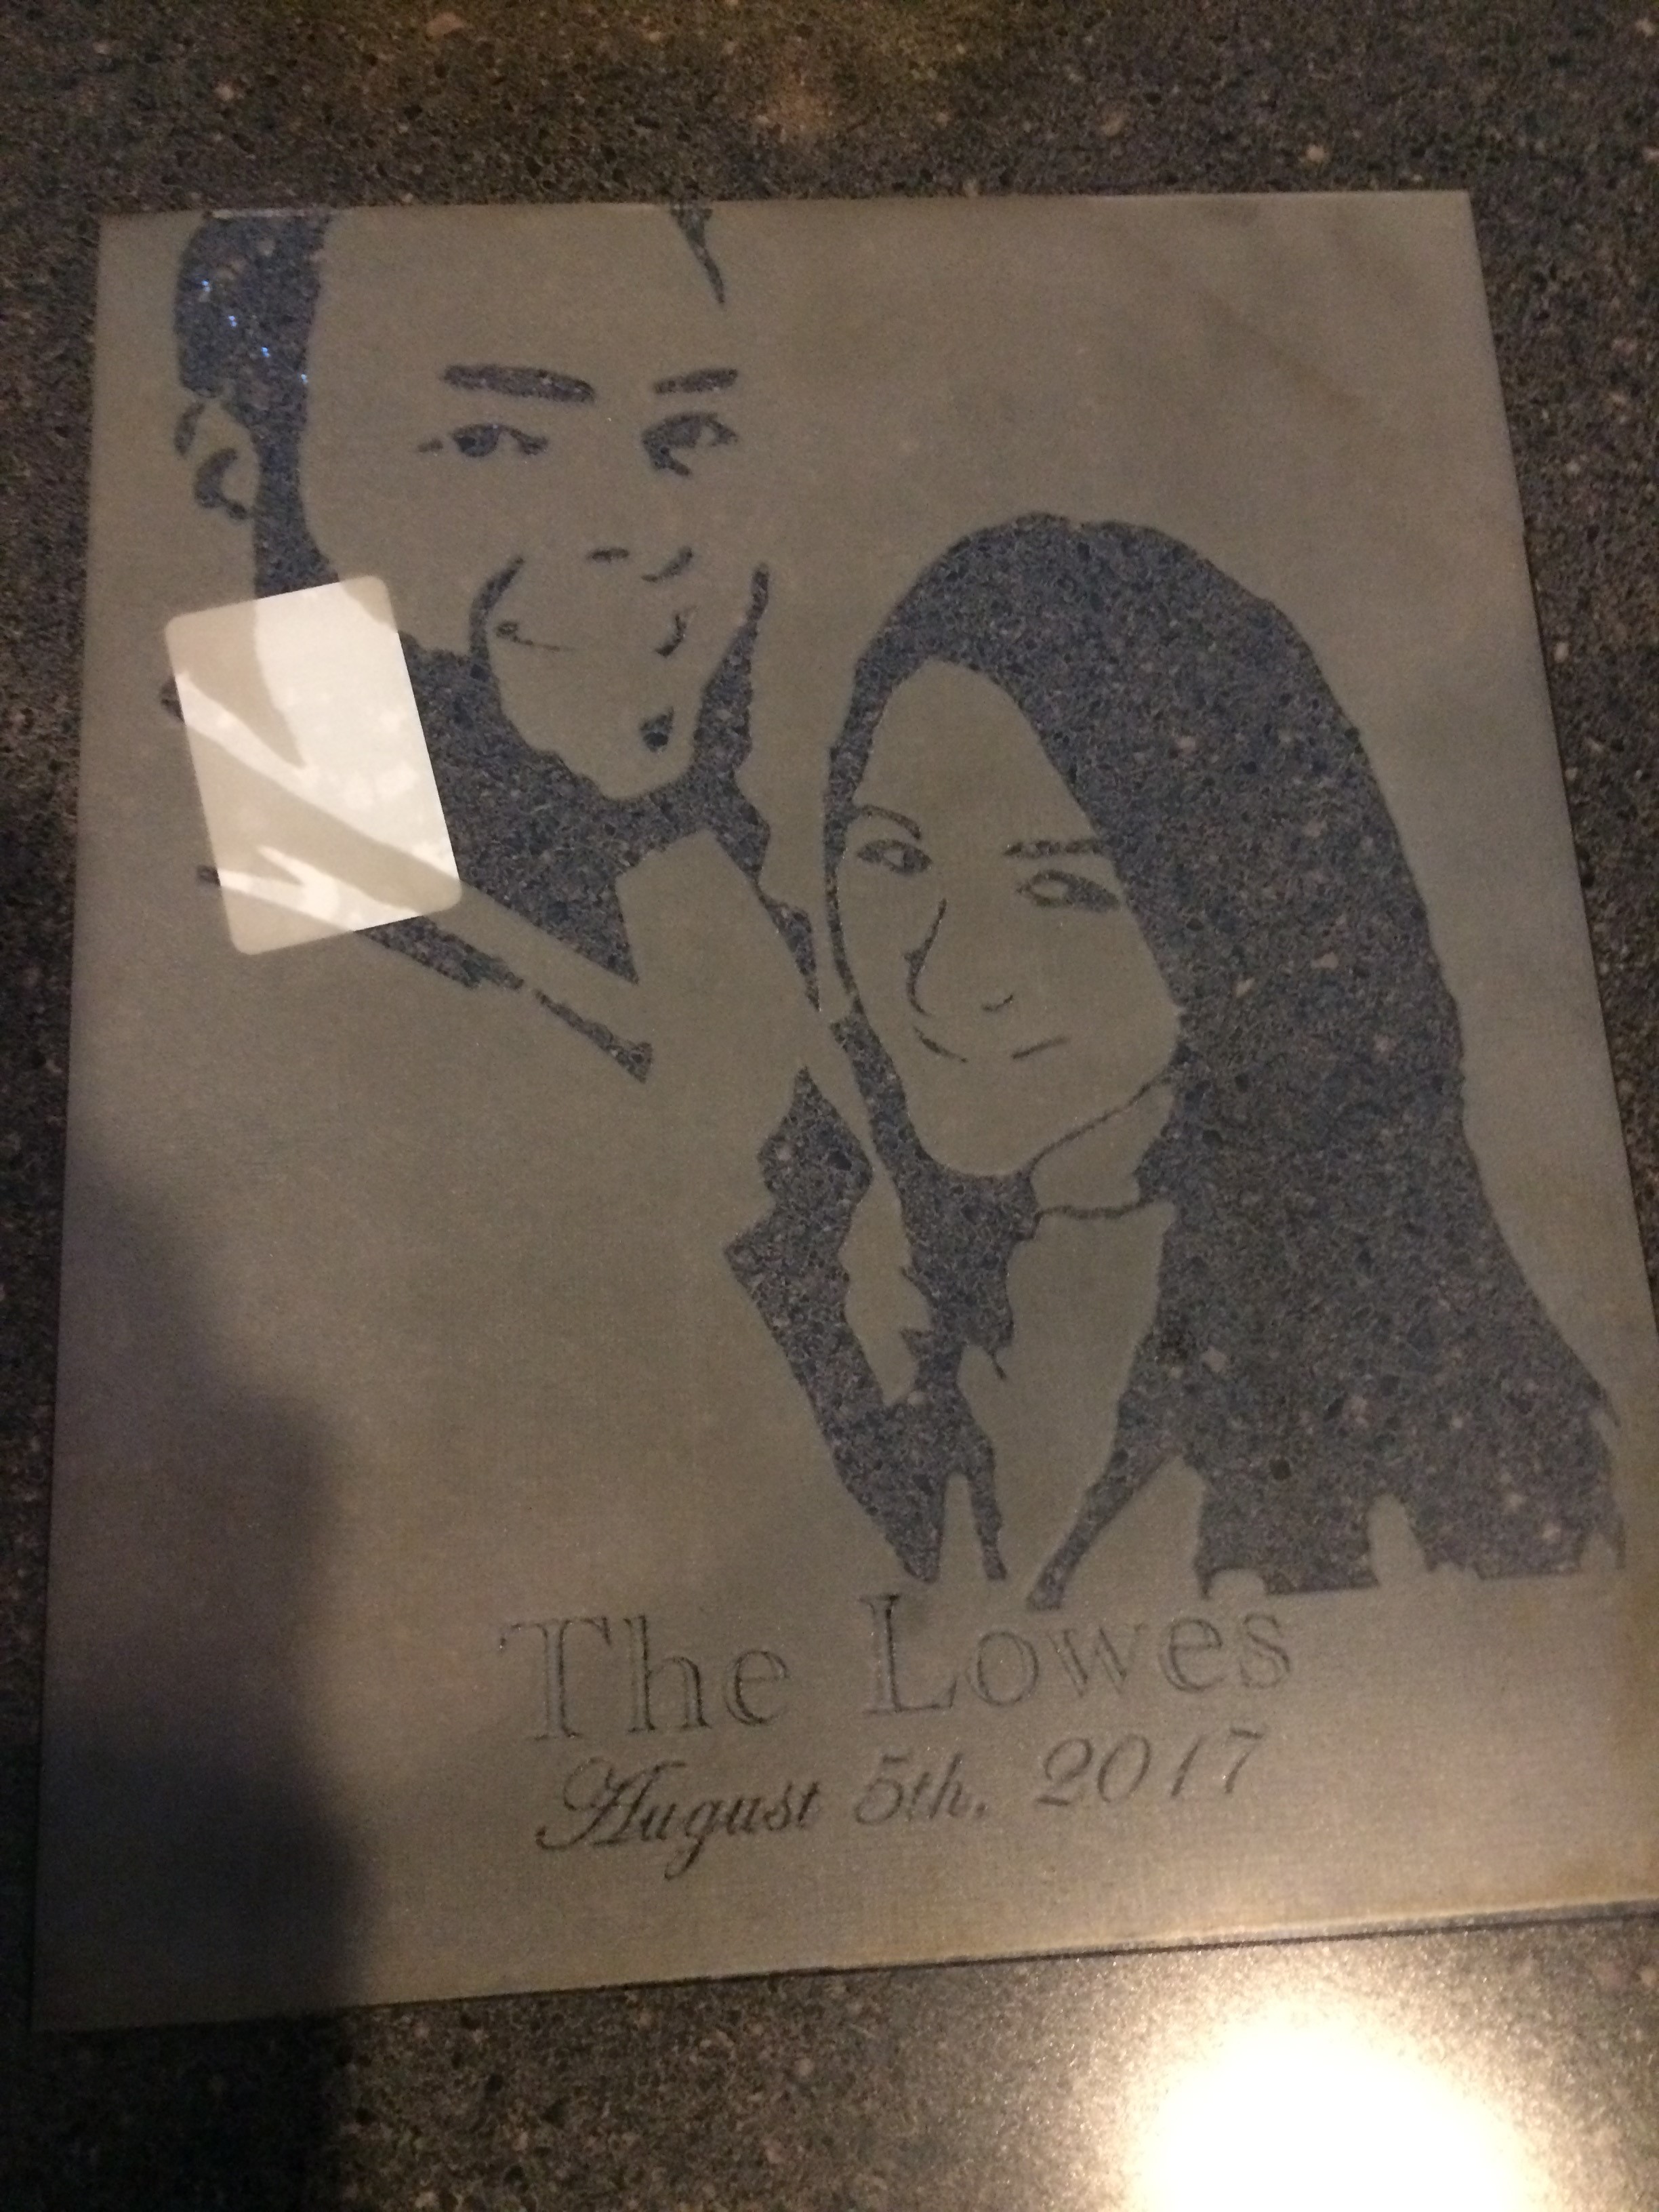
I had started to wipe off the paint using mineral spirits before remembering to take a picture. That’s why her nose is missing and it seems cloudy. after cleaning up some more (it’s still not fully clean) this is what I was left with:
All in all I am happy with the results and now know you can actually etch glass with the laser! These types of projects used to be a pain since I would cut a vinyl sticker to mask the pane then sandblast it to get the etching. Now I can just “set and forget”. Hopefully this helps someone else who has been wanting to try but need more info to do so. If you have any questions feel free to message me.
Edit: If you are going to do this make sure to do a light even coat of paint. I made the mistake on my second attempt to put a second coat on the pane and it wasn’t able to etch the glass.
Here is the final result after being completely cleaned up. Baking soda and water did wonders on the burn marks.
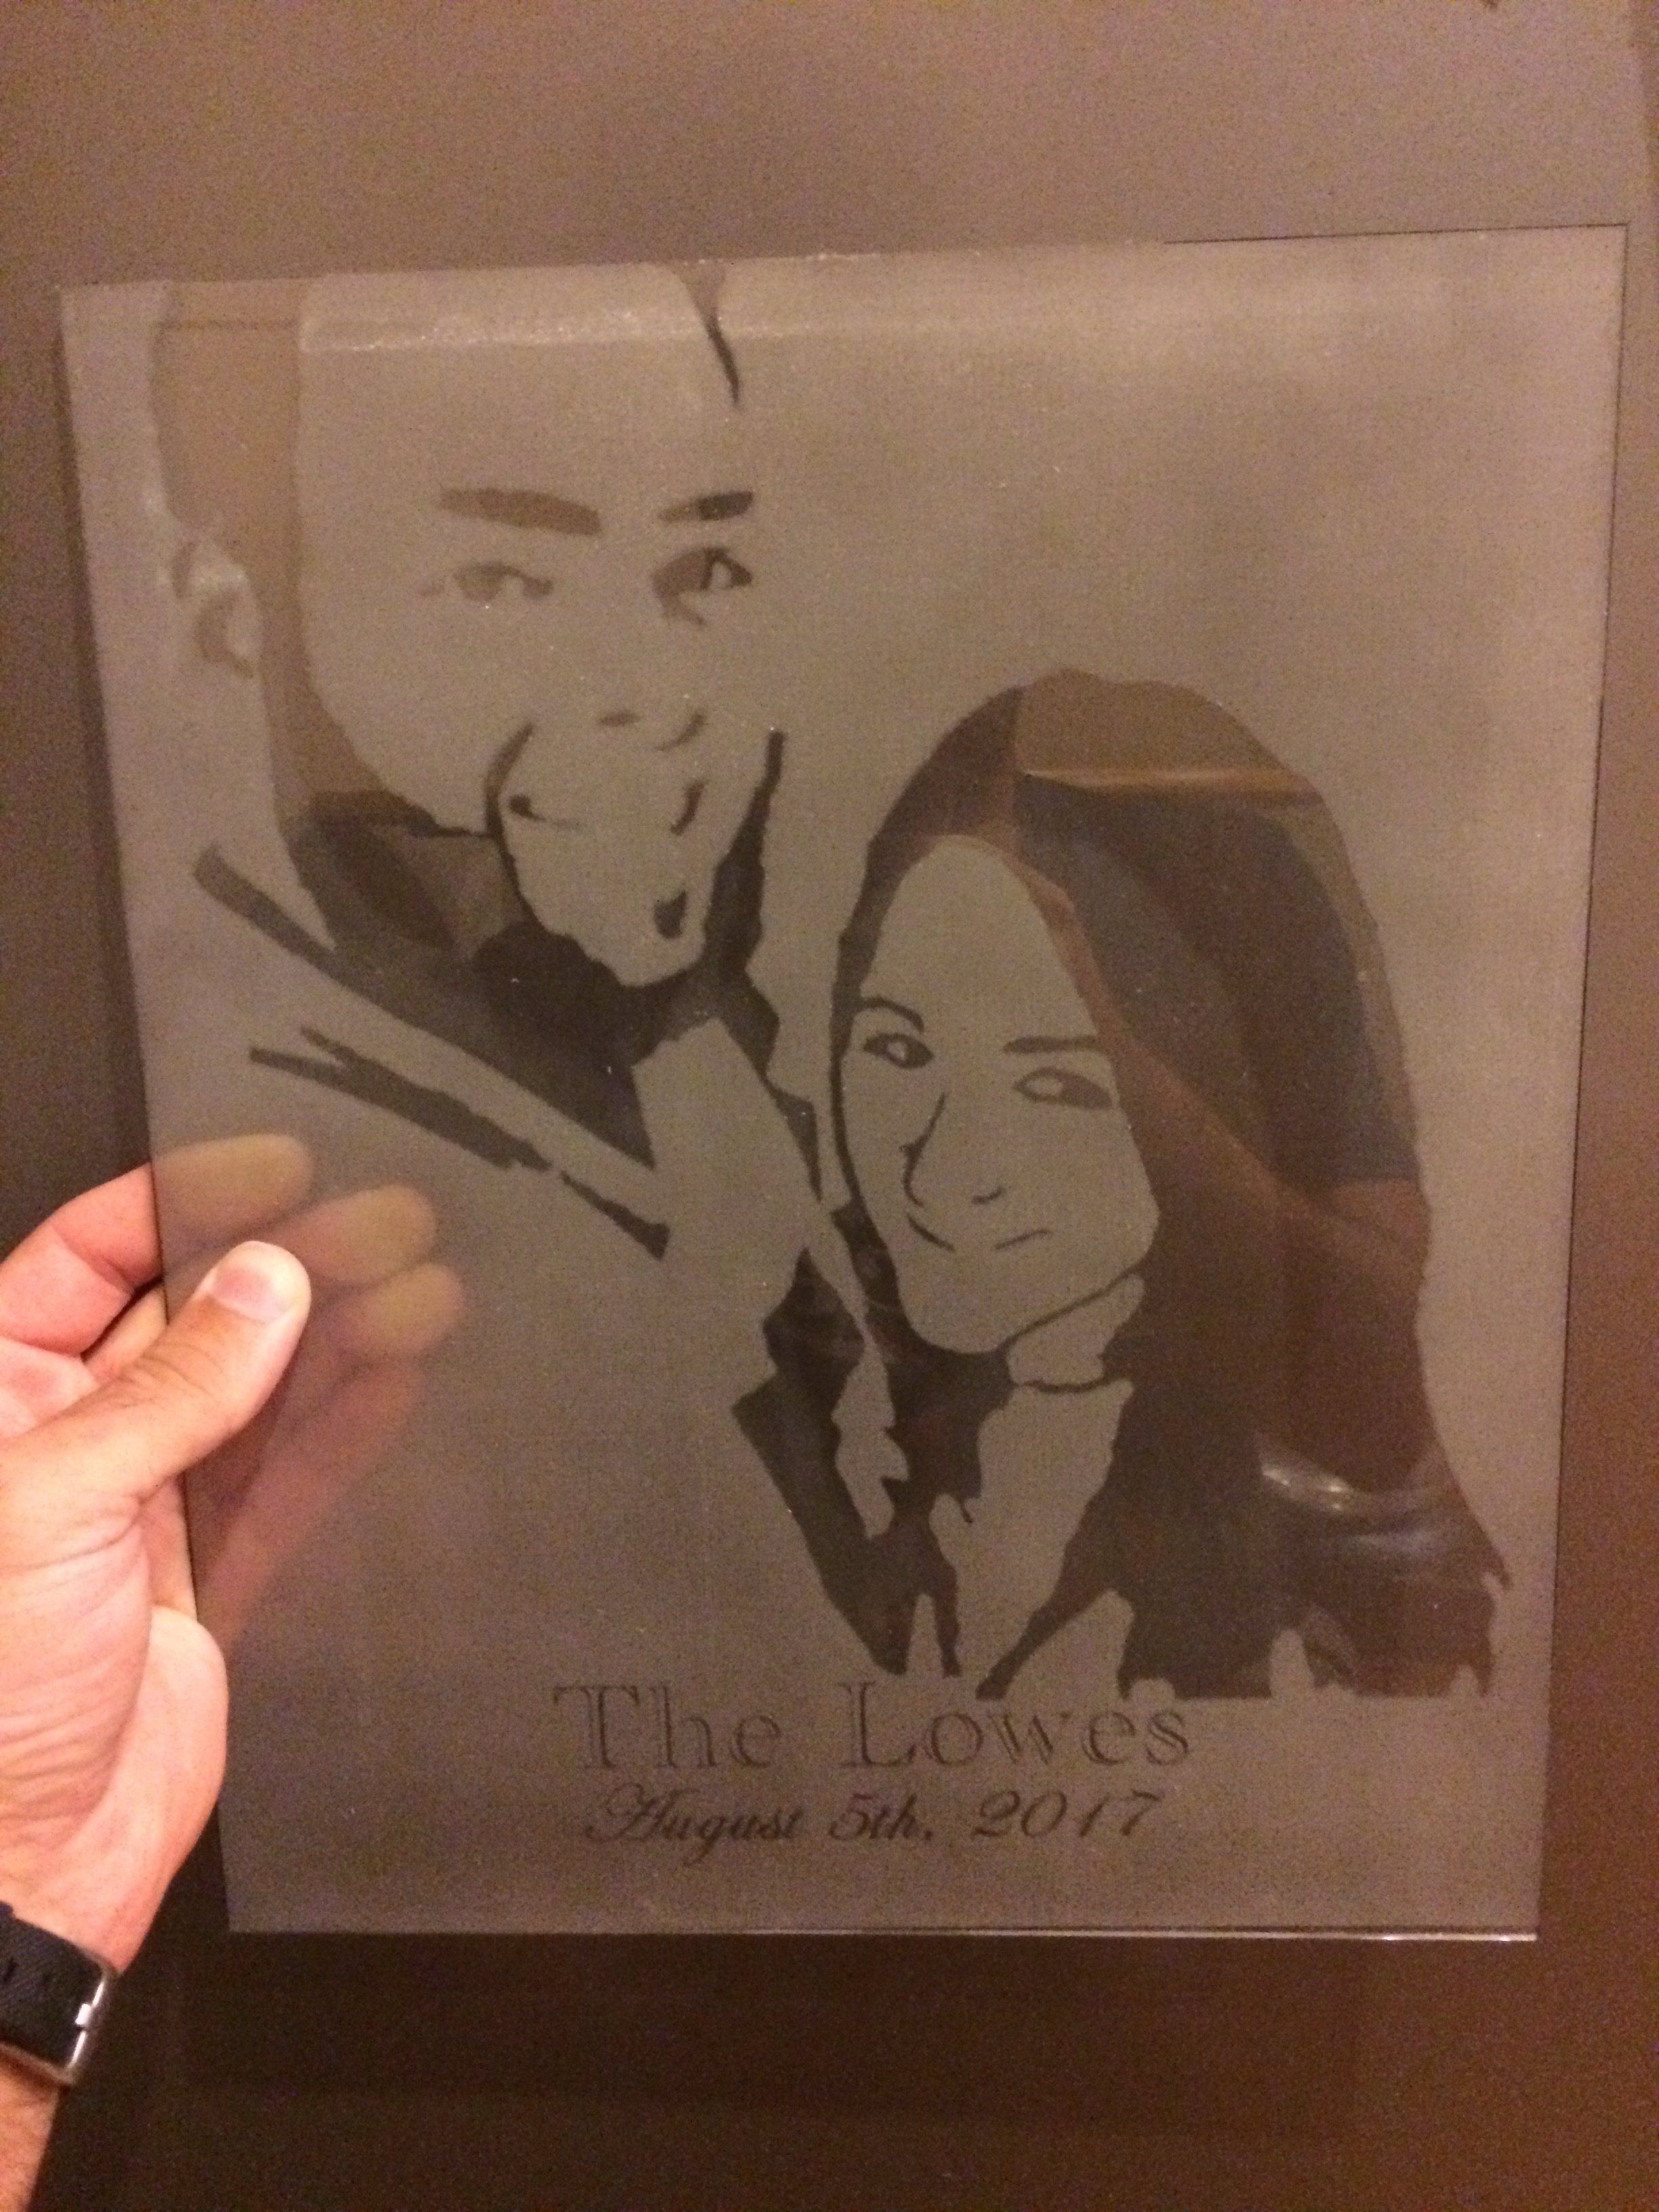
And the final product:
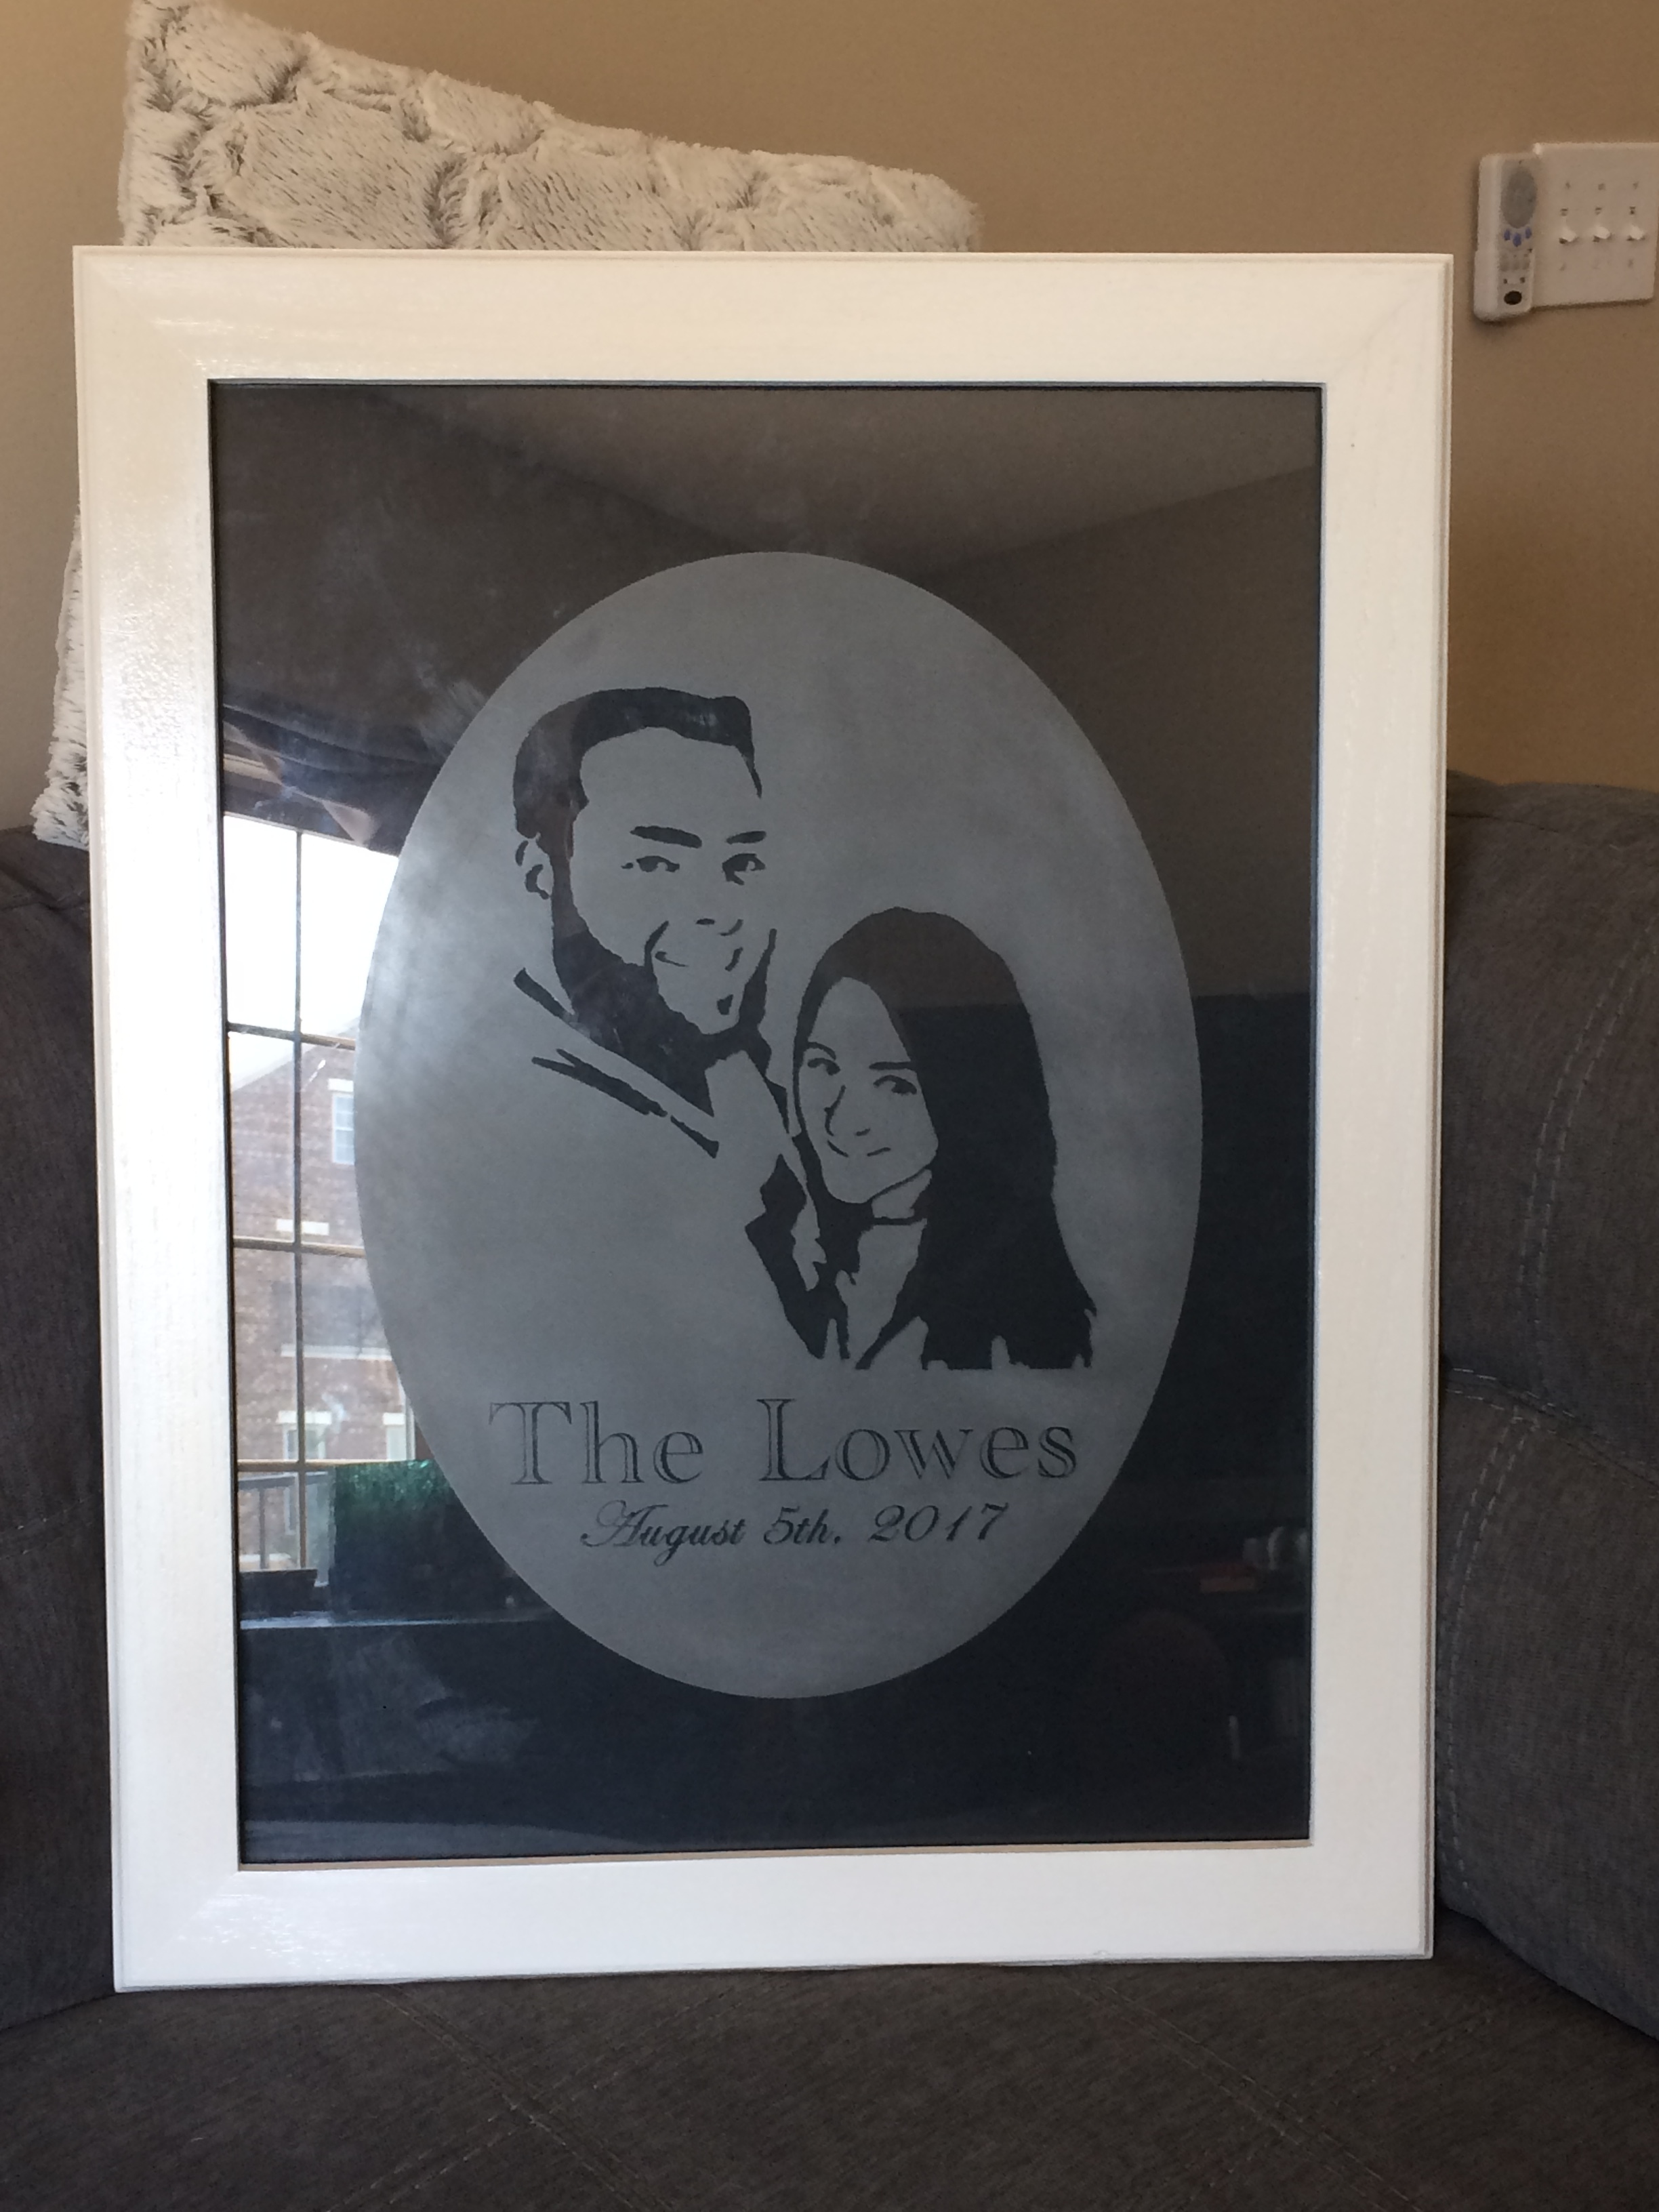
This glass etching process can also be done on the 7W laser as well and probably will go a bit faster. The high resolution lens option is key to get the resolution that Ryan achieved in his engraving. If you don’t want to use paint, then we know the big sharpie marker also works well. I hope this inspires a few new projects for everyone!


Can this be done with your 2.8W laser. What would be the anticipated setting. I have PicEngrave 6 w/laser, PicSender and also PhotoVCarve and Vcarve Desktop 9.5.
Hi Greg- It should be able to work with the 2.8W laser as well. Make your paint a thin coating and you will be fine. We also use a large sharpie marker sometimes to get a really nice thin coating. I would suggest using the same settings for everything but the speed. Slow it down to 25 inch/min for the 2.8W and go from there.