
There are a lot of applications in which the ability to mark metal would be of use. We get a lot of questions about this every day. Unfortunately our lasers right now do not have enough power to directly engrave on metal (you need a really big CO2 laser or a pulsed laser like a fiber laser to do this). There are also products like Thermark and Cermark that are coatings that you hit with the laser to adhere to metal. With the 3.8W laser these products slightly adhere on stainless, but not to a good enough quality and durability. This is why this new process is so cool.
Our resident guru Paul (the creator of Laser Etch) has come up with a method to use powder coating and hit it with the laser to slightly cure and adhere to the metal before the final bake. The process is very simple:
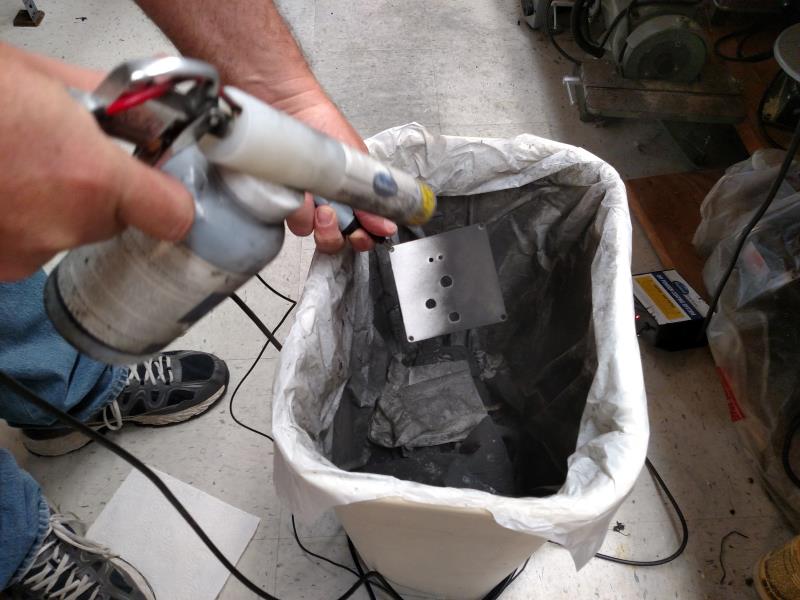
- Spray the work piece with powder coating.
- Laser at low power where you want text.
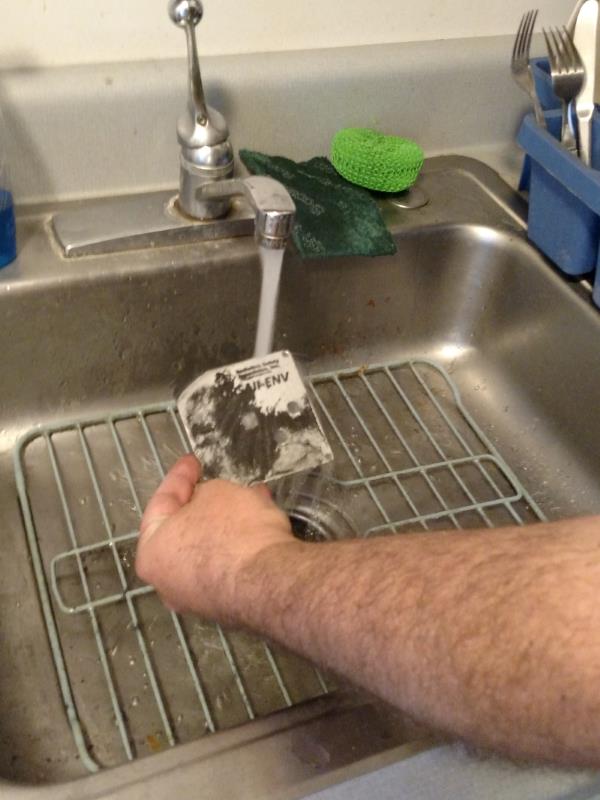
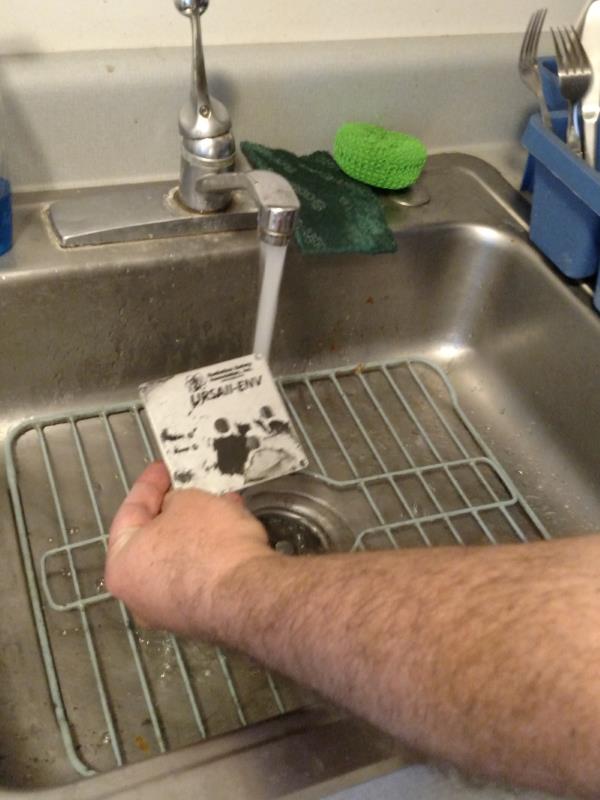
- Wash and lightly scrub the panels to remove the excess powder coating.
- Place in the oven for the final bake.
The finished product is a very durable custom lettering that can withstand scratching. In our demo we are showing creating front panels, but it can be used to place logos, text, serial numbers, QR codes and various other applications where you need engravings on metal.
We got our powder coating supplies from Eastwood:
http://www.eastwood.com/hotcoat-powder-coating.html
To get good results it really requires a “light touch” as Paul says. You need to be able to just melt the powder without burning it off. Paul recommends putting the laser up a few mm from the “normal” focus height to de-focus the beam slightly to reduce the power. The parameters we used were:
Laser: 2.8W J Tech Photonics Laser Kit
Laser Power Level: 40 (out of 255)
Laser Speed: 1500 mm/min
Here is some advice from Pual
Unfortunately, the amount of laser power required is different for the different end panels I use (they have far different machining characteristics as well) and is some combination of material grade, thickness, and if it has been clear-anodized or not. I always do a simple test with multiple lines similar to what I put together way back when to find the best focus point.
Here is the step by step with pictures:
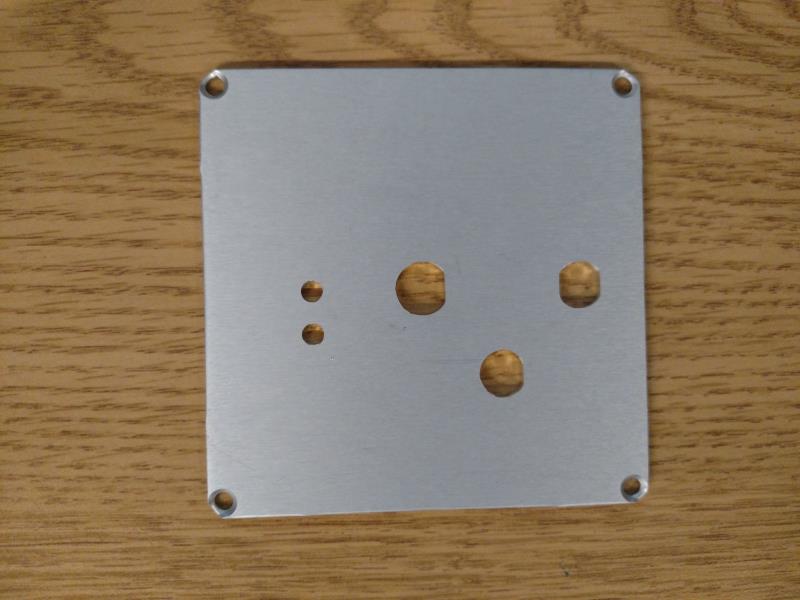
1. Start with your raw panel.
2. Apply powder coating.

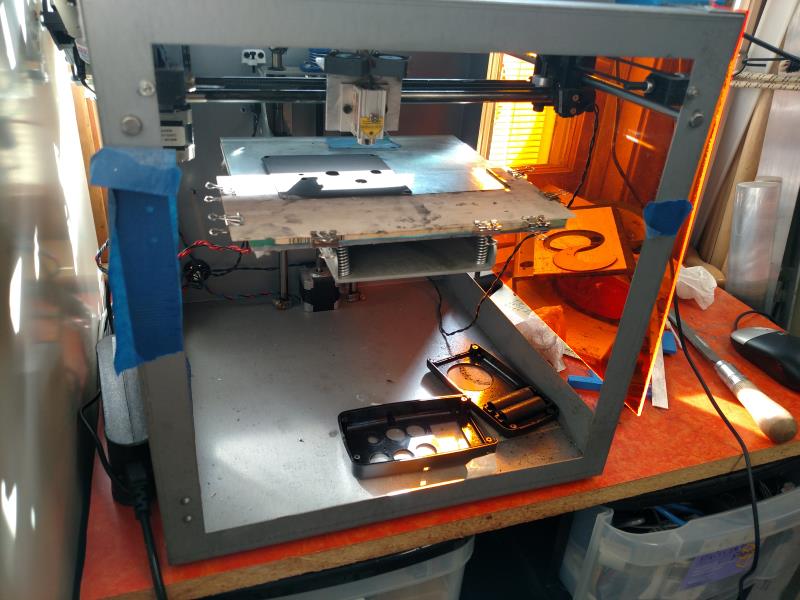
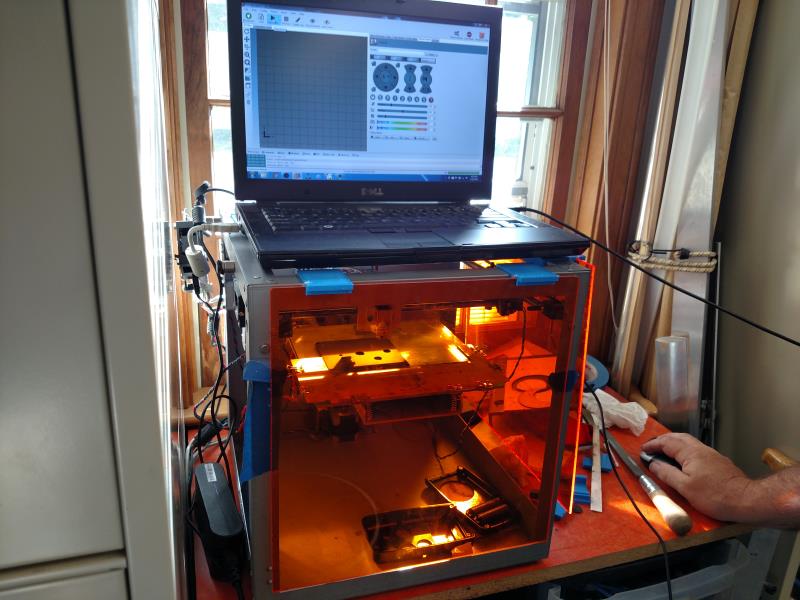
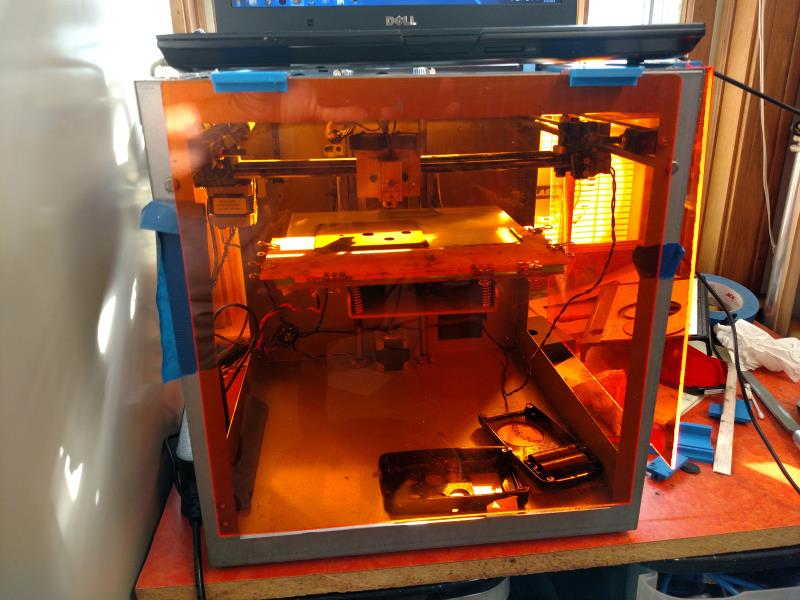
3. Laser Your File onto the Panel.

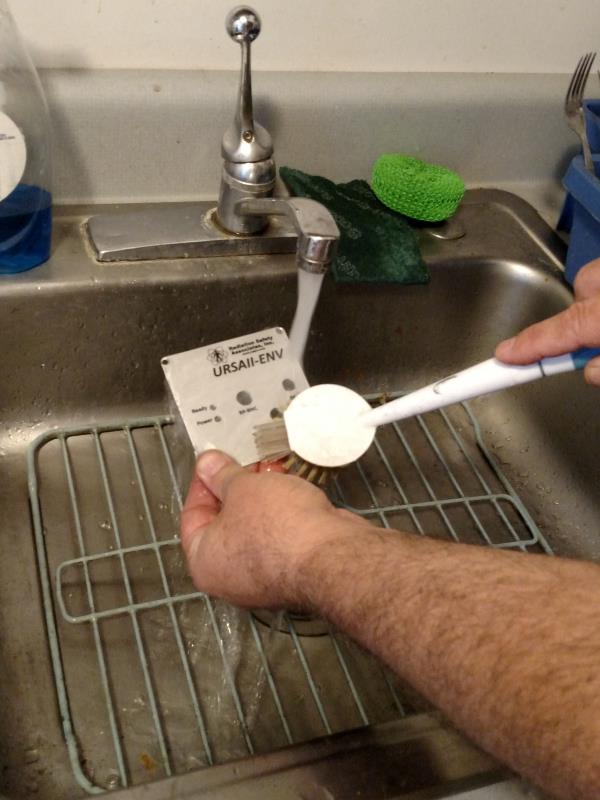
4. Wash off the Excess Powder Coat.
5. Do the Final Cure (in this case it is an oven).
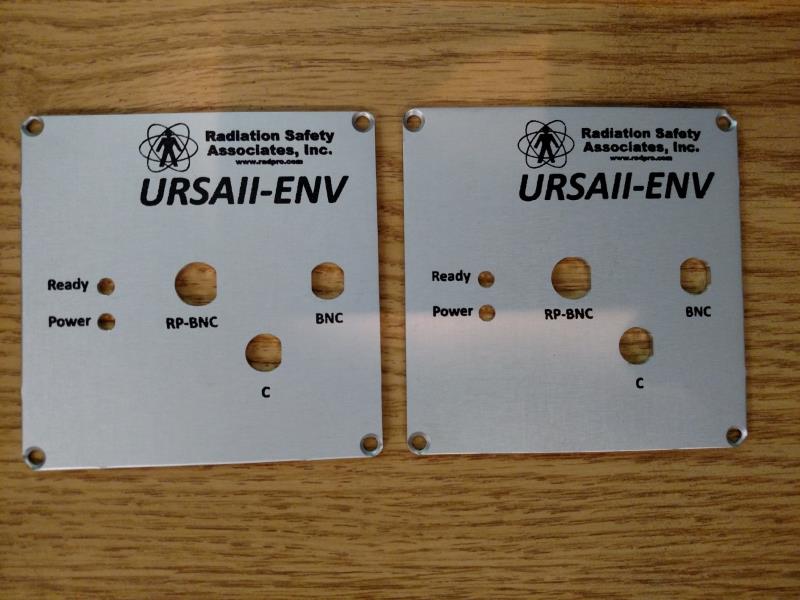
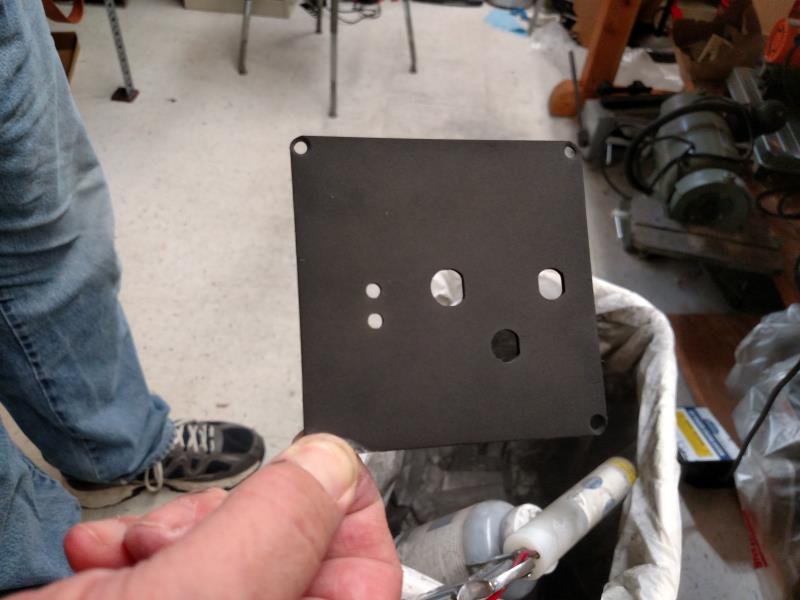
The picture above shows a panel on the left that has not been cured and one on the right that has been cured. The final product is very high resolution and super durable.


Very interesting process.
The panel must be bare to have conductivity? It would be great if this could be applied to panels with a base coat of powder coat.
Not sure if it needs to be bare or not. I would assume if you get the right process without burning the initial powder coat you should be able to do it. You can spray on multiple coats, so it should be feasible to use this method as well with a multiple coat process.
What power and speed settings did you use for this? I’m trying the same thing and can’t get it to work for the life of me, I’m either burning the powder, or not heating it nearly enough to stick. I can’t seem to find a middle ground.
We used a J Tech 2.8W laser set at 1.5amps. Laser power setting was S40 (out of 255) and a speed of 1500mm/min. It really does require a light touch to just *melt* the powder without burning it off. We de-focused the laser just a little as well by bringing it up a few mm farther from the surface than if I’m actually burning something. Unfortunately, the amount of laser required is different for the different materials we use (they have far different machining characteristics as well) and is some combination of material grade, thickness, and if it has been clear-anodized or not. We always do a simple test with lines with different power levels and speeds to find the right level for each material used. You can use acetone to remove any material that does not turn out after the laser process.
Wow, cool process! Thanks for the write-up!
Is the bare powdered coated part left charged, while lasering?
You don’t have to charge the part, but you can if that is your normal process. The laser acts as a “heat source” to flow the paint and adhere it to the part in the regions where you want it to adhere.