


So we got an interesting question the other day: Can you laser mark circuit boards with your laser kit? We first thought, well sure, it probably works. Let’s throw it on the laser-bot and see how GOOD it works! So we did…
It turns out that 1W is plenty of power to remove the FR4 material and get all the way down to the copper in a pretty fast way (125mm/min). The laser focuses down to a spot size of about 5mil, which allows for super small fonts as well. The definition of the marking is actually pretty remarkable and can allow for the addition of custom text, logos, barcodes, or anything else you might need on your circuit board. Add a serial number perhaps?
It also removes the silkscreen layer very well for marking version information or any other detail in those special boxes on your circuit boards. We sped it up a bit more to 225mm/min so it didn’t cut all the way through to the copper layer
So, here are the specs we came up with on our quick check of performance:
Laser Current: 1A
Laser Power: 1W
Marking Speed: 125mm/min
Silkscreen removal speed: 250mm/min
Here are some pictures of the results:
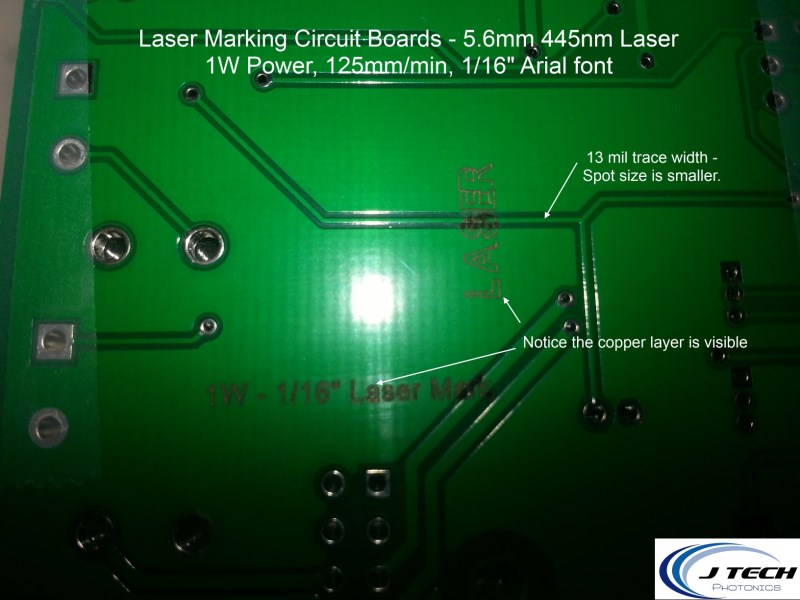
This picture shows the results of a 1/16″ Arial font marked on the back of a circuit board.
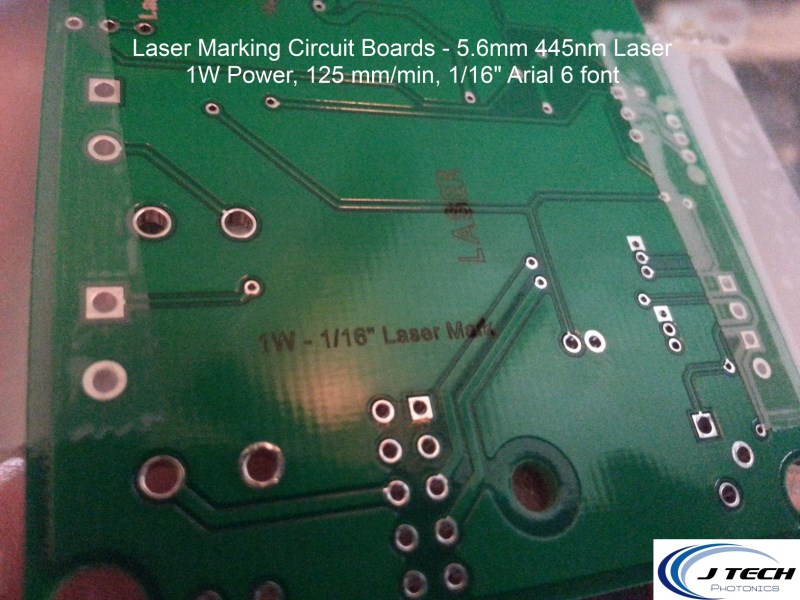
This shows it a bit better in “natural” light rather than the flash.
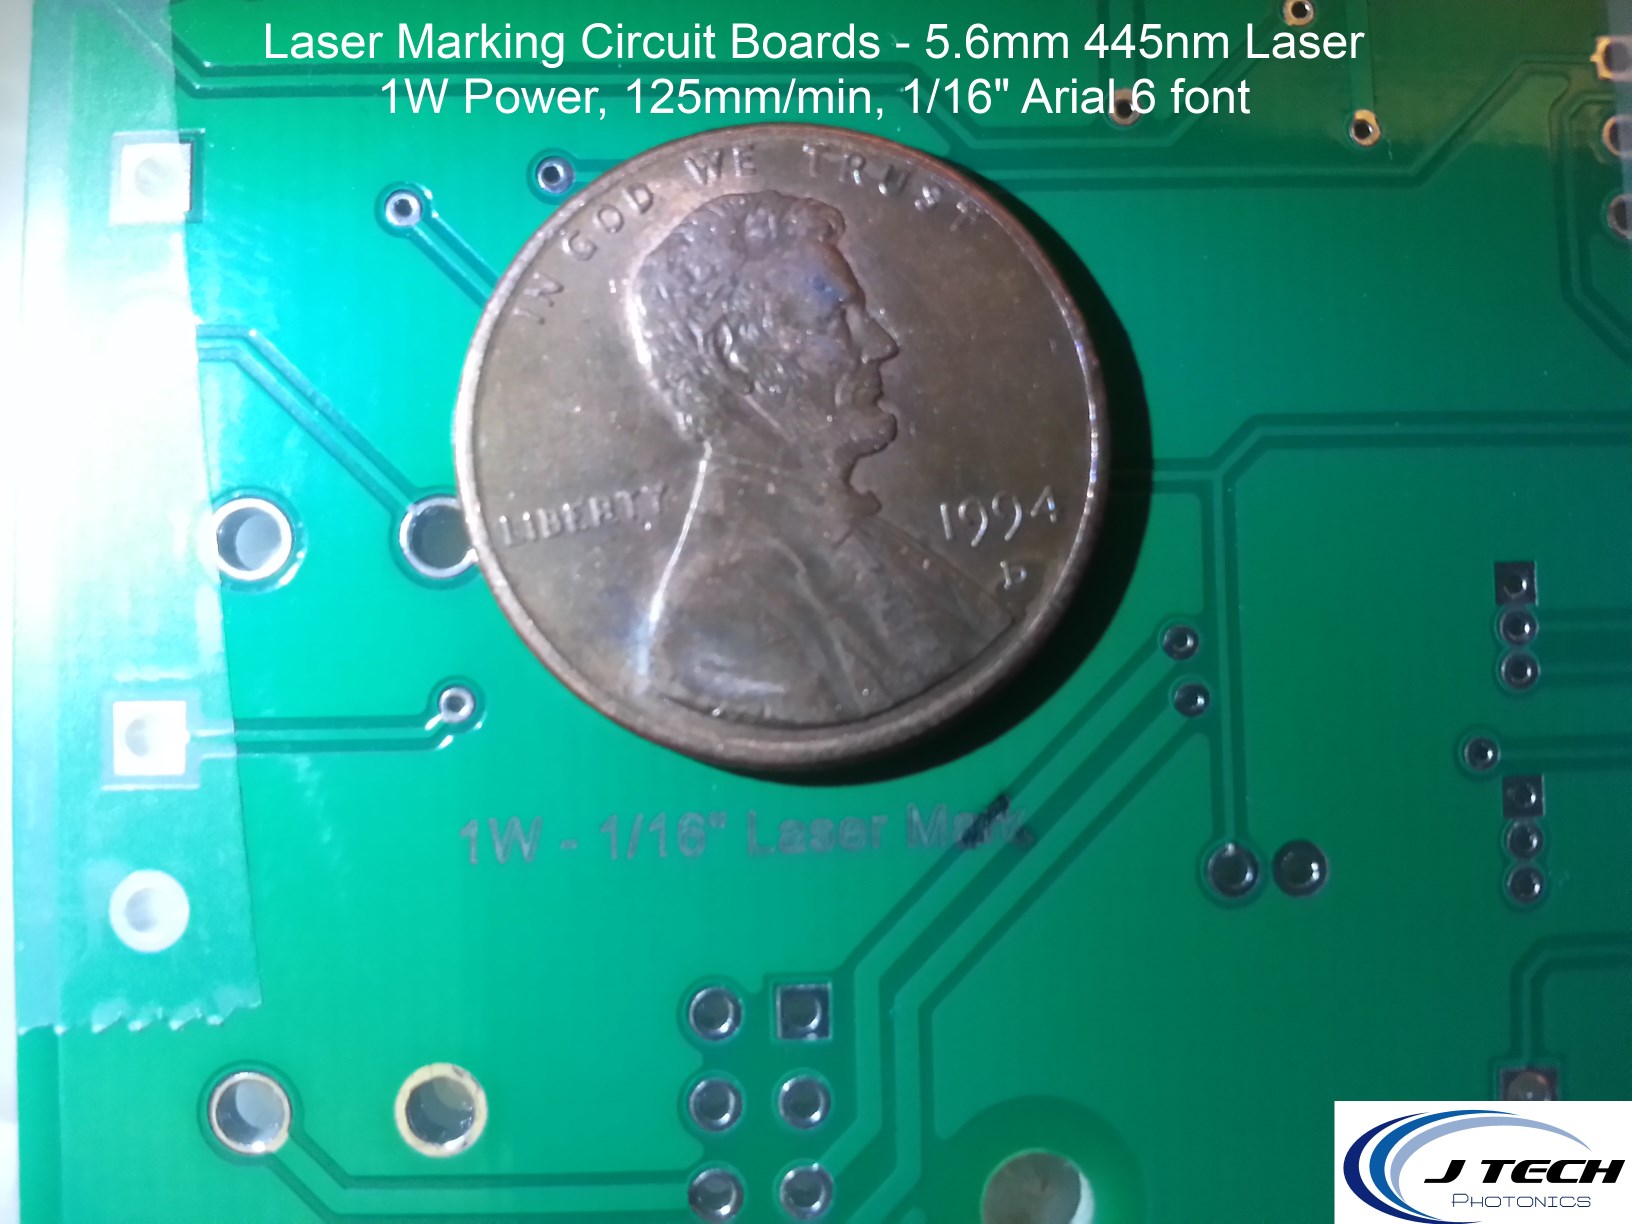
A bit washed out with the flash, but add a penny for comparison. You can really get pretty small marking sizes with a focused spot.
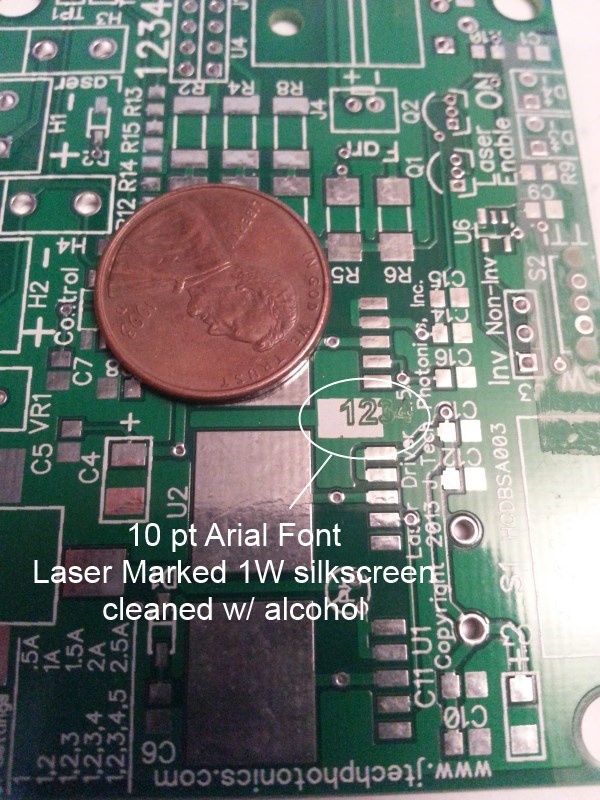
Set-up on the machine was done quick so we didn’t get all the numbers in the box, but got a couple in there! Looks good without cleaning, but after cleaning it looks even better. Good place to add version information!
What laser did you use to produce these results? Whatever the wavelength was, did you choose it particularly according to the application? And what is a “laser-bot? Thanks.