

We are excited about the new Shapeoko 5 machine and how big and nice it is. It will be a great machine to carve and to laser with. If you want to purchase a bundle for the Shapeoko5 machine, then go here:

These instructions also work for the HDM machine, as they both use the new Warthog controller.
Now that you have it, let’s put it together.
Instruction Video:
Here is the instruction video for the installation of the Shapeoko5 J Tech Laser Upgrade. Here are the only differences you might see if the video:
- The 44W laser will be mounted on the right on the metal mount for the Shapeoko 5. See the installation notes here.
- The HDM will use the 80mm Spindle clamp mount attached to the bottom of the spindle. See the installation notes here.
Standard Instructions:
The installation is pretty easy. It will include three parts.
- Installing the mount.
- Feeding the extension cable from the gantry to the Carbide Board.
- Connecting the laser driver to the Carbide Board.
We will go through these now.
Mounting Instructions
Mounting the standard plastic mount
The mount will go on the side in the accessory port. You can slide it up and down with the thumb screw. The laser will then attach to the mount with magnets and locking screws.
Mounting the Metal Mount for the 34W and 64W Laser
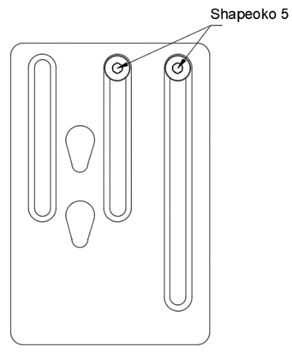
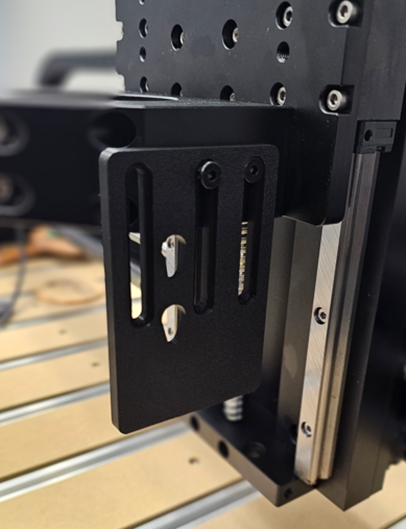
Install the metal mounting plate on the left side of the router holder. Use the two screws included in the kit for this.

The laser attaches onto the locking points in the middle of the mount. You will need to put the laser on AFTER you home the machine. It will interfere with the homing routine if it is on the mount.

The locking screws can be tightened to make the laser more stable or to permanently attach it to the mount.
Mounting for the HDM 80mm Spindle Clamp Mount
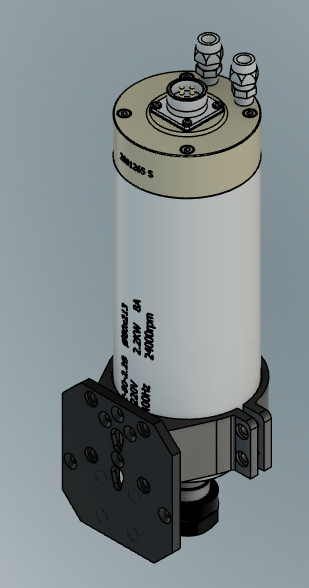
For the HDM machine the spindle holder is way too high to have a good laser mount attached to it. So, we are going to use the 80mm spindle clamp mount to attach the mount to the bottom of the spindle. This will allow the laser to get to the work surface to process the material. You can easily take it off if you want after using the laser to then use the spindle.
Here is an example of a laser attached to the spindle clamp mount.
Extension Cables
After you place the laser head on the mount, you can check the gender of the cable on the laser. Match this with the corresponding side of the extension cable to connect it. Starting with this side, either put the extension cable in the cable chain back to the Carbide board or zip tie it on the side of the cable chains. Once back by the carbide board, connect it into the back port of the laser driver.
For the 24W and 44W laser, the extension cable will be 4 pin and only one cable. For the other lasers, you will have two cables, one for the laser and one for the fan. Install it to the back of the laser driver.

Attach the laser to the 4 pin extension cable you ran through the cable chains.
The laser driver will have a port for the laser extension cable in the back. Use port H3 for this cable.

For the 24W and 44W, plug the extension cable into the 4 pin connector port H3.

For the other lasers, connect the laser extension into port H3 and the fan cable into the smaller Laser Fan connector.
Connect to Carbide Board
Using the small 3′ molex cable included in the kit, connect it to the Carbide board ISP header. Take the cover off the Carbide board and use the black DuPont side of the cable to connect to the board header. It is shown in the following pictures.

On the board, find the ICSP header. Line up the color of the wires on the cable to the pins in the picture to the left.
Plug the input cable into the pins on the Carbide Board.
On the other end of the cable, connect it to the laser driver black box. Connect it in the black Molex connector on the back as shown in the picture below.

Connect the input cable to port H4 on the back of the laser driver.
Air Assist

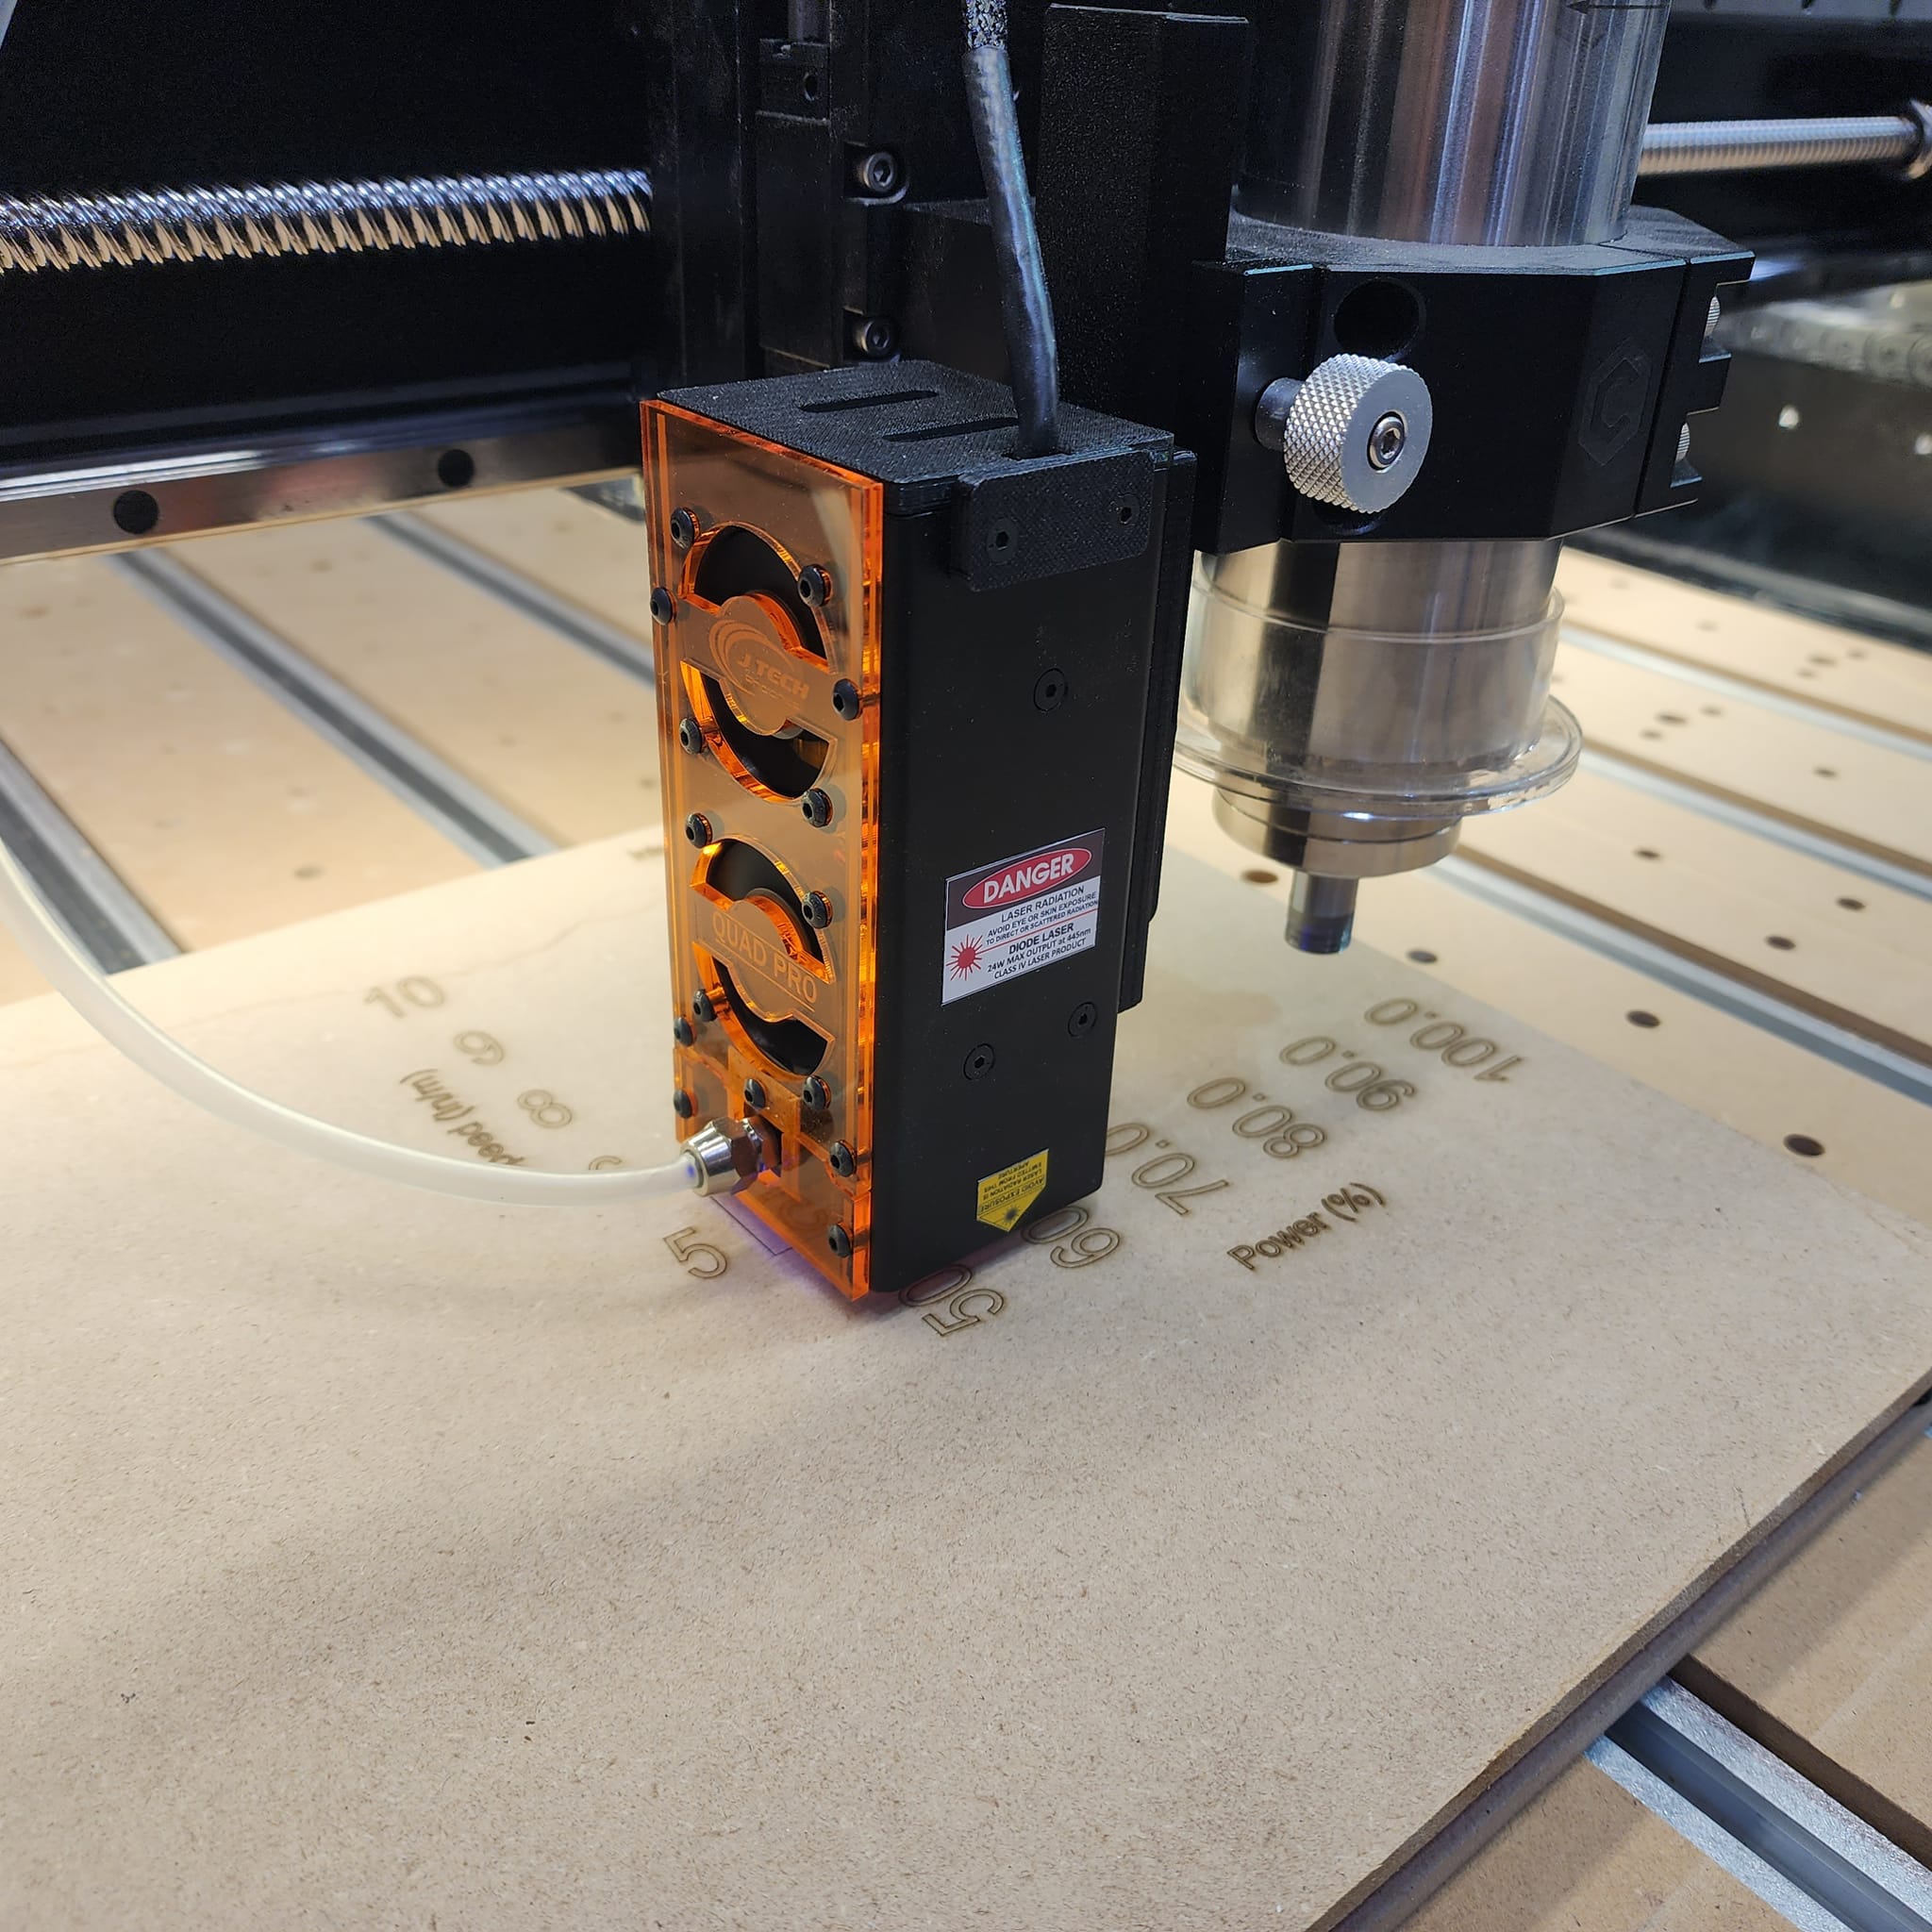
Always attach the air hose to the air assist port when using the 24W and 44W lasers. This will keep the lens clean.
Running Your Laser
To run your laser on your Shapeoko5 we recommend using Lightburn. Lightburn is a very powerful tool that allows you to control all of the aspects of your laser to do engravings, cutting, and photos all in one location. It also will run your machine as well inside the program. If you choose not to use Lightburn, then you CAN NOT use Carbide motion to run the toolpath files. You will need to use another sender program like Universal G Code Sender. If you want to engrave photos using the Vectric laser module, then you will need to use a sender program that works with photos like the Vectric V Transfer program. In the end, we think Lightburn is the best program for creating your files and running them.
Here is the video on how to set up your Lightburn software to run your laser:
Troubleshooting Connection Issues
On the Shapeoko5 machine there have been some customers who will see connection issues in Lightburn (no connecting) in some cases. Here is a specific startup procedure you can use to help.
- Make sure you have nothing open on your computer. Exit Lightburn and Carbide motion.
- Turn the machine on. If it was already on, then cycle the machine so it is fresh.
- Open Carbide Motion and Initialize the machine. Wait for it to initialize.
- Close Carbide Motion.
- Open Lightburn. Make sure you have the correct COM port selected.
- It should now connect in Lightburn.
Not sure why this is needed sometimes, but it seems to solve the issue.