


MakiBOX Laser Upgrade
Laser Upgrade Implementation
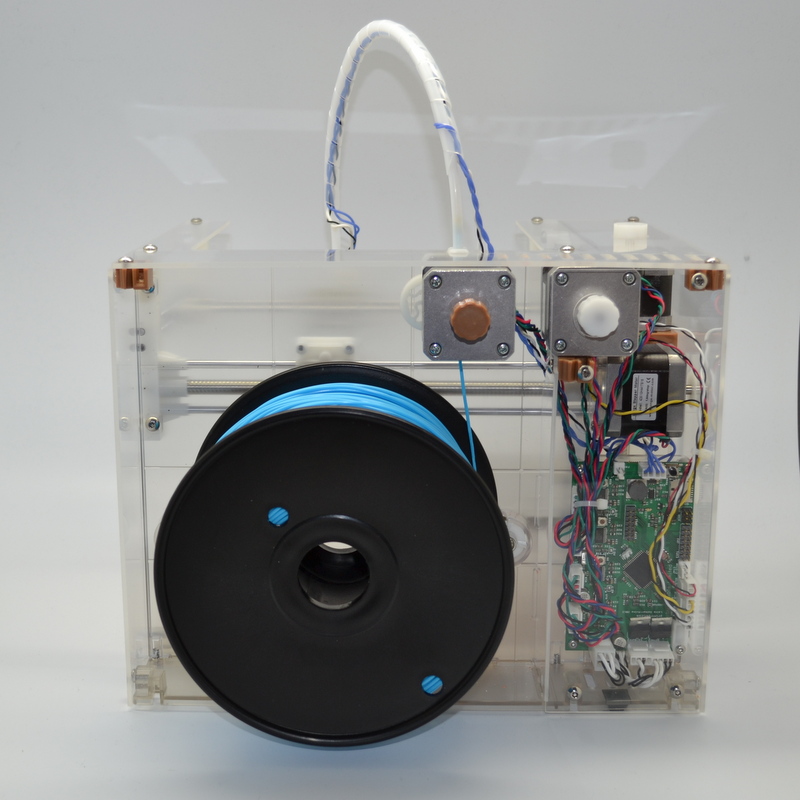
The MakiBOX is a really cool new printer out there that is super cheap. They are also using a version of the PrintRboard rev B from the RepRap project that includes an implementation of the fan. As far as I can see, they are not using a fan in there product, but it should still be part of the electronics and the firmware.
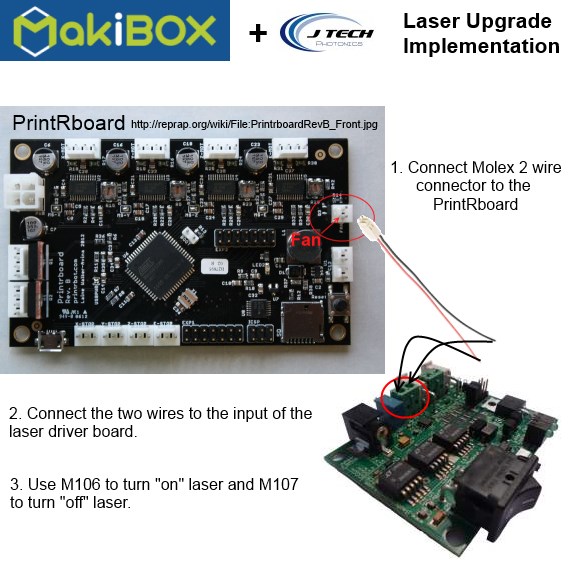
To upgrade the Makibox, just add a Molex style connector to the PrintRboard fan output and connect it to the laser driver input. Then use the M106 command for “laser on” and M107 command for “laser off”.
You can get the connector here at the shop or find it on your own. Of course, you will need to print out a mechanical mount for the laser as well. The dimensions and solid models are located in the documents section of the website.
Here is the graphical version of the instructions:
If you ever want to add a fan as well, you can use a SPDT switch and then can move between 3D printing with a fan and laser cutting by flipping the switch.
Buy your laser upgrade kit now!

Remember Safety First!

We sell laser shielding to block laser radiation and reflections!
Laser Goggles are also a must!
Disclaimer
The laser used in this project is very powerful and all safety precautions must be taken. Use proper safety eyewear to prevent injury to eyes. This is a project and J Tech Photonics, Inc. is not responsible or liable for any and all damage or injury caused to people or property. The use of these instructions to make a laser cutter is under your own discretion and all safety precautions should be followed. J Tech Photonics, Inc. is not affiliated in any way with Makibox and they may change hardware and software at any time making these instructions invalid.