


Shopbot Tools are known to be some of the best CNC tools for many years running. They have a great following from users and many over the years have asked us how to upgrade them. We talked to the folks over at Shopbot about integrating into their control electronics and it is pretty straight forward. So let’s get started!
There are many types of ShopBot CNC machines. One of the most popular is the Destop Max machine. While there are several machines with different mechanical configurations, they all have the same (or similar) control system on them.
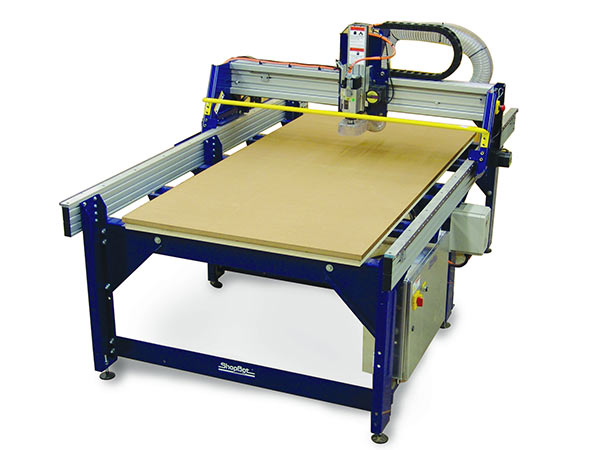
ShopBot PRS Alpha
Electrical
Every ShopBot has a control box. In this box, there is a interface board called the Control Card. This has the connections for the motors and various other outputs for the machine control. If you open up your control box it will look something like this:

In the case of the ShopBot Desktop Max, we took the blue cover off the box and opened it up. The control card looks like this:

There will be a section on the control card for general purpose outputs. These are labeled:
GND
OP5
OP6
OP7
OP8
In this case, they have a Wago connector that has a push clamp device to let you attach tin wire directly to the outputs. Since none of them are being used on this machine already, it is easy to use the OP5 connection and the GND connection. (*Note* if the OP5 connection does not produce a signal, try the OP6, OP7, or OP8. We have seen some boards have faulty outputs).
Connect the Molex Mini Fit Jr. Cable from the laser driver to the OP connection on the control card. The kit comes with a 3′ Molex mini fit cable, but if you need a longer length to run through the cable chain, you can purchase it here in the shop.
Connect the Red + wire to the OP5 connector and connect the Black – wire to the GND terminal. Like we said earlier, the control card might look a bit different, but the OP5 to OP8 connections will be in every machine.
Connect this Molex Mini fit cable to the H4 control signal input on the back of the laser driver. You can also use your own wire as well. In this case, connect it to the screw terminal H2.

Connect the laser to the far left Molex Mini Fit connector H3. For the power connection, the kit has a wall adapter that is 6′ long. We recomend using this adapter with the laser as it is tested to work and not harm the laser. If you want to extend the power connection to run through the cable chain as well, then you can purchase the extension in our shop here: Power Cable Extension
Software
The general purpose outputs on the ShopBot are controlled with the following syntax:
SO,[Output#],1 for ON
SO,[Output#],0 for OFF
Where OUTPUT# is the number of the output. In our example machine we used OP5. It would have the following G Code for control:
SO,5,1 (ON)
SO,5,0 (OFF)
We also have the Vectric Post Processor written for OP5 located on the post processor page. It has how to set up the tool and run the file. Check it out here:
Mechanical
There are many machines with different mechanical configurations for the ShopBot tools. We have a magnetic “generic” all in one laser and mounting bundle that you can use to mount our lasers onto the Z gantry.

You just need to choose your distance of extension cables from your control box to the gantry through the cable chain. You can get the bundle here:
Generic “All in One” Bundle
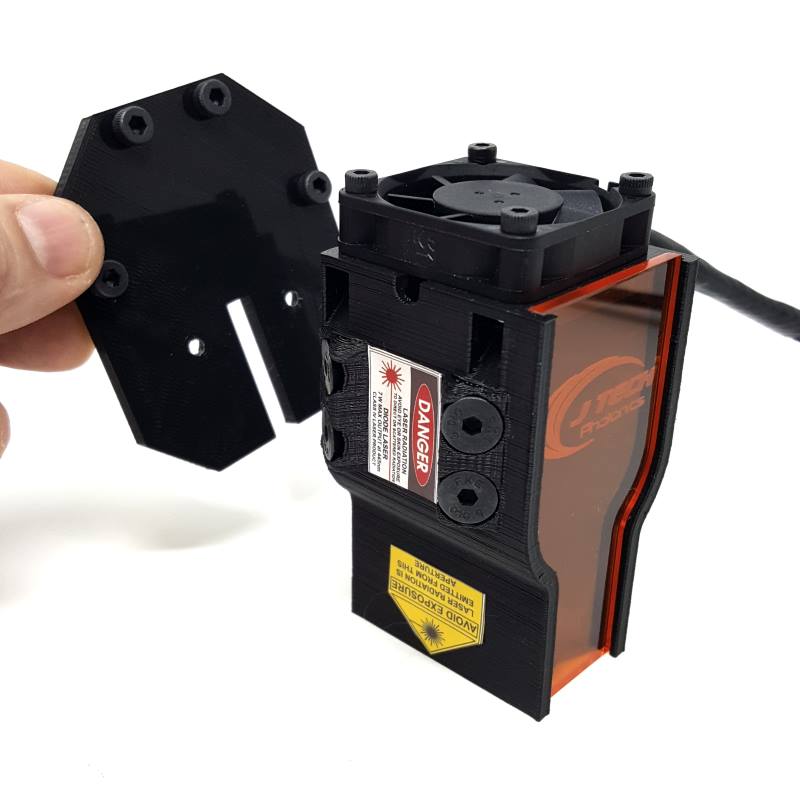
Many people make a plate that has the laser on the bottom and the driver above it that can be removed easily when not being used. Since the electrical connections are all quick release, this process should only take a couple of minutes to complete the change over.
On the ShopBot Desktop max, there are a couple of screw holes in the front of the tool holder. The customer utilized these holes and made a plate with the laser and driver on it.

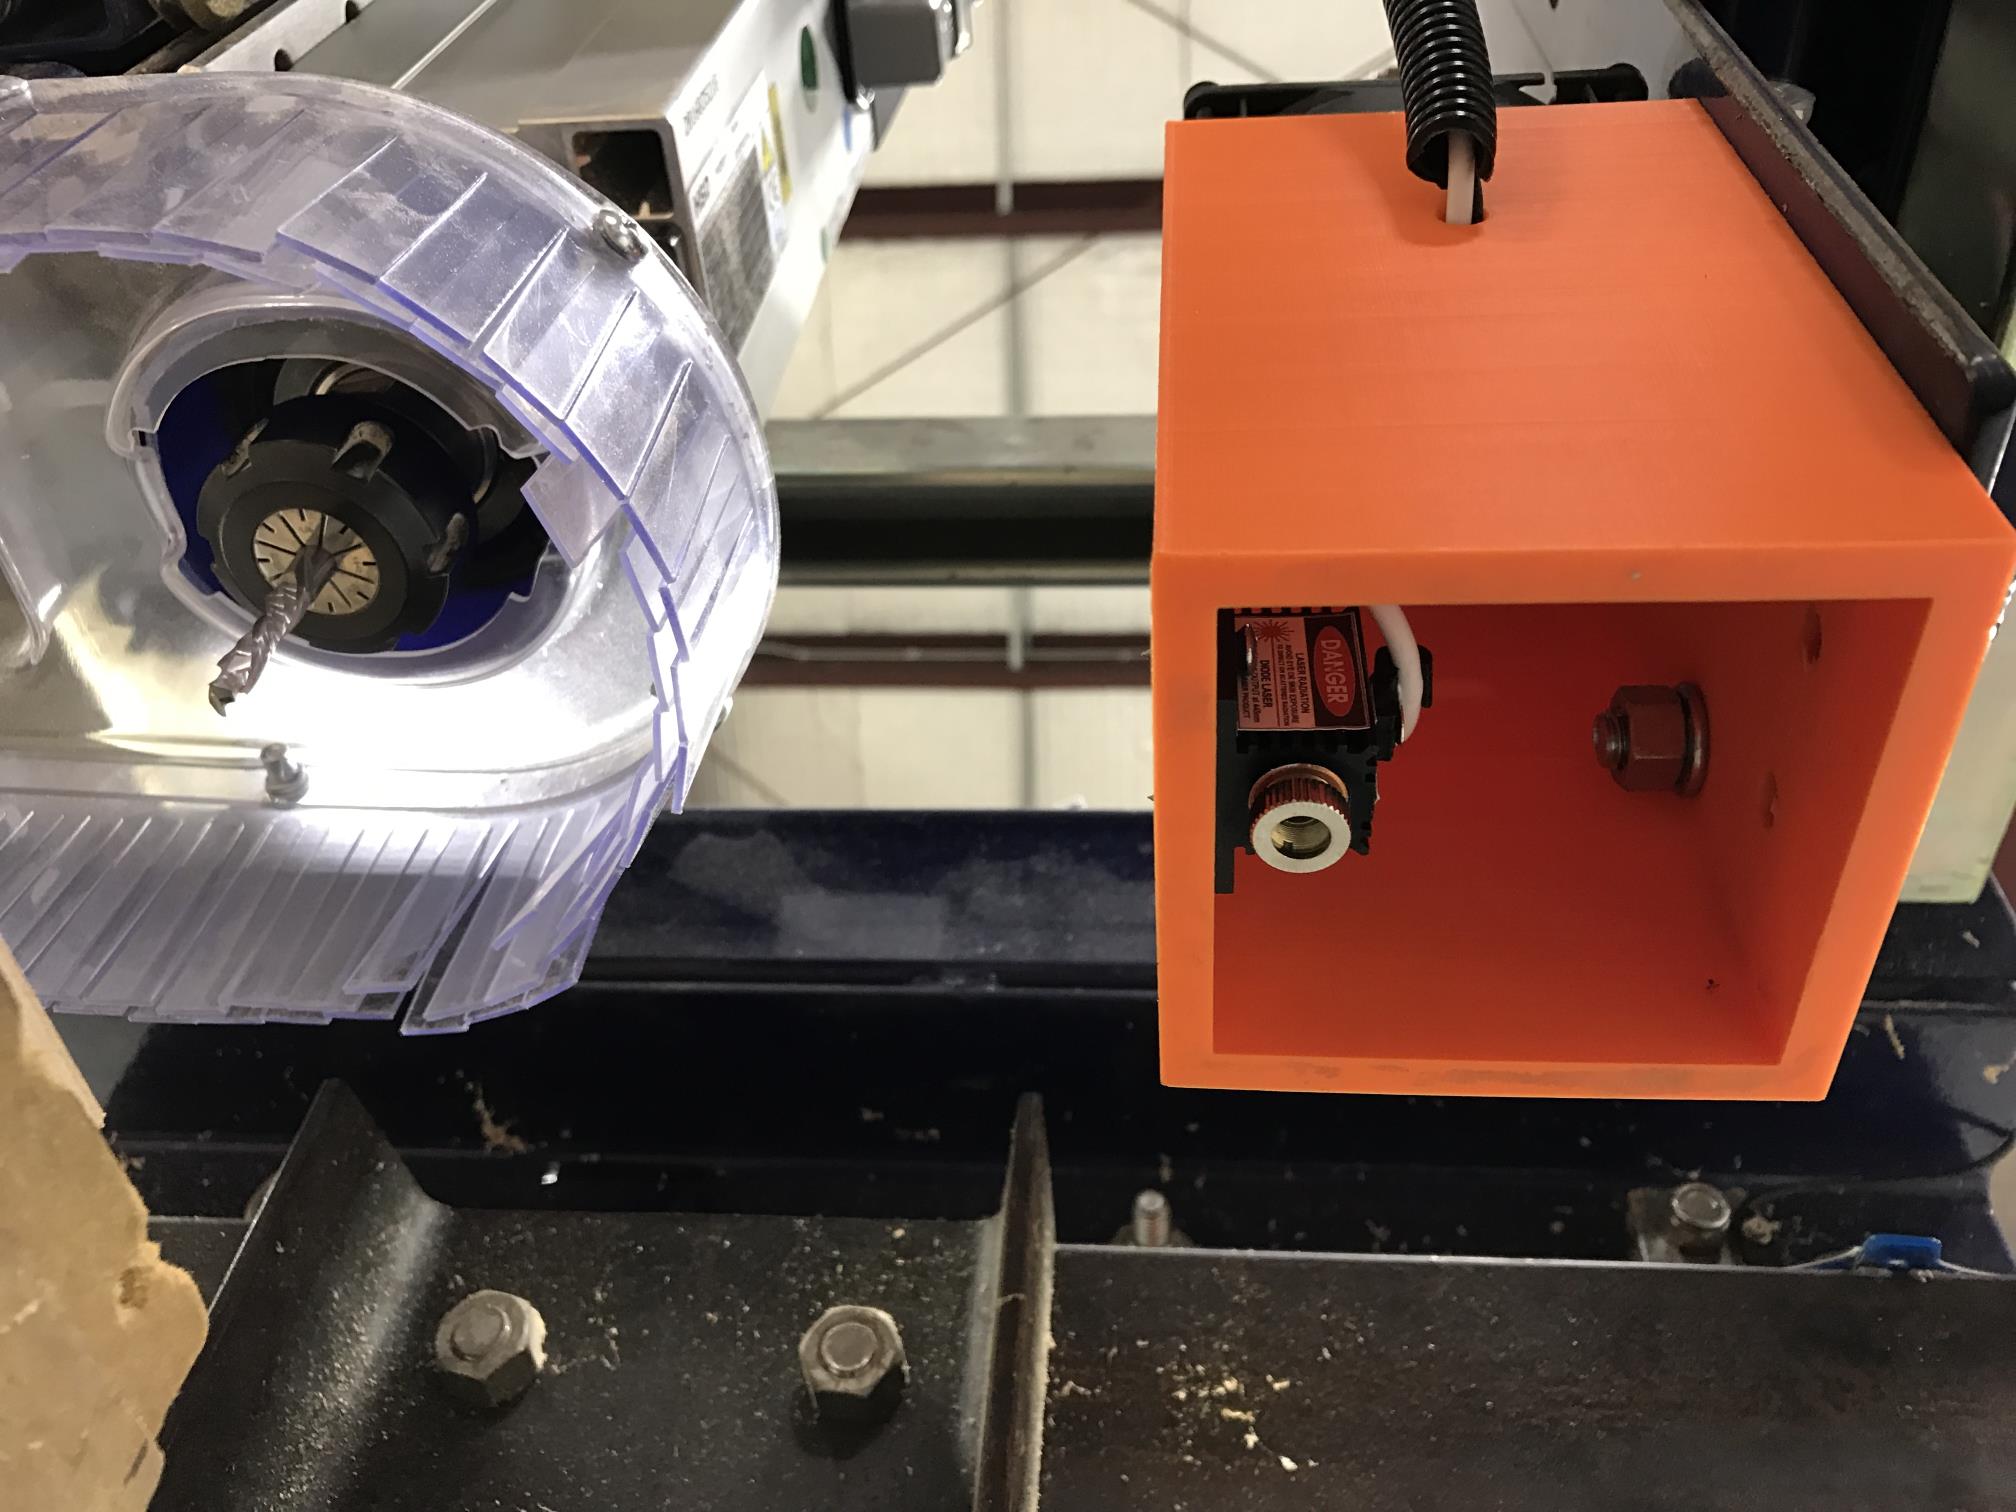
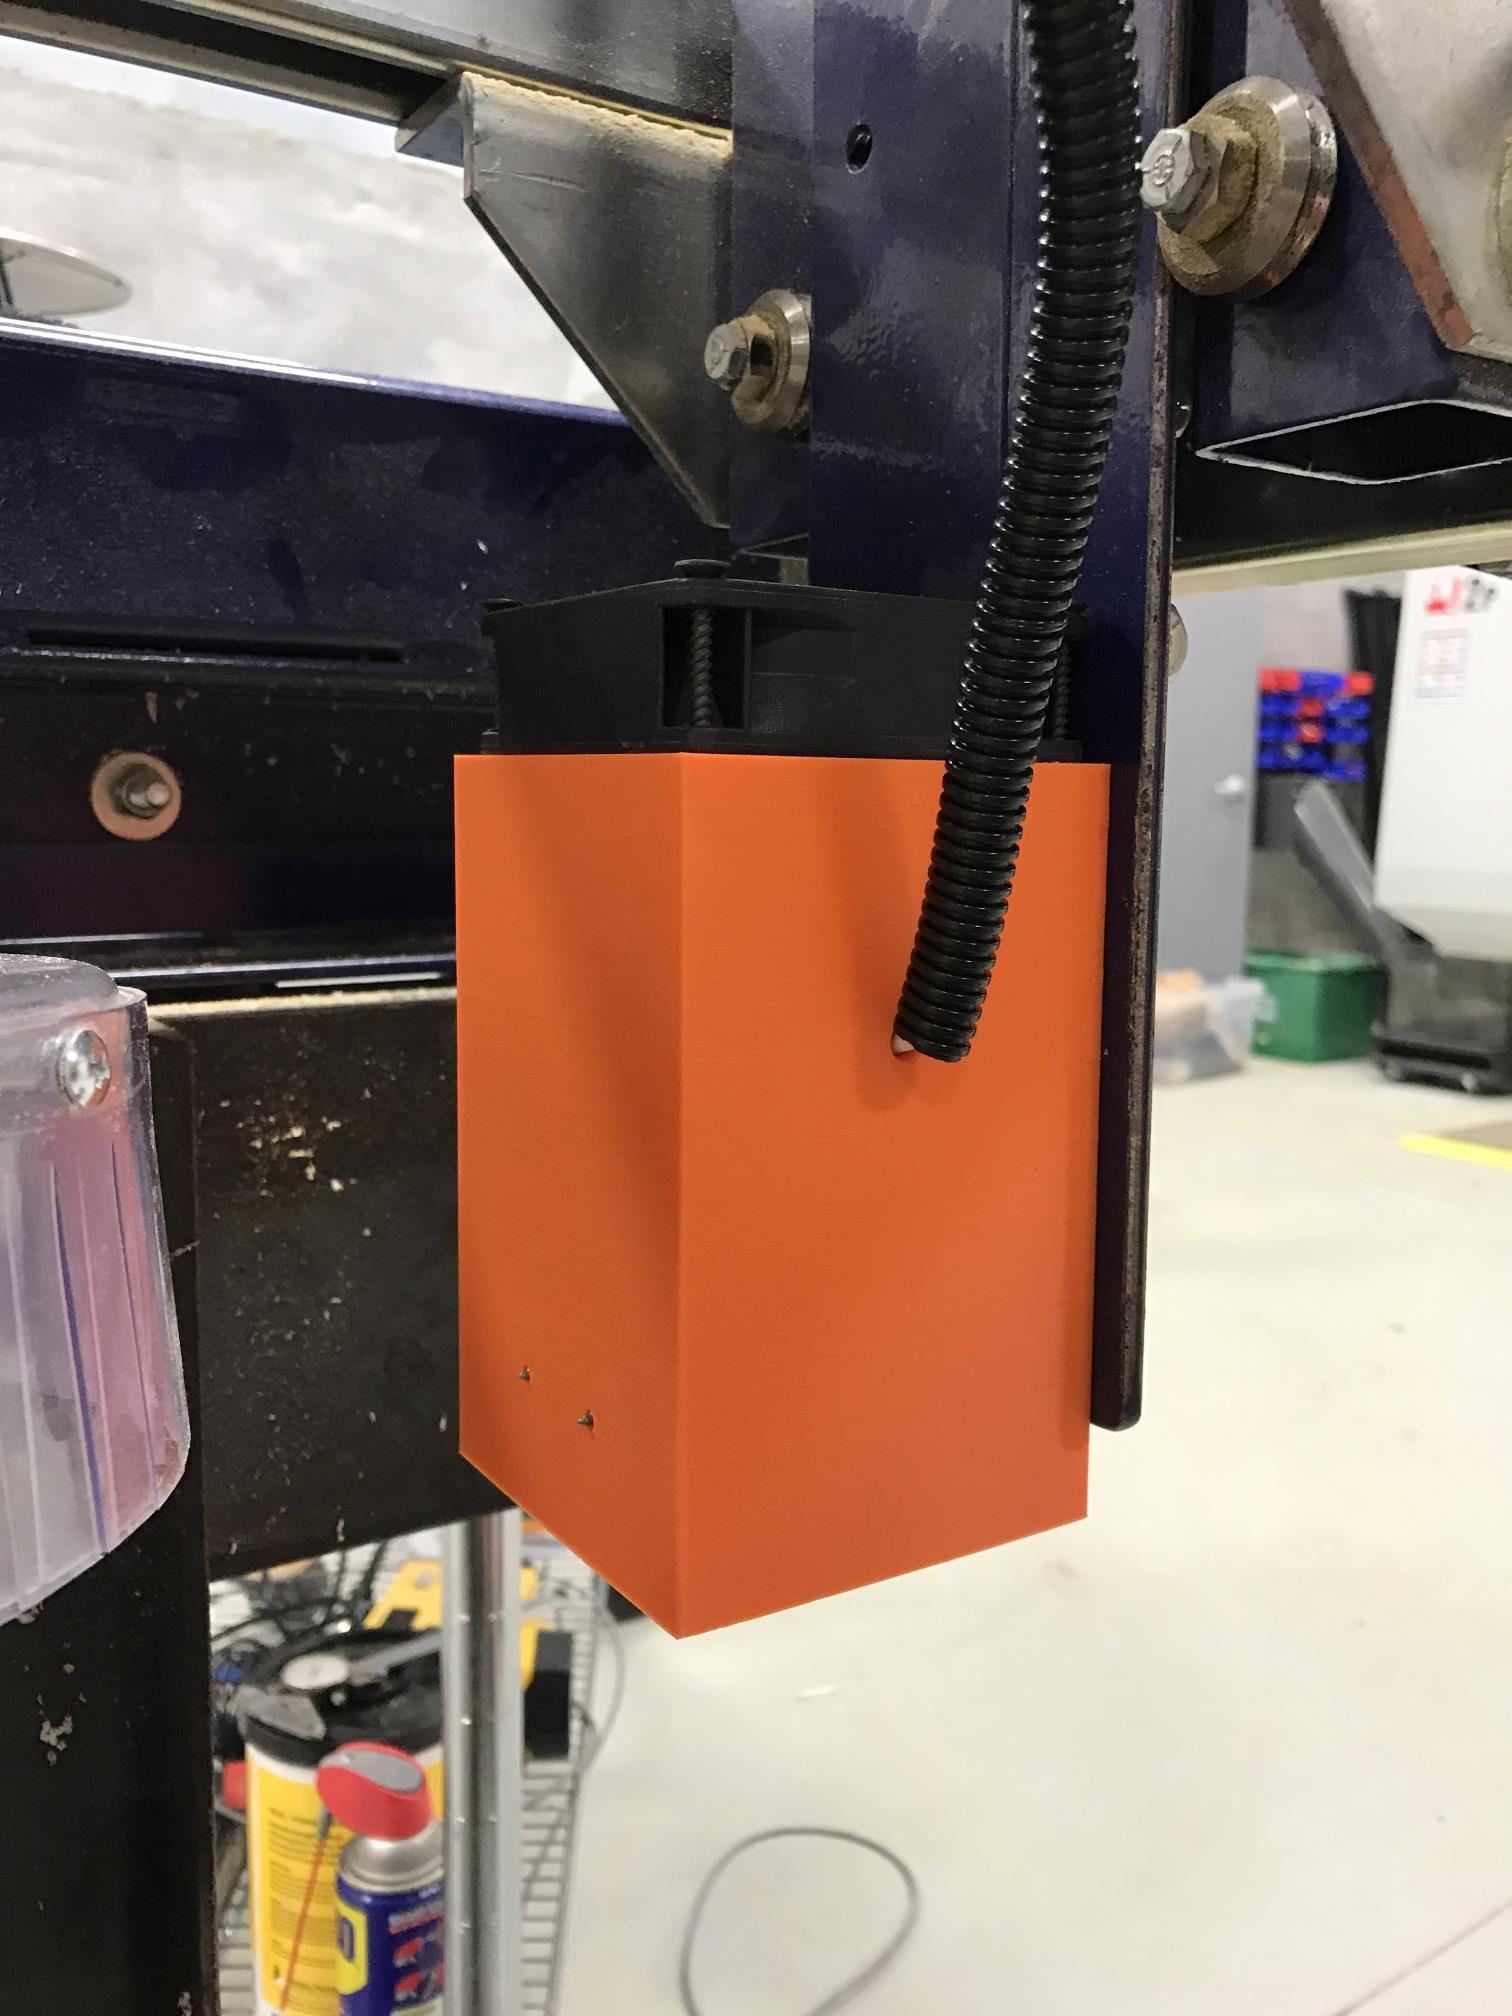
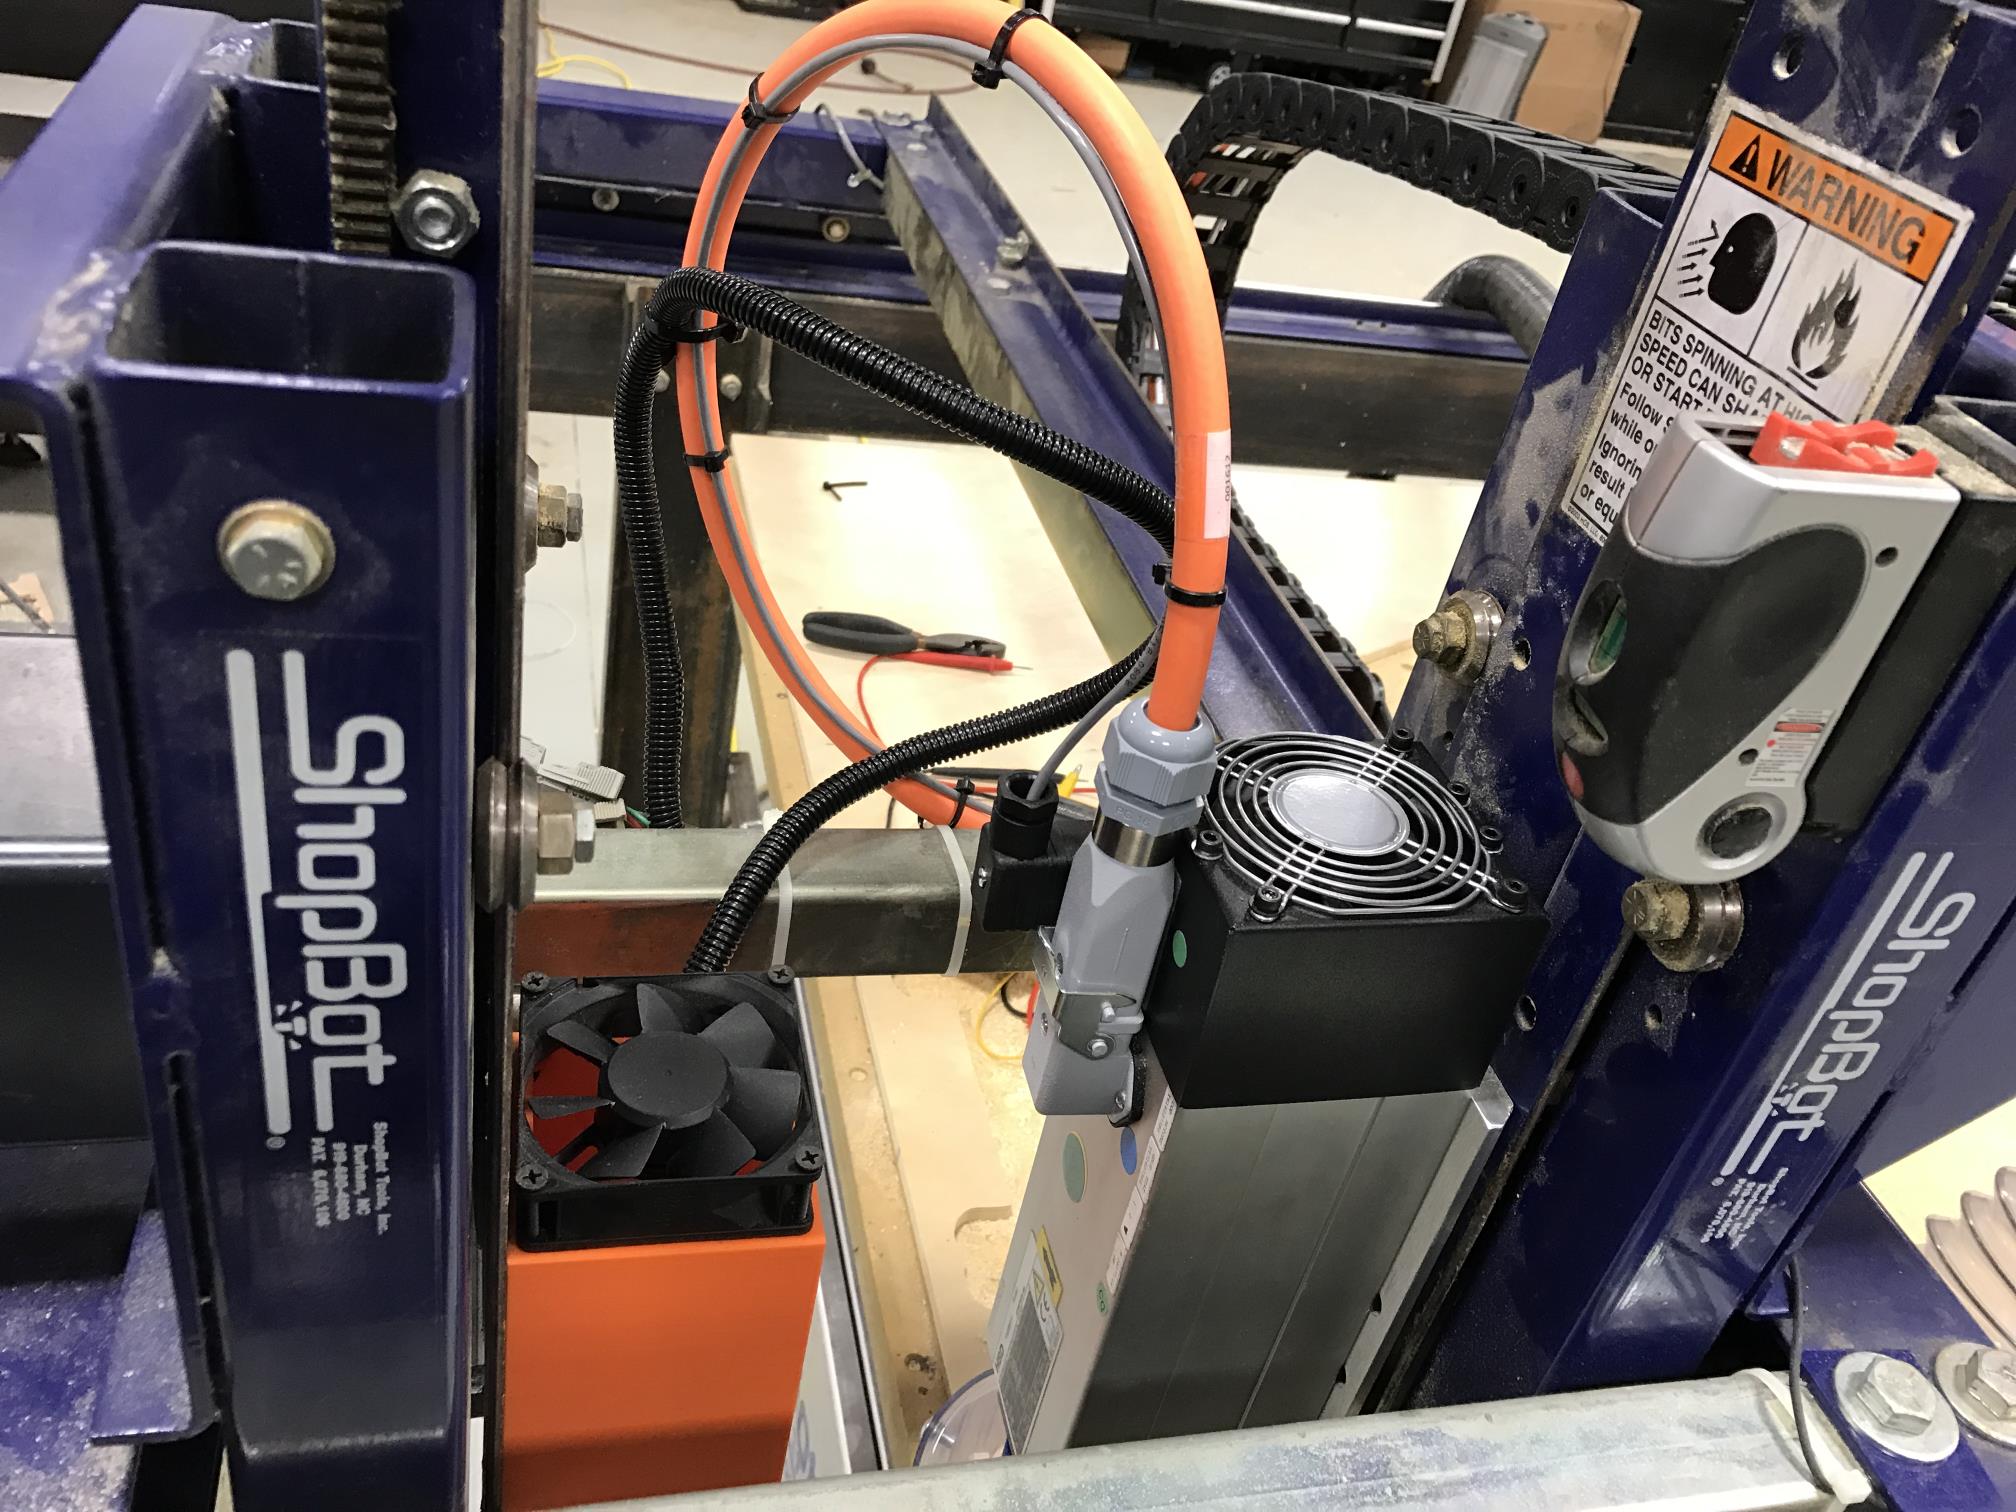
Another customer has an older machine and mounted the laser in a 3D printed box next to the router with an 80mm computer fan attached to the back. Here is the STL file:
DOWNLOAD STL FILE FOR LASER BOX

You can find an 80mm fan at a lot of places. Here is a link to one at Amazon.com: 80mm Cooling Fan
Here are some pictures of their installation:
Our customer Doug has a PRS Alpha and shared his pictures of his build with us. He has an interesting request to be able to use the 4th axis rotary as well as use the spindle mounted laser. He came up with a great design for a clamp to house the laser and the driver so that it could be used for both the rotary and the spindle. Because the spindle mounted laser also has the magnets for our normal mounts you can attach it to the front using magnet bars. Here is his design.


So there it is! Let us know how this works or if you have any customer pictures of different machines we can share with everyone!
Buy your laser upgrade kit now!

Remember Safety First!

We sell laser shielding to block laser radiation and reflections!
Laser Goggles are also a must!
Disclaimer
The laser used in this project is very powerful and all safety precautions must be taken. Use proper safety eyewear to prevent injury to eyes. This is a project and J Tech Photonics, Inc. is not responsible or liable for any and all damage or injury caused to people or property. The use of these instructions to make a laser cutter is under your own discretion and all safety precautions should be followed. J Tech Photonics, Inc. is not affiliated in any way with ShopBot and they may change hardware and software at any time making these instructions invalid.