


Hodor Door Stop Project
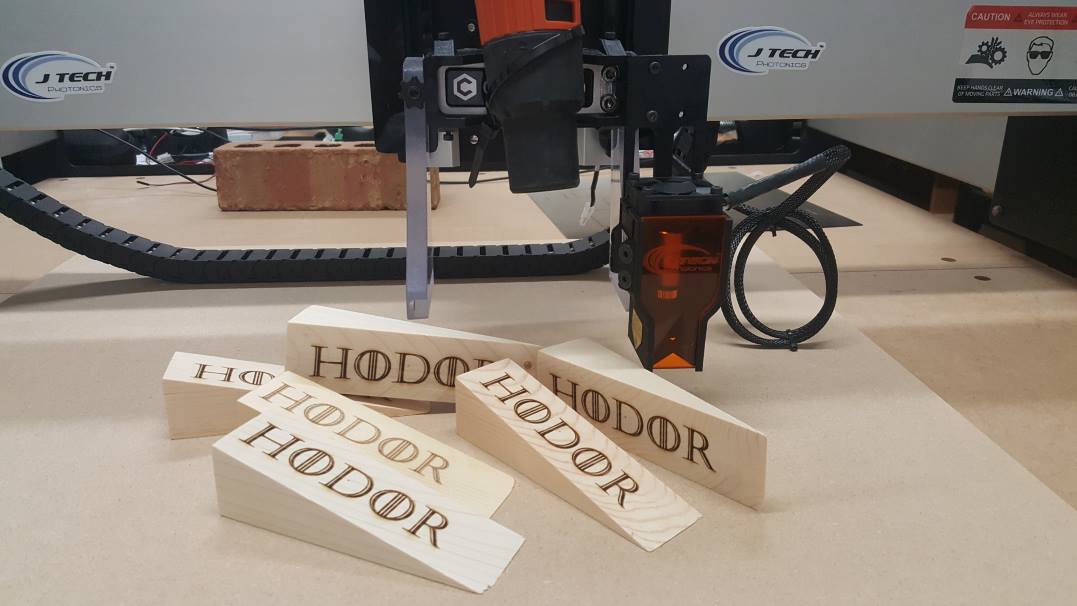
We here at J Tech Photonics are into Game of Thrones, like a couple of other people out there. To celebrate the last episode, we have made some small door stops with HODOR engraved on them. We thought they would make some good presents for our friends who we watch every week with. It was a super easy and fun project to do, so let’s get started!
Prepare Your File
We have done the lightburn file for you, so no real problems here. The HODOR size is 4 inches long, so we will place it on the wood more to the left, but not all the way to the end.
Right Click to “Save target as”: Download HODOR 4inch Lightburn File
Or Download the Zip file here: Download HODOR 4inch Zip File
Once you have your project file downloaded, start lightburn and open the file.
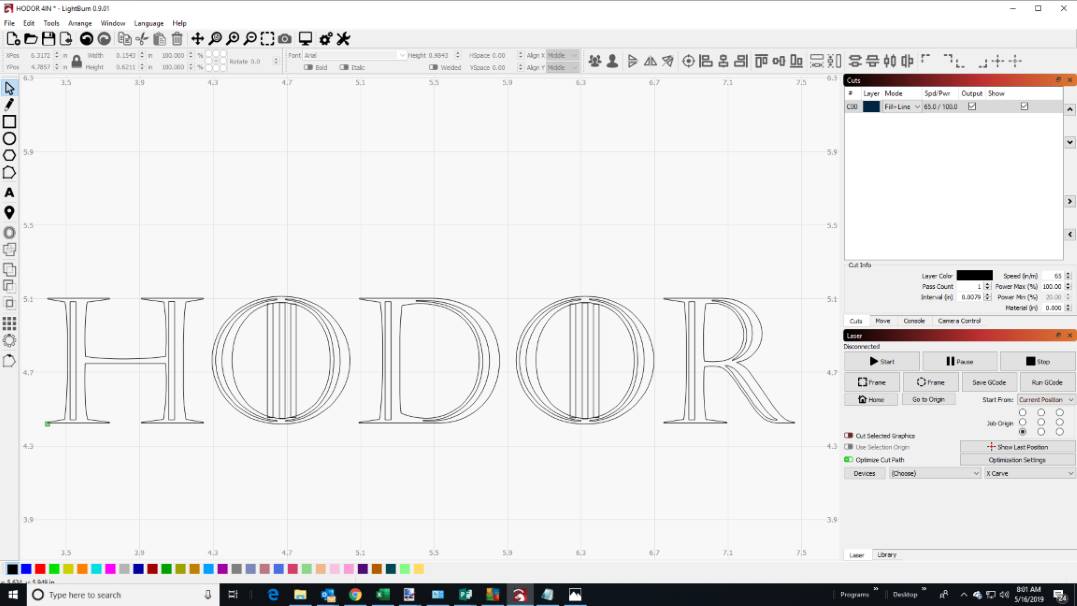
The HODOR is 4inches long by 0.68″ tall. Plan your wood accordingly.
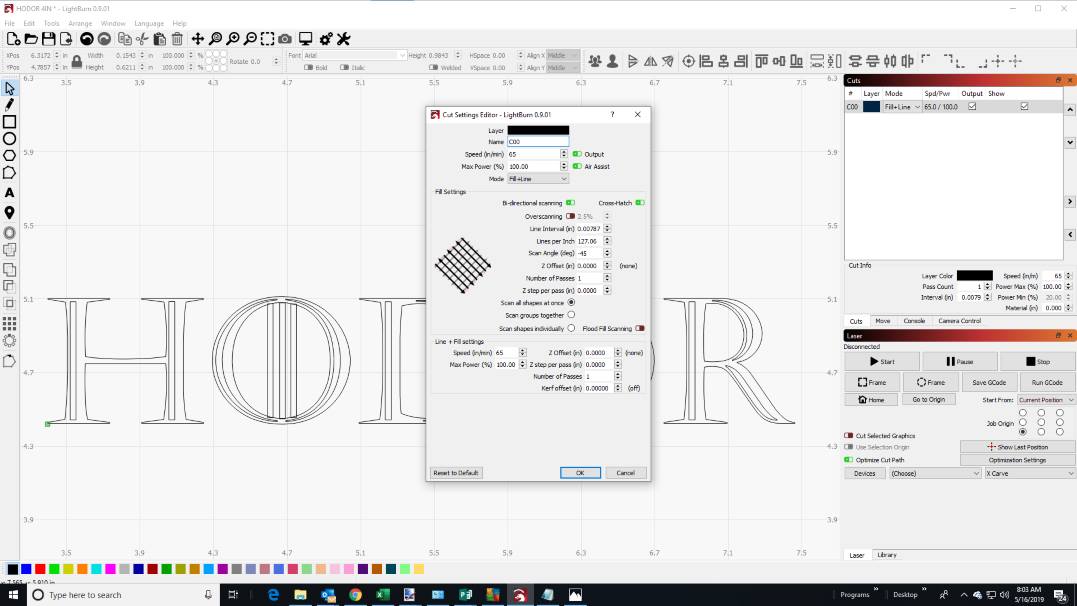
We are doing a cross hatch at 65 inches per minute. We are also doing an outline at the end at 65 inches per minute. This will give a really nice dark engraving.
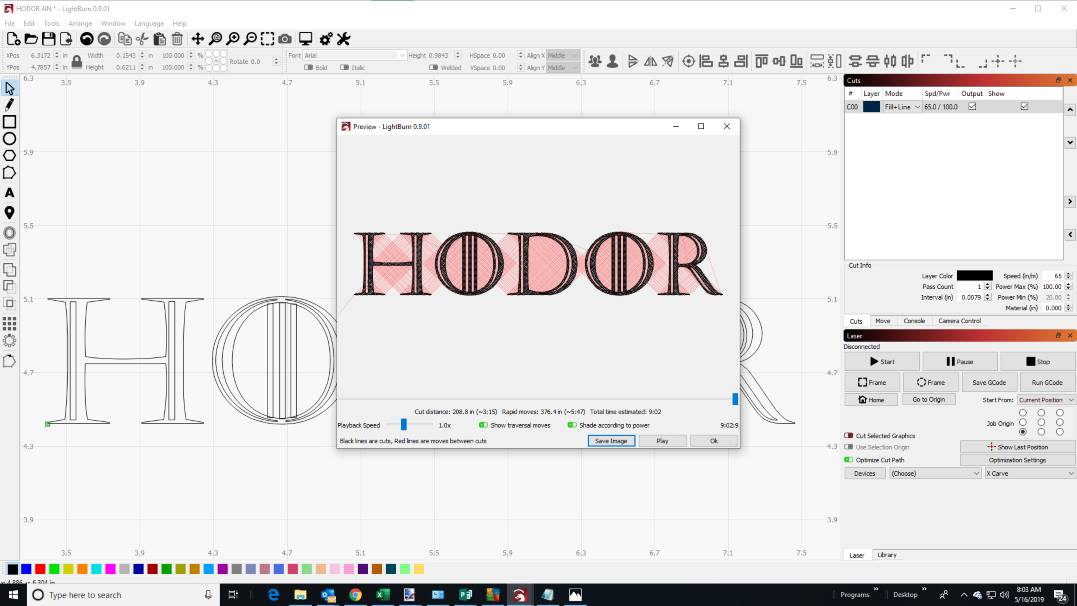
You can see in the preview the cross hatch. It is estimating about 9 minutes to engrave one. We found this to be pretty accurate.
Set up Your Wood and Machine
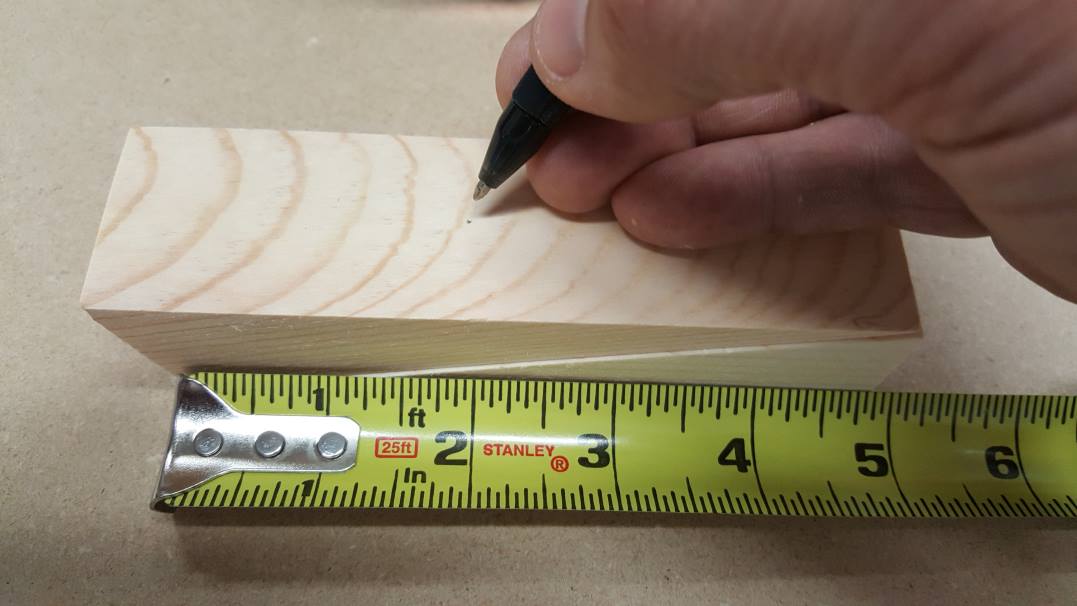
- Cut some wood into 1.5″ wide, 1.25″ tall and 5″ long blocks. Then cut them sideways on a saw at 45 degree angles to get the “doorstop” configuration. We used some scrap wood lying around to to this.
- Put the two pieces together on top of each other so you can lay the doorstop flat.
- Mark the center position about 2″ from the left side. This will make your zero position for the HODOR symbol.
4. Move the laser up in Z and fire the laser at 3.75% (or whatever value your laser is for low). Have your goggles on for this step!
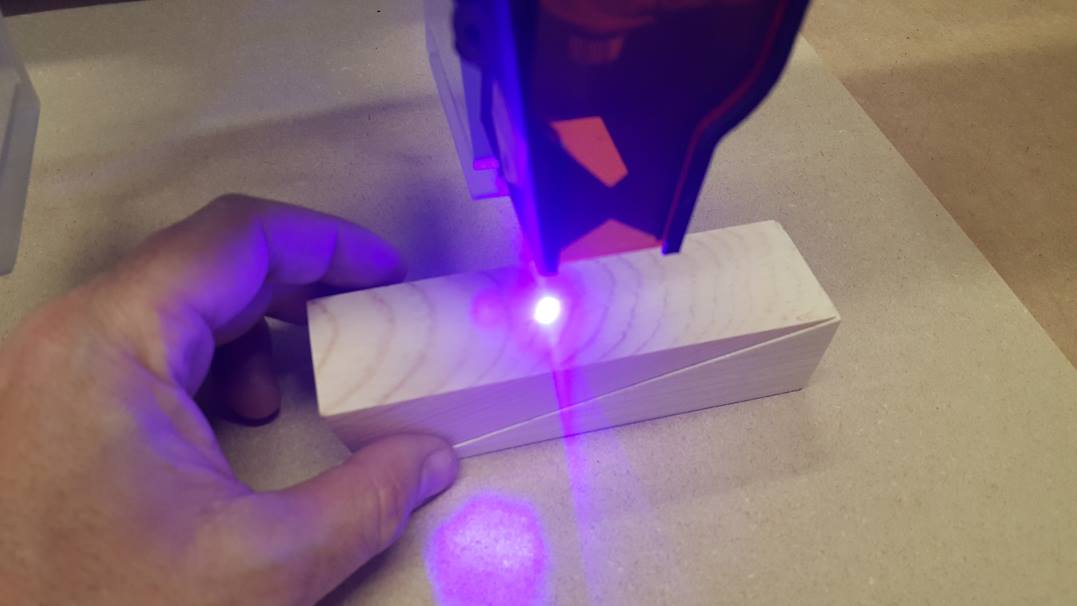
5. Move the laser or wood into position so your mark is in the middle of the laser spot. The laser spot will be larger than normal, but will not burn the wood.
6. Once centered, move the laser down into position to about 1/8″ above the work surface.
You are now ready to start your file.
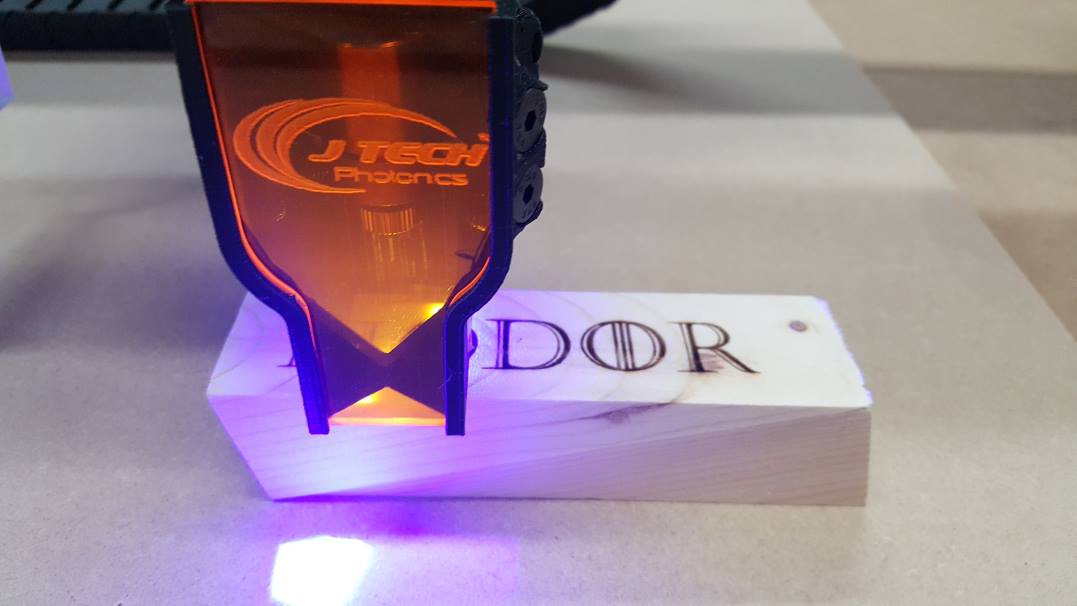
Ready To Run!

Make sure you have your origin set to the Center. We marked the wood for the center position of the text and moved our machine to the center, so let’s start there. Make sure you have it start from current position.
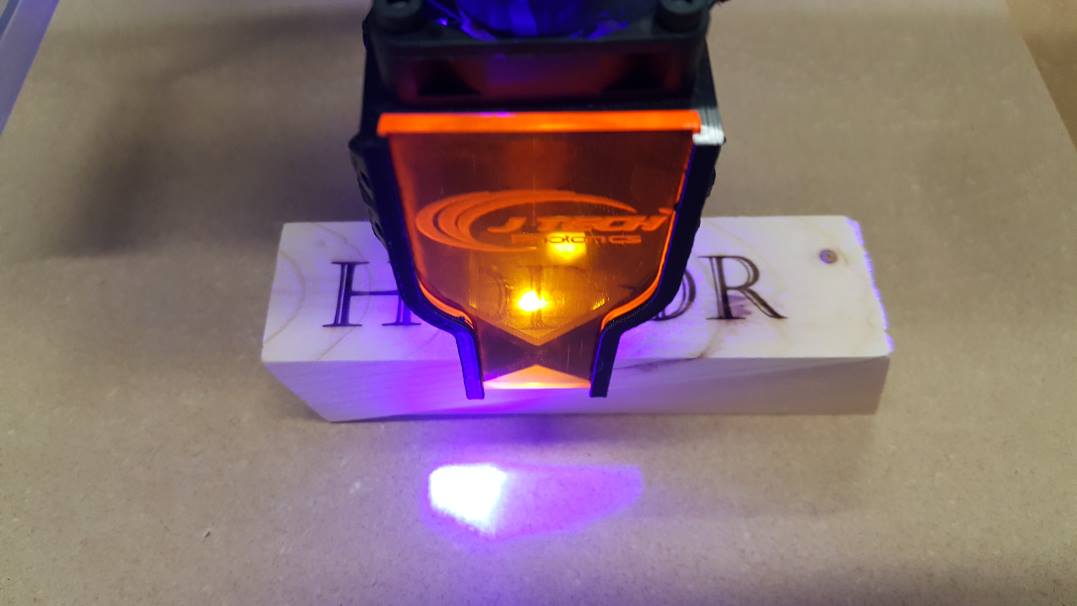
We made a few. Just do the same steps over again to measure and place your center dot and then run again.
Have fun and enjoy the last episode! I mean, HODOR!