

Over the past year we at J Tech Photonics have just loved having a 3D printer. I helps out for rapid prototyping of products and allows our engineers to create quick custom designed solutions for our customers. We have even upgraded it to be a Laser Cutter as well! Over the last year the machine has produced numerous parts for projects and has made some pretty cool fun stuff as well (check out the pliers)!
We have had these pictures lying around for awhile now, so we decided to put them up as a new post to the blog. So enjoy looking at the creation of the MakerBot 5458!
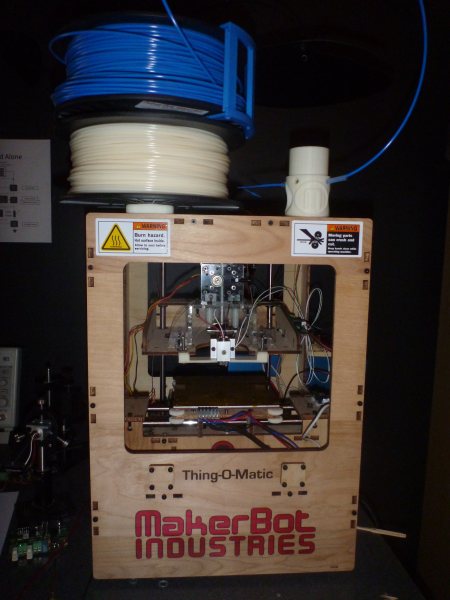
MakerBot 5458 – A Picture Odyssey
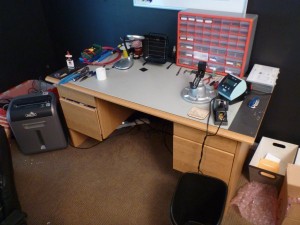
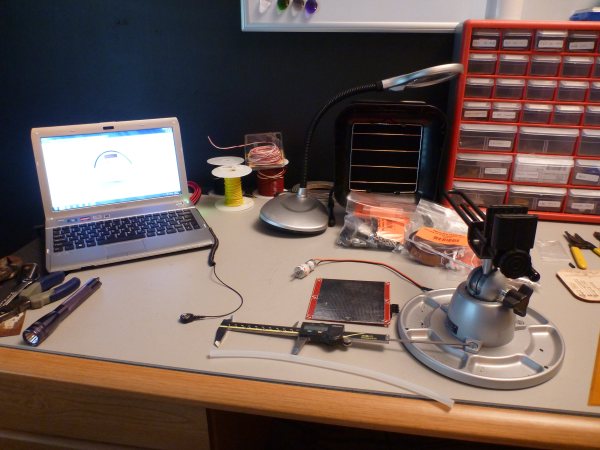
The lab bench is set up and ready to go for assembly!
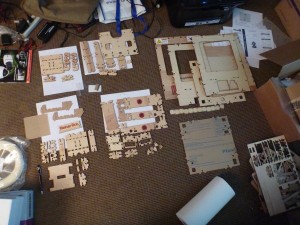
The parts are all laid out and ready to go!
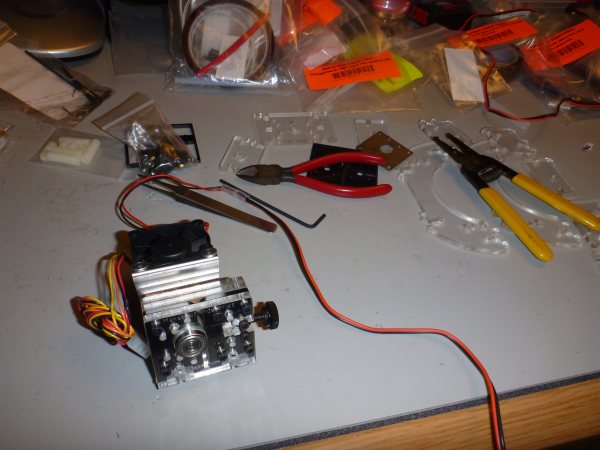
Assembling the heater board and cutting the roller for the automated motor on the build platform.

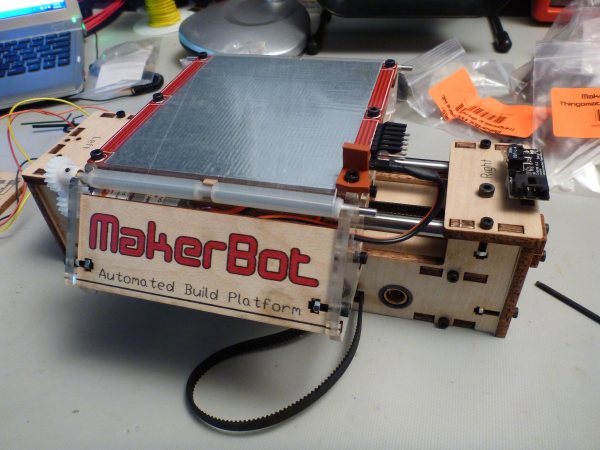
The finished automated build platform.
Starting putting together the Y stage. It is actually both the Y stage and the X stage, the X stage rides on the top rails.
The finished X and Y stage showing the automated build platform riding on the top.
Starting to put together the stepper motor and the front plate of the extruder (MK6).
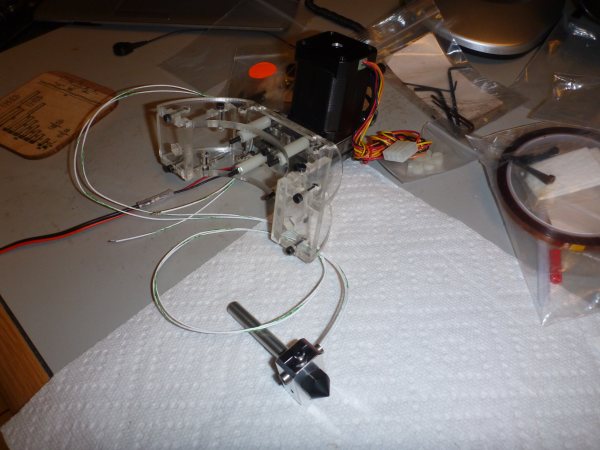
Starting the nozzle with the heating element.

The base of the extruder put together. There was some super glue involved, so in front of the fume extractor it goes!

Putting in the thermocouple for temperature monitoring.

Extruder MK6 completed with wrapped nozzle and kapton taped.
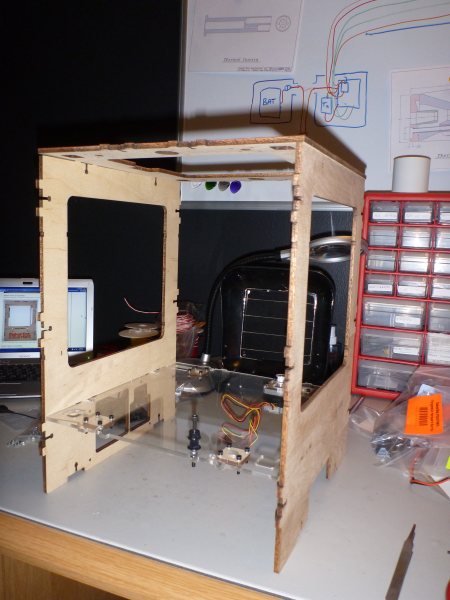
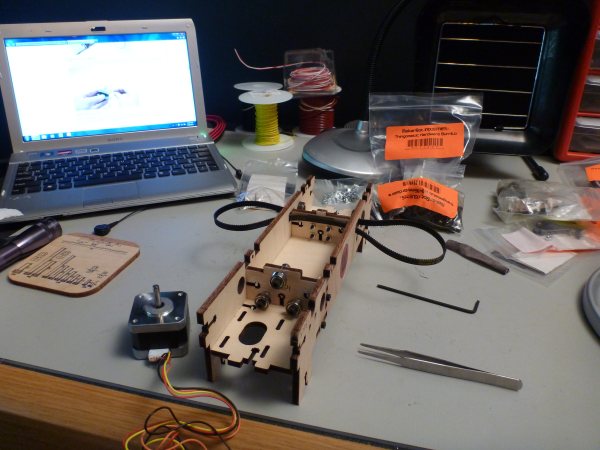
Starting to put together the body with the laser cut wood pieces.
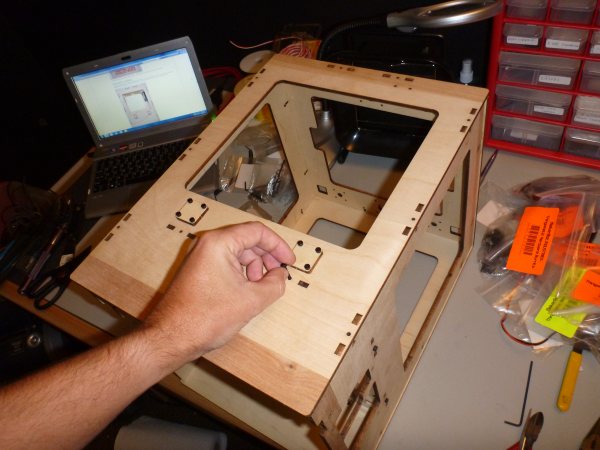
Getting the rod stops on and finishing the body assembly. There are a lot of little screws to deal with…
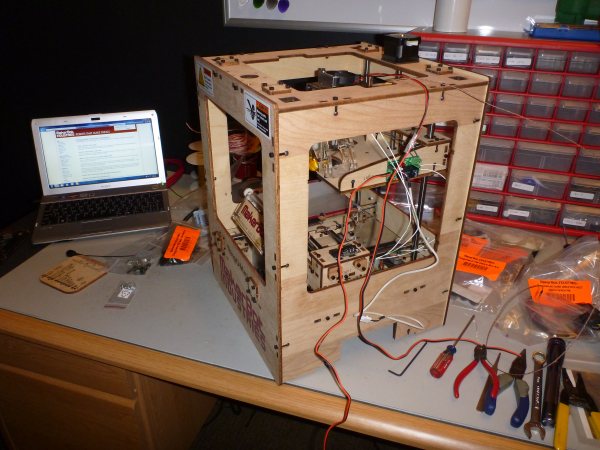
Putting the electronics on the bottom, X-Y-&Z stage in, and wiring the entire system.
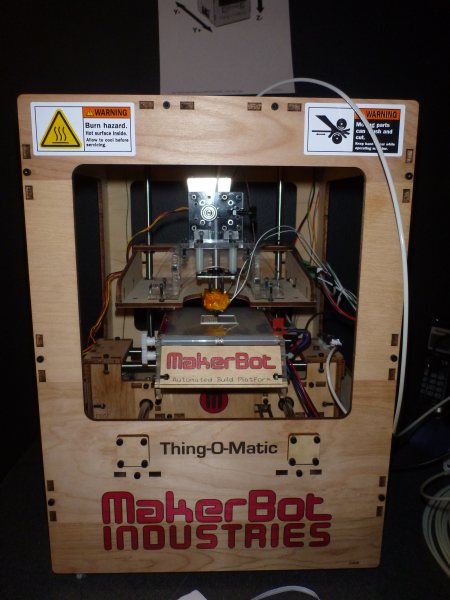
All finished! Now calibrating the system with a test cube making sure everything is aligned and can print a 10x10x10 cm cube.
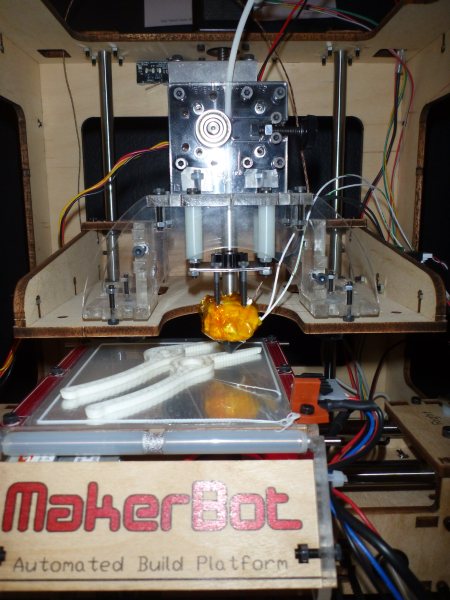
There are some pretty cool things you can print out including a working pair of pliers!
Flash forward 8 months!
We have updated the MakerBot to be even better than the original. Some additions include:
- Aluminum Build platform with Kapton tape (makes a more uniform build surface that is nice and level).
- Leveling screws (printed out screws on each corner of the platform so you can level them. This works out for the laser upgrade).
- Added LASERS! (Everything is better with lasers. Seriously, this addition added great capabilities. Check it out in the Laser-Bot Page).
- Printed and added the dual spool holder on the top. (Pretty neat to be able to print in multiple colors quickly).
- Printed and added the spool guards. (This helps to keep the spools nice and tidy).
- Printed and added the plastic filament guide on the top left. (Sometimes the filament gets too small of an angle and the extruder motor can’t pull it).
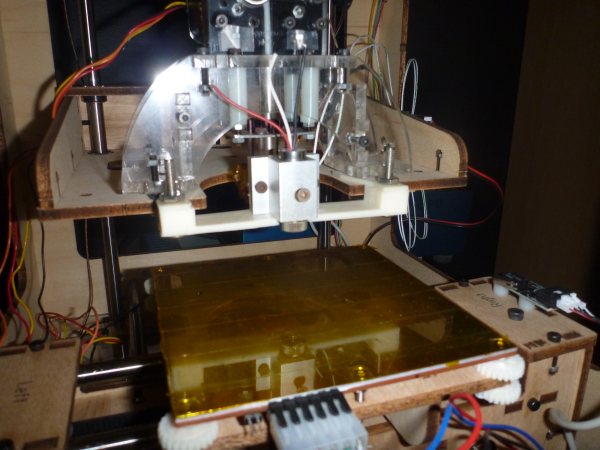
The new Laser-Bot! You can see the printed holder for the 445nm component laser in front of the extruder. The custom cable for the laser control attaches on the two pins on the left of the heater board.
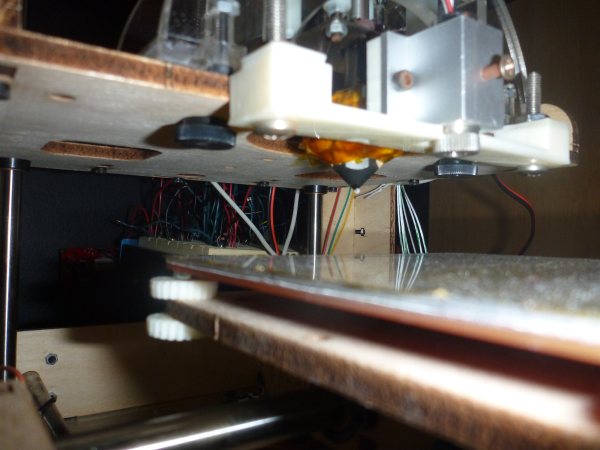
Close up of the laser and extruder together. You can easily print and then use the laser without any tool changes! For more details of the laser upgrade, go to the Laser-Bot page or: