Includes Everything You Need to Install a Laser on Your Shapeoko5 Pro or HDM machine.
Seamless Integration with Shapeoko5 and HDM machines
The J Tech laser upgrade is plug-and-play compatible with Shapeoko machines — including the Shapeoko5 and the HDM series. Installation kits include everything you need:
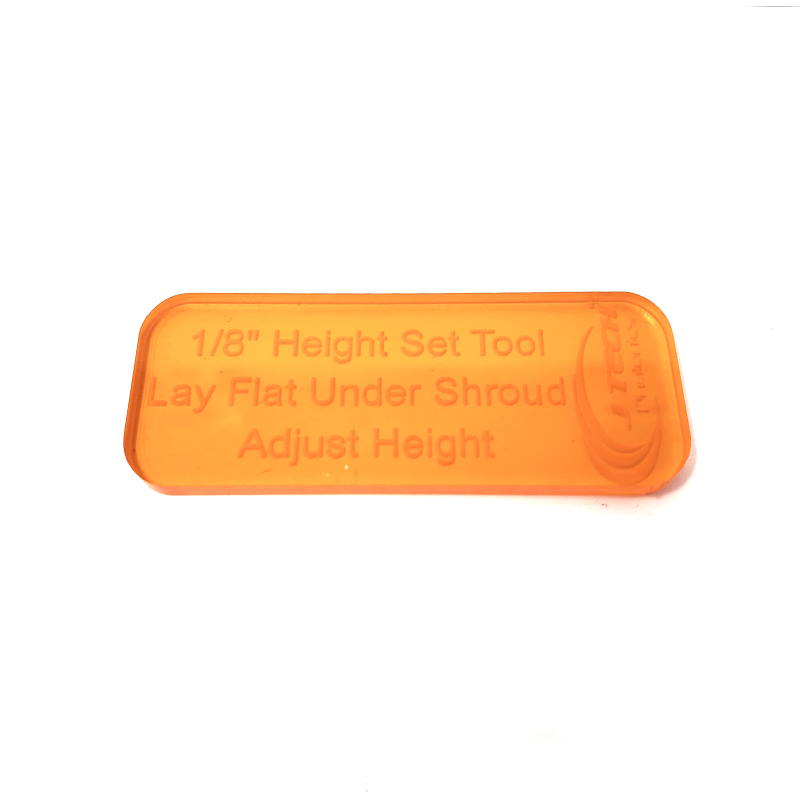
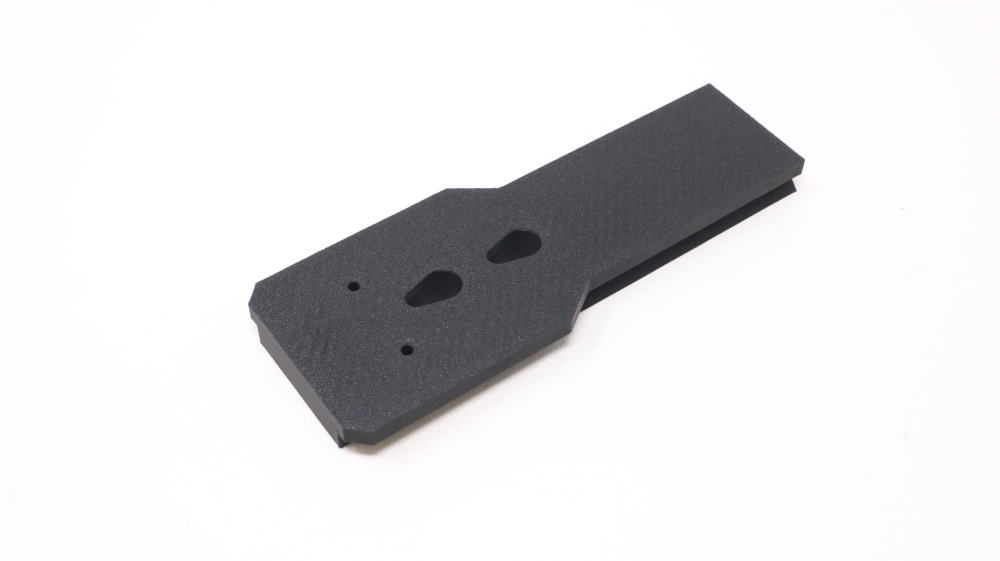
- Mounting hardware
- Magnetic laser shroud
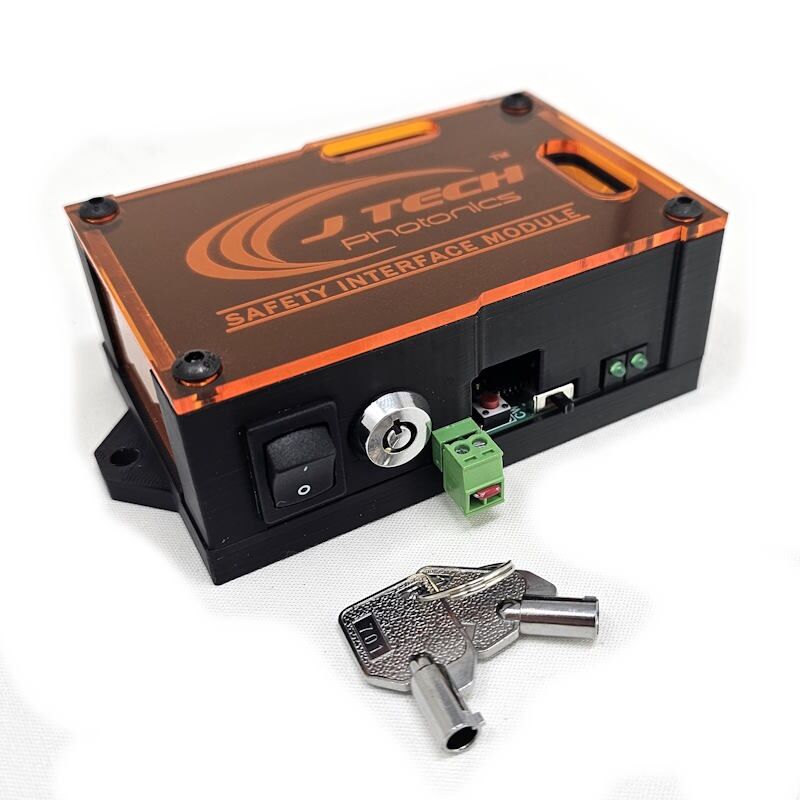
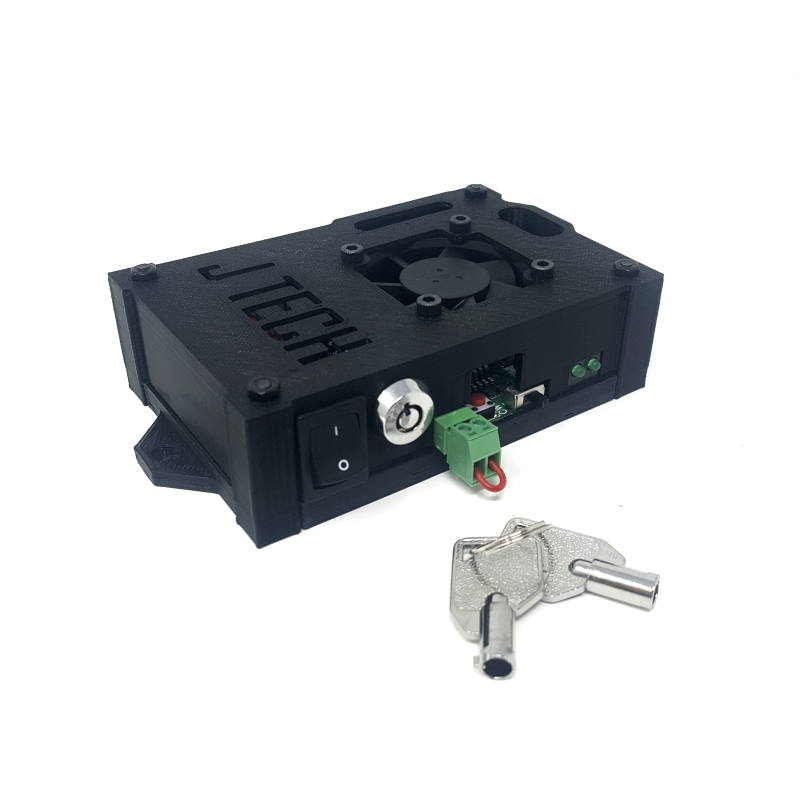
- Safety Interface Board (SI)
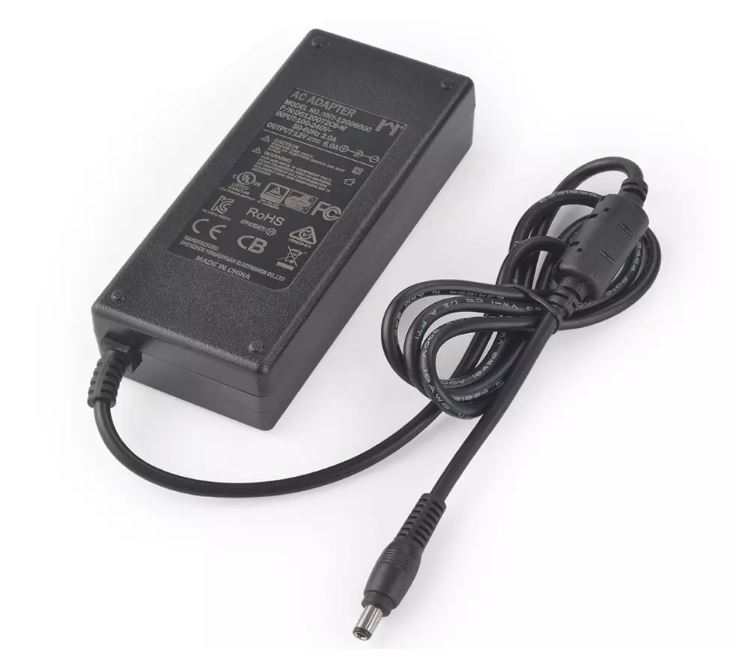
- Power supply
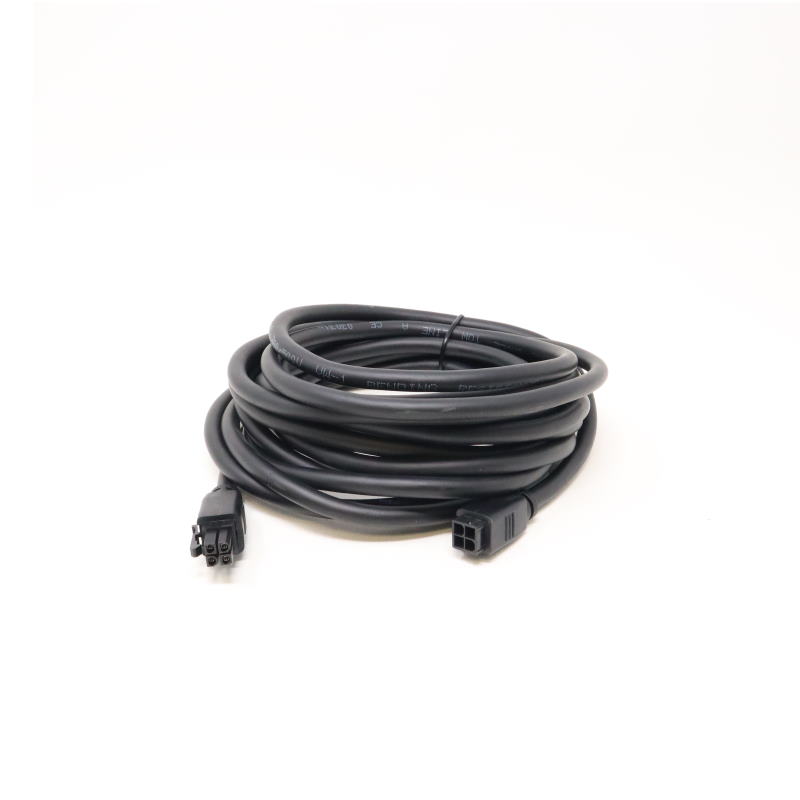
- Extension cables
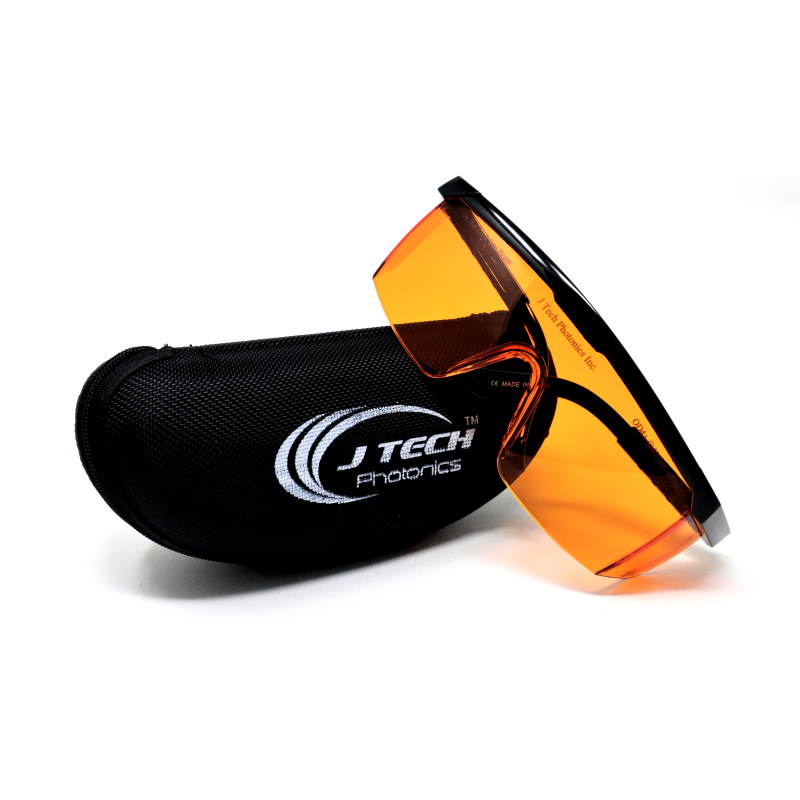
- OD4+ safety goggles
Choose either the Shapeoko5 or the HDM
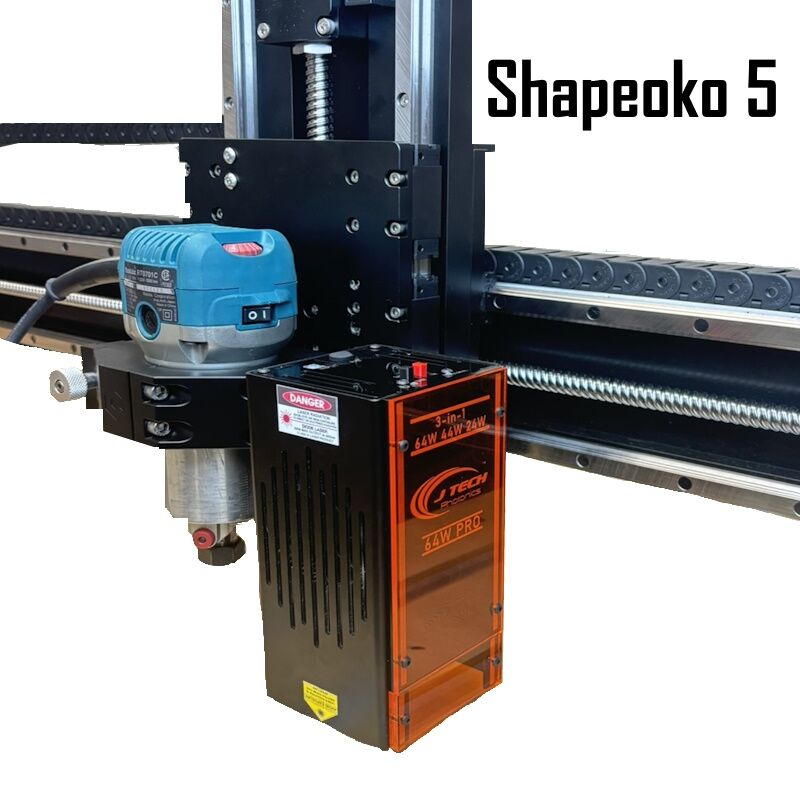
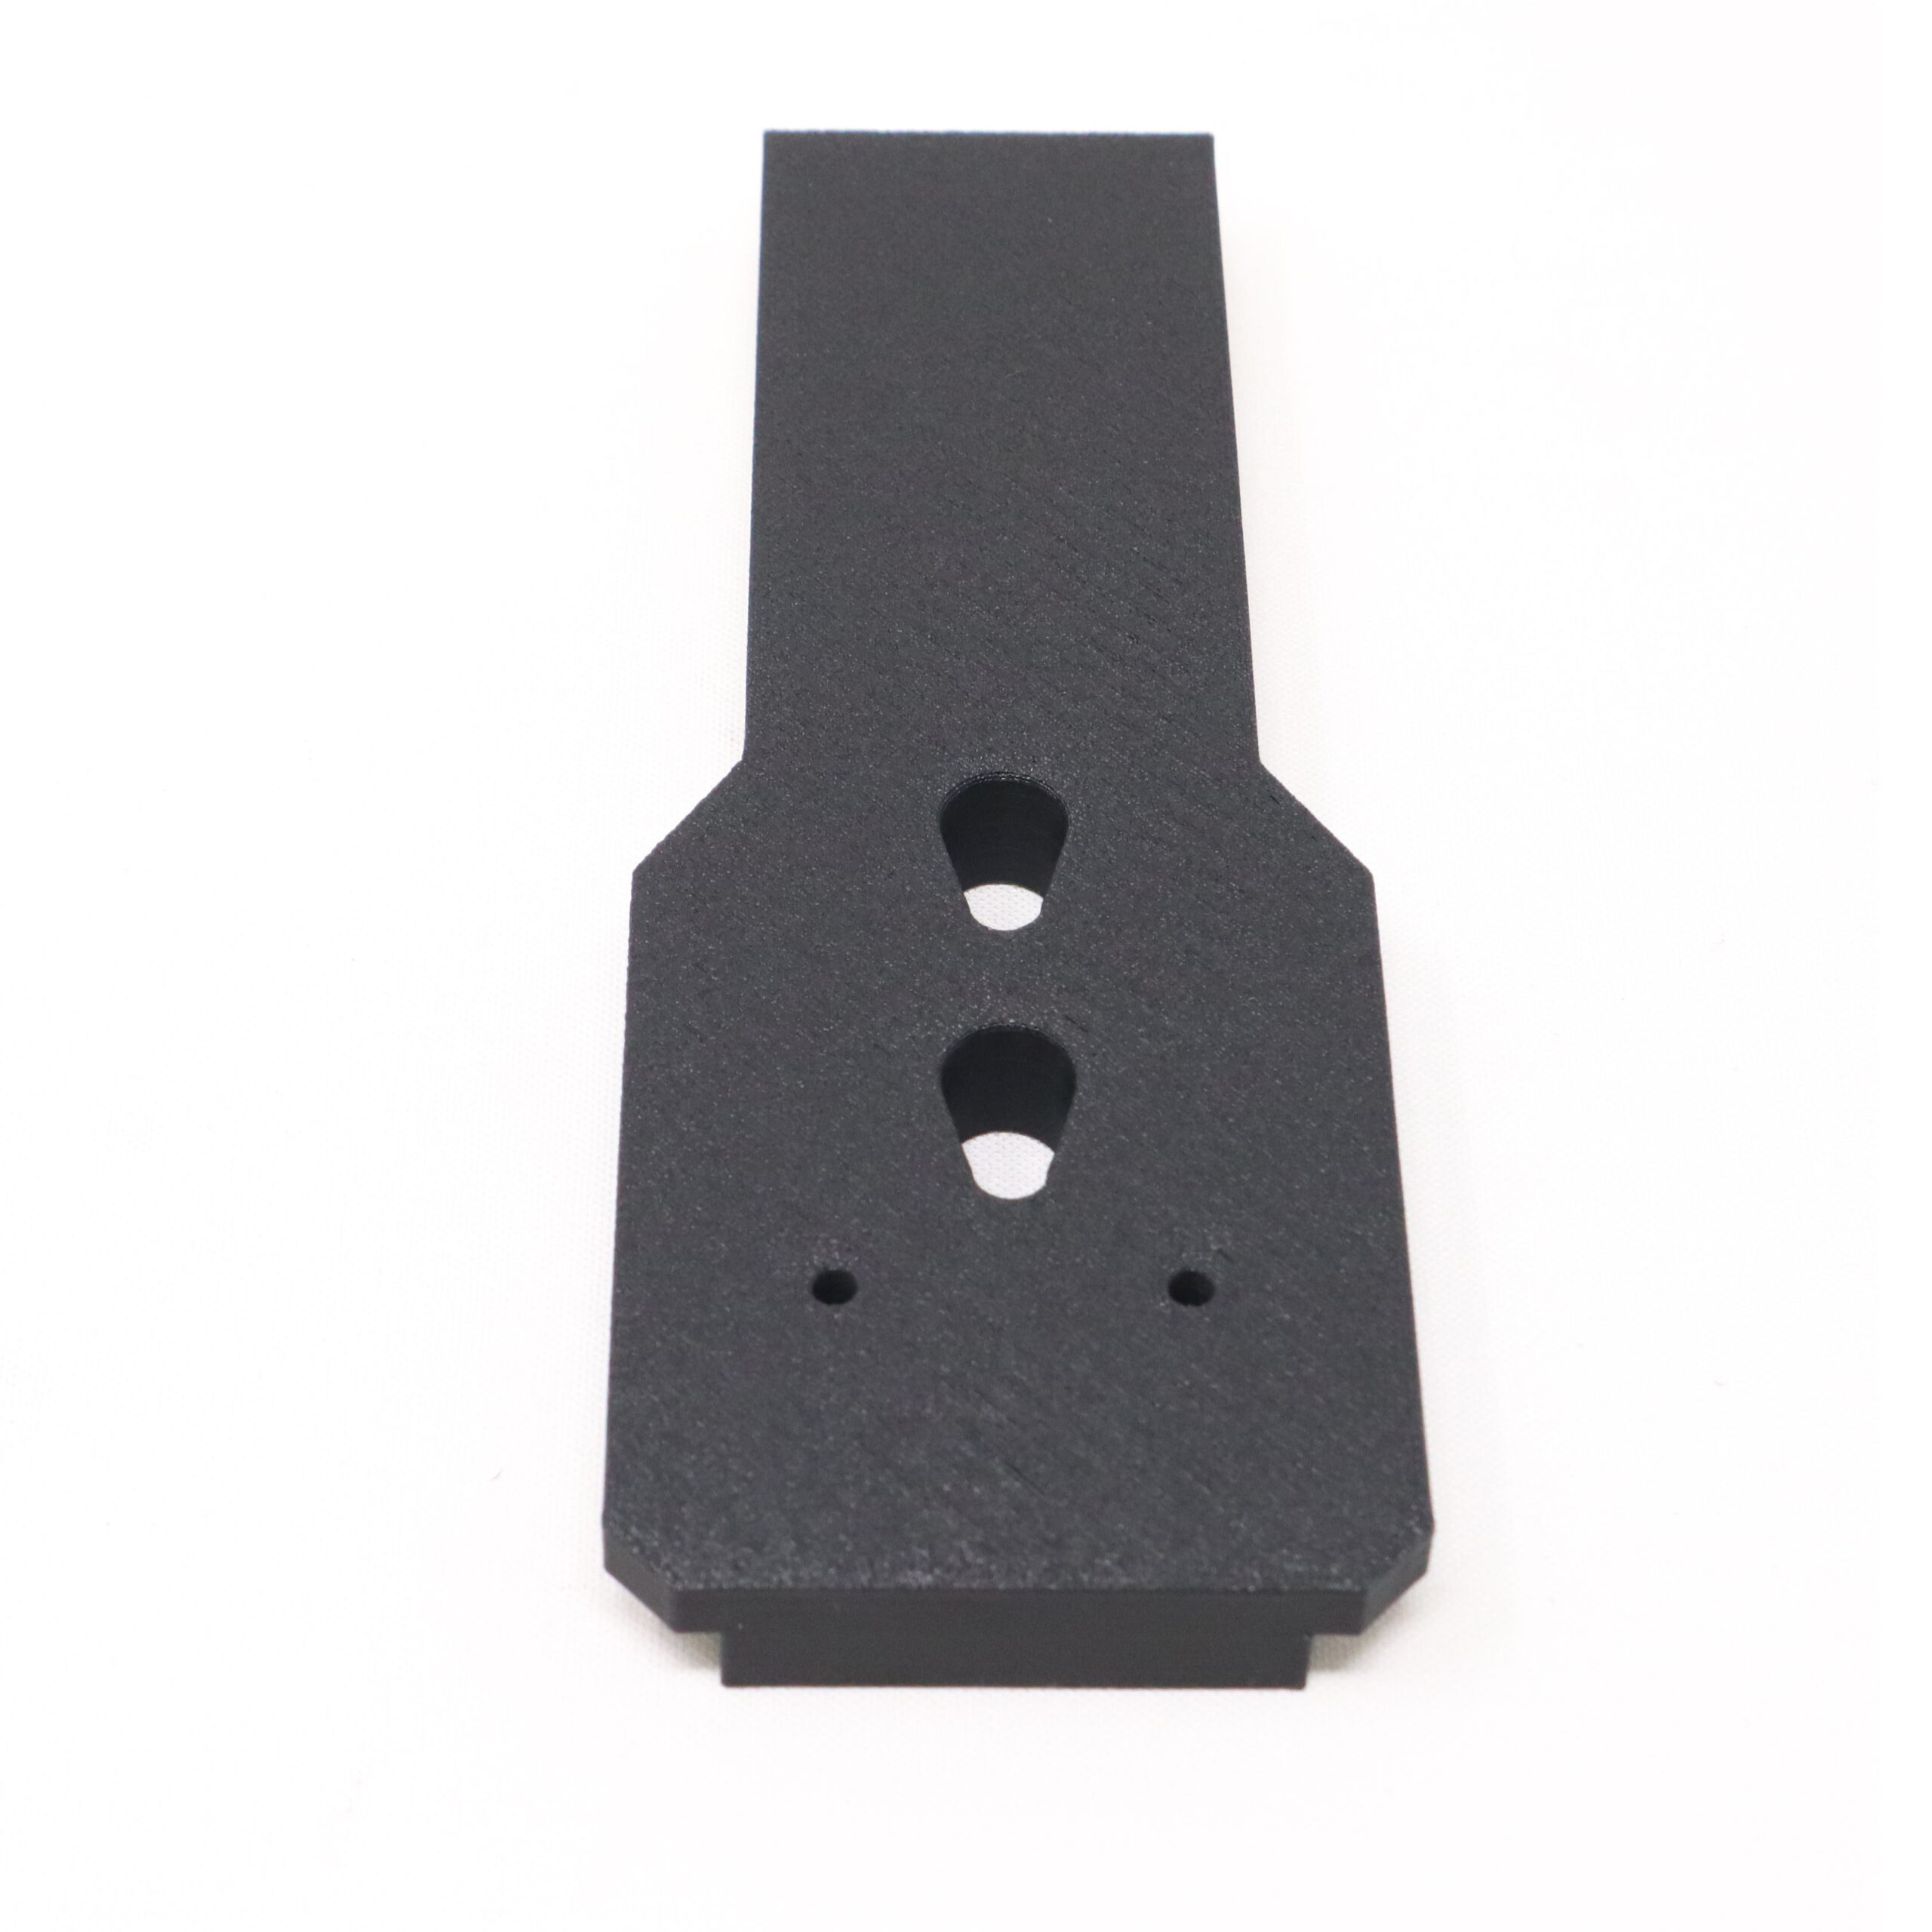
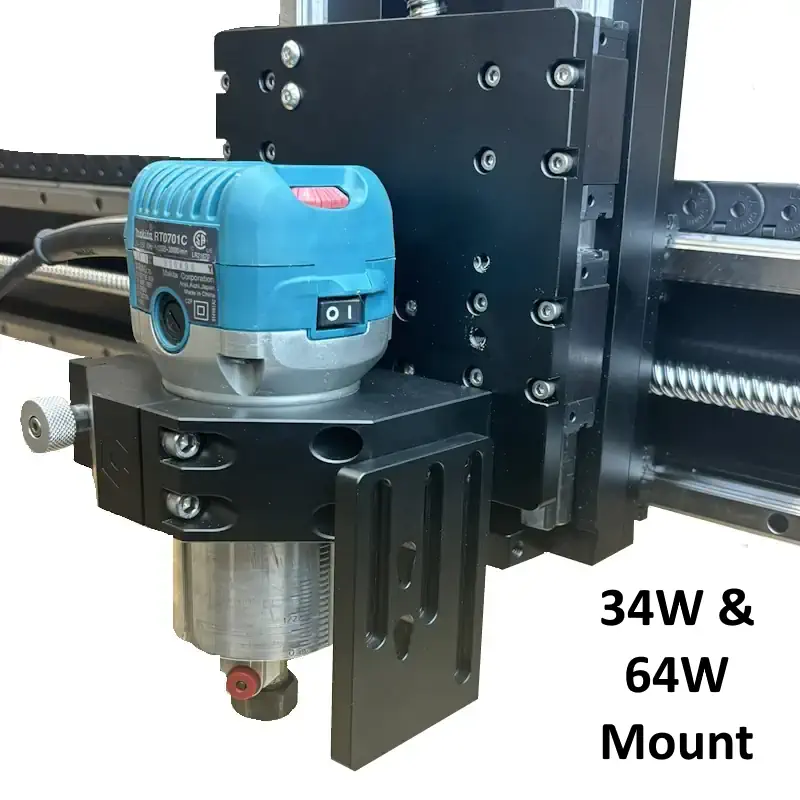
The only difference in the laser kit for the Shapeoko 5 and the HDM is the mounting. The Shapeoko 5 will have the mount in the accessory port on the left for all of the lasers except for the 34W and 64W (which is mounted directly on the right with a metal mounting plate). The HDM will have the 80mm spindle clamp mount because of the height.
We offer direct support for upgrading these machines, and yes — our systems work perfectly with LightBurn and Vectric software packages.
Choose Your Power
| Laser Model | Power Output | Best For | Cutting | Photo Engraving |
|---|---|---|---|---|
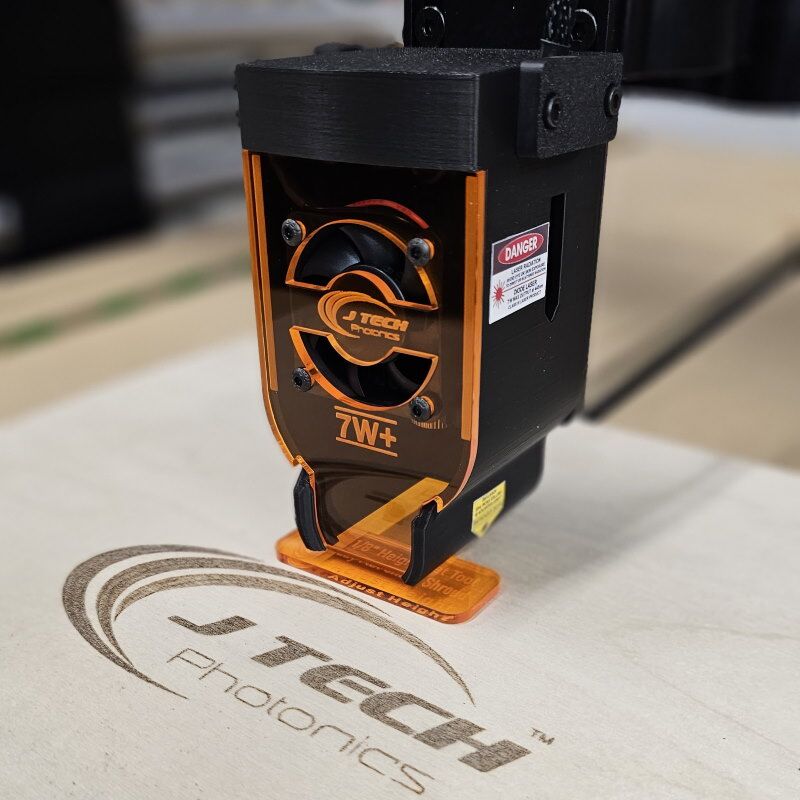
| 7W+ | Up to 7W | Detailed photo engraving, hobby use | ❌ | ✅ |
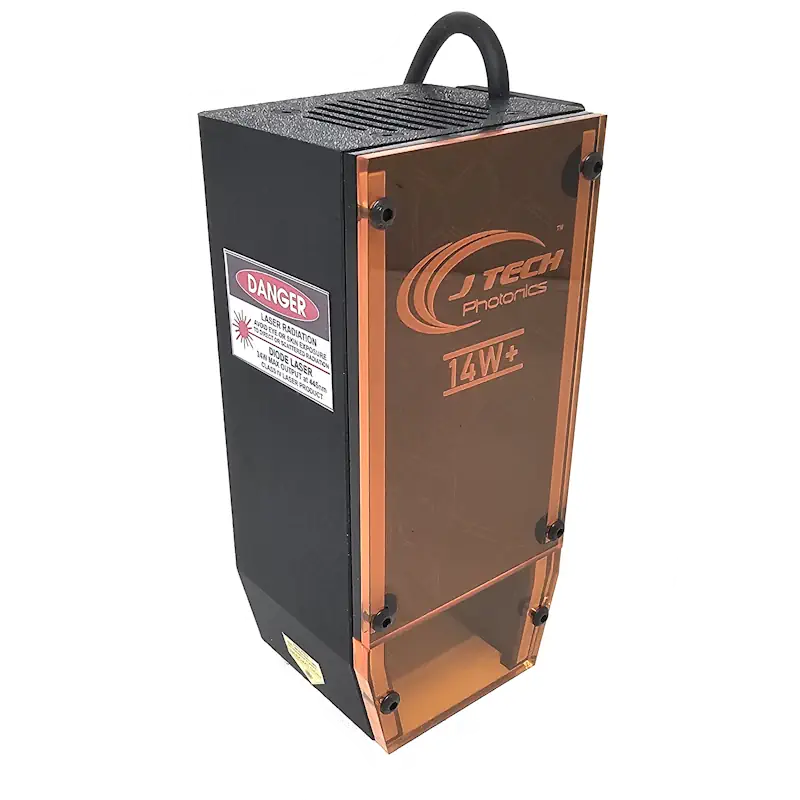
| 14W+ | Up to 14W | All-around engraving, light cutting | ⚠️ Light cutting | ✅ |
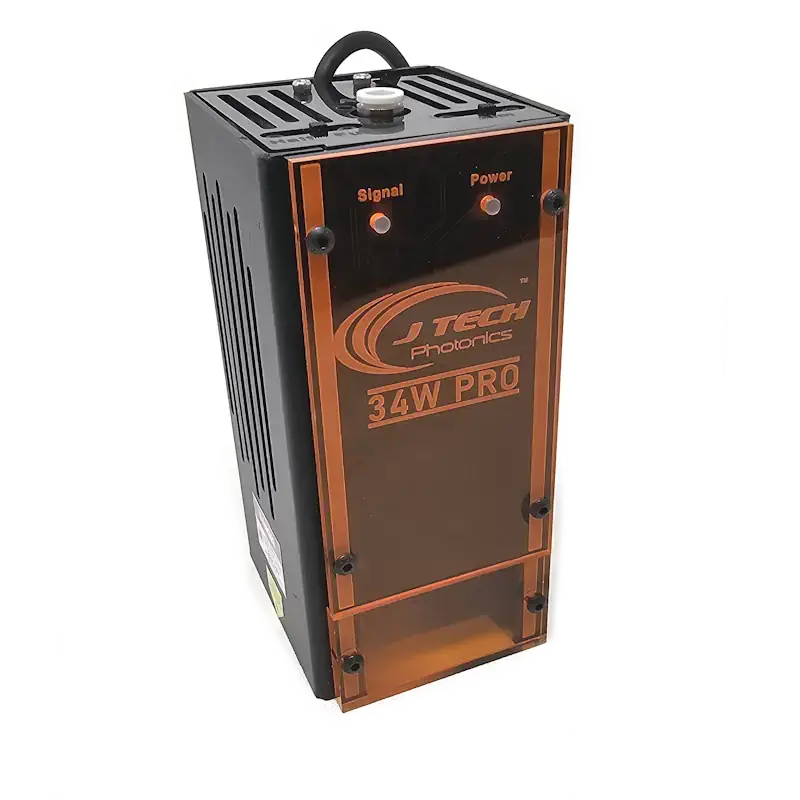
| 34W 2-in-1 PRO | Up to 34W | Cutting 1/4″ wood, production speed | ✅Faster | ✅ |
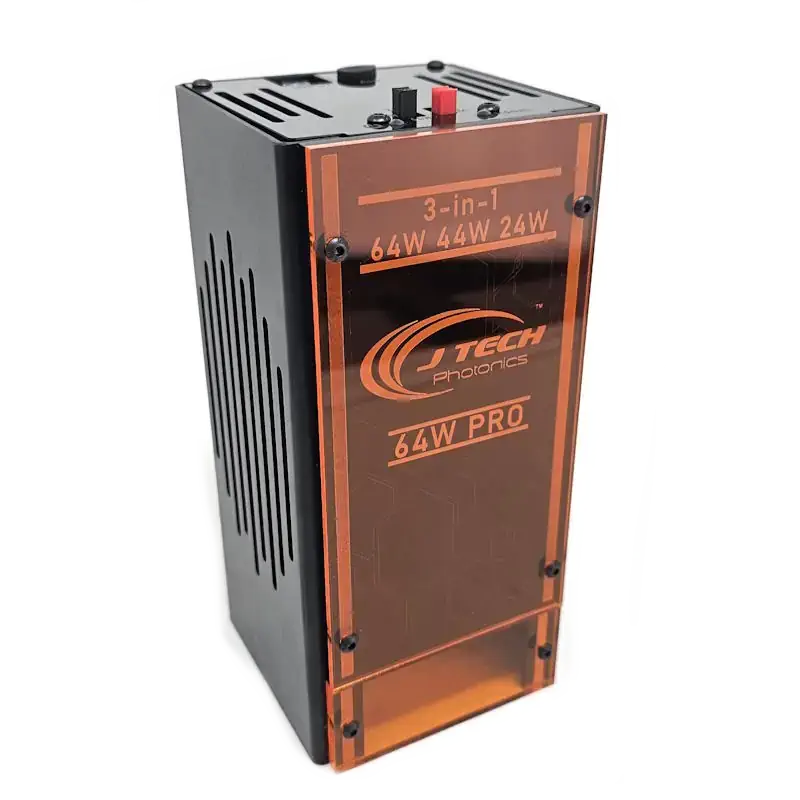
| 64W 3-in-1 PRO | Up to 64W+ | Industrial-level cutting and speed | ✅ Fastest | ✅ |
Engraving Laser Comparison
Cutting Laser Comparison
Photo Engraving Comparison
For a full detailed comparison, check out the blog post here. The short answer is no, there is not a discernable difference between any of the lasers when engraving photos.
Endless Applications Possibilities
Upgrade your machine with a J Tech Photonics laser and unlock a world of creative and production-ready applications:
- Engrave and cut wood for signs, cutting boards, coasters, and custom décor
- Engrave and cut dark acrylic with crisp detail and smooth edges
- Mark anodized aluminum and coated metals for logos, labels, and artwork
- Personalize tumblers, cups, and drinkware using a rotary attachment
🧩 Easy Add-On for Shapeoko 5 and HDM
We’ve created dedicated install instructions and wiring diagrams for Carbide 3D CNC machines — including the Shapeoko5 with Warthog controllers. Your laser stays safe and off when not in use, thanks to integrated interlocks and safety board features.
🔒 Built-In Safety
J Tech Photonics prides itself on making our products the safest in the market.
Every system includes:
- Laser Enable Key
- Emergency stop/reset input
- Power Fault Protection
- Safety interlock for controller connection loss
- Emissions Indication
- Tilt Sensors (34W and 64W models)
- Compatible with ventilation and air assist systems
Shapeoko Laser Upgrade Air Assist Options
Air assist can really help with cleaner burns, faster cutting, and keeping your lens free of debris.
- The 64W, 34W and 14W+ laser comes with the integrated air assist nozzle, hose, and risers.
- For 7W+, the air assist nozzle kit is here: Air Assist Nozzle Kit
Pump not included. 55W Aquarium Pump for Cutting
🧑🏫 J Tech Has Your Back
You’re not alone — we support thousands of laser upgrade users and provide:
- Install guides, videos, and diagrams
- Email/phone support from real engineers
- LightBurn setup help
- Materials and speed guidance
Ready to supercharge your Shapeoko5 or HDM?
Instructions
Standard Instructions:
Reviews
There are no reviews yet.