Shapeoko4 and PRO Laser Bundle
Includes Everything You Need to Install a Laser on Your Shapeoko4 or PRO machine.
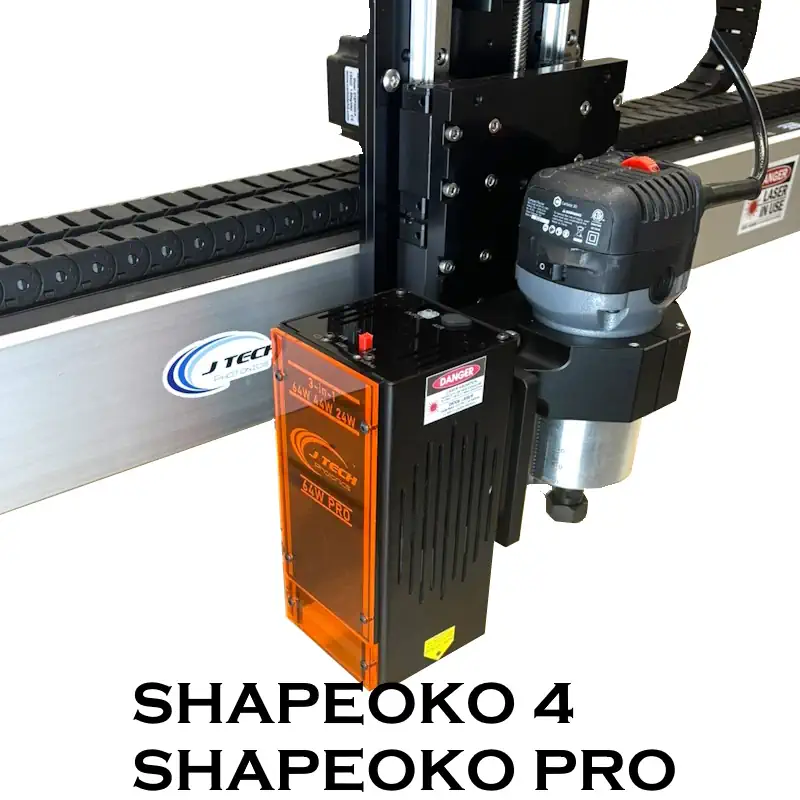
All the choices to add a laser to your Shapeoko4 or Shapeoko PRO CNC in one place.
1. Pick your Laser Wattage:
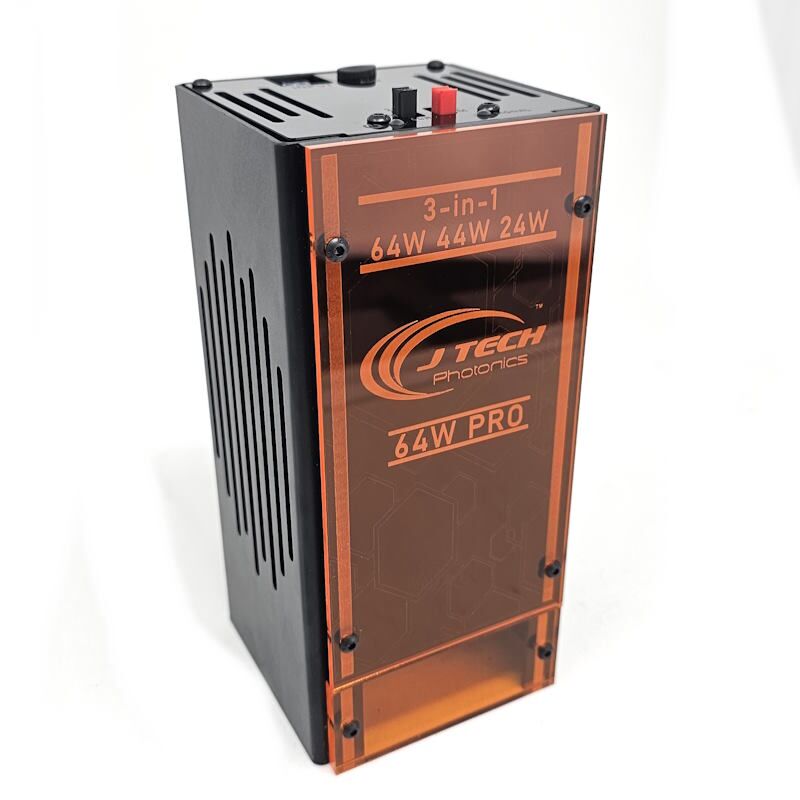
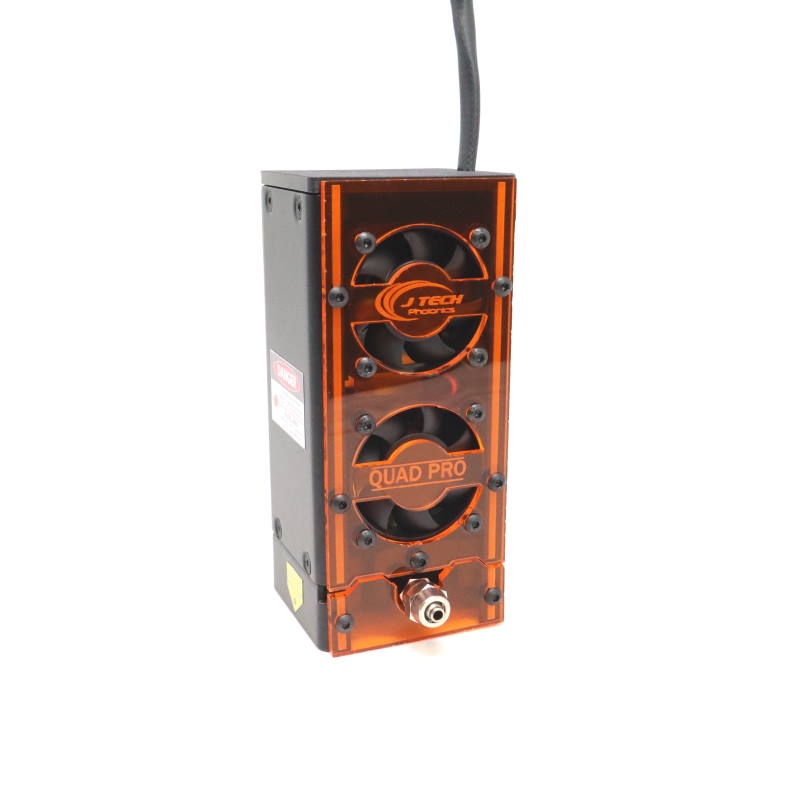
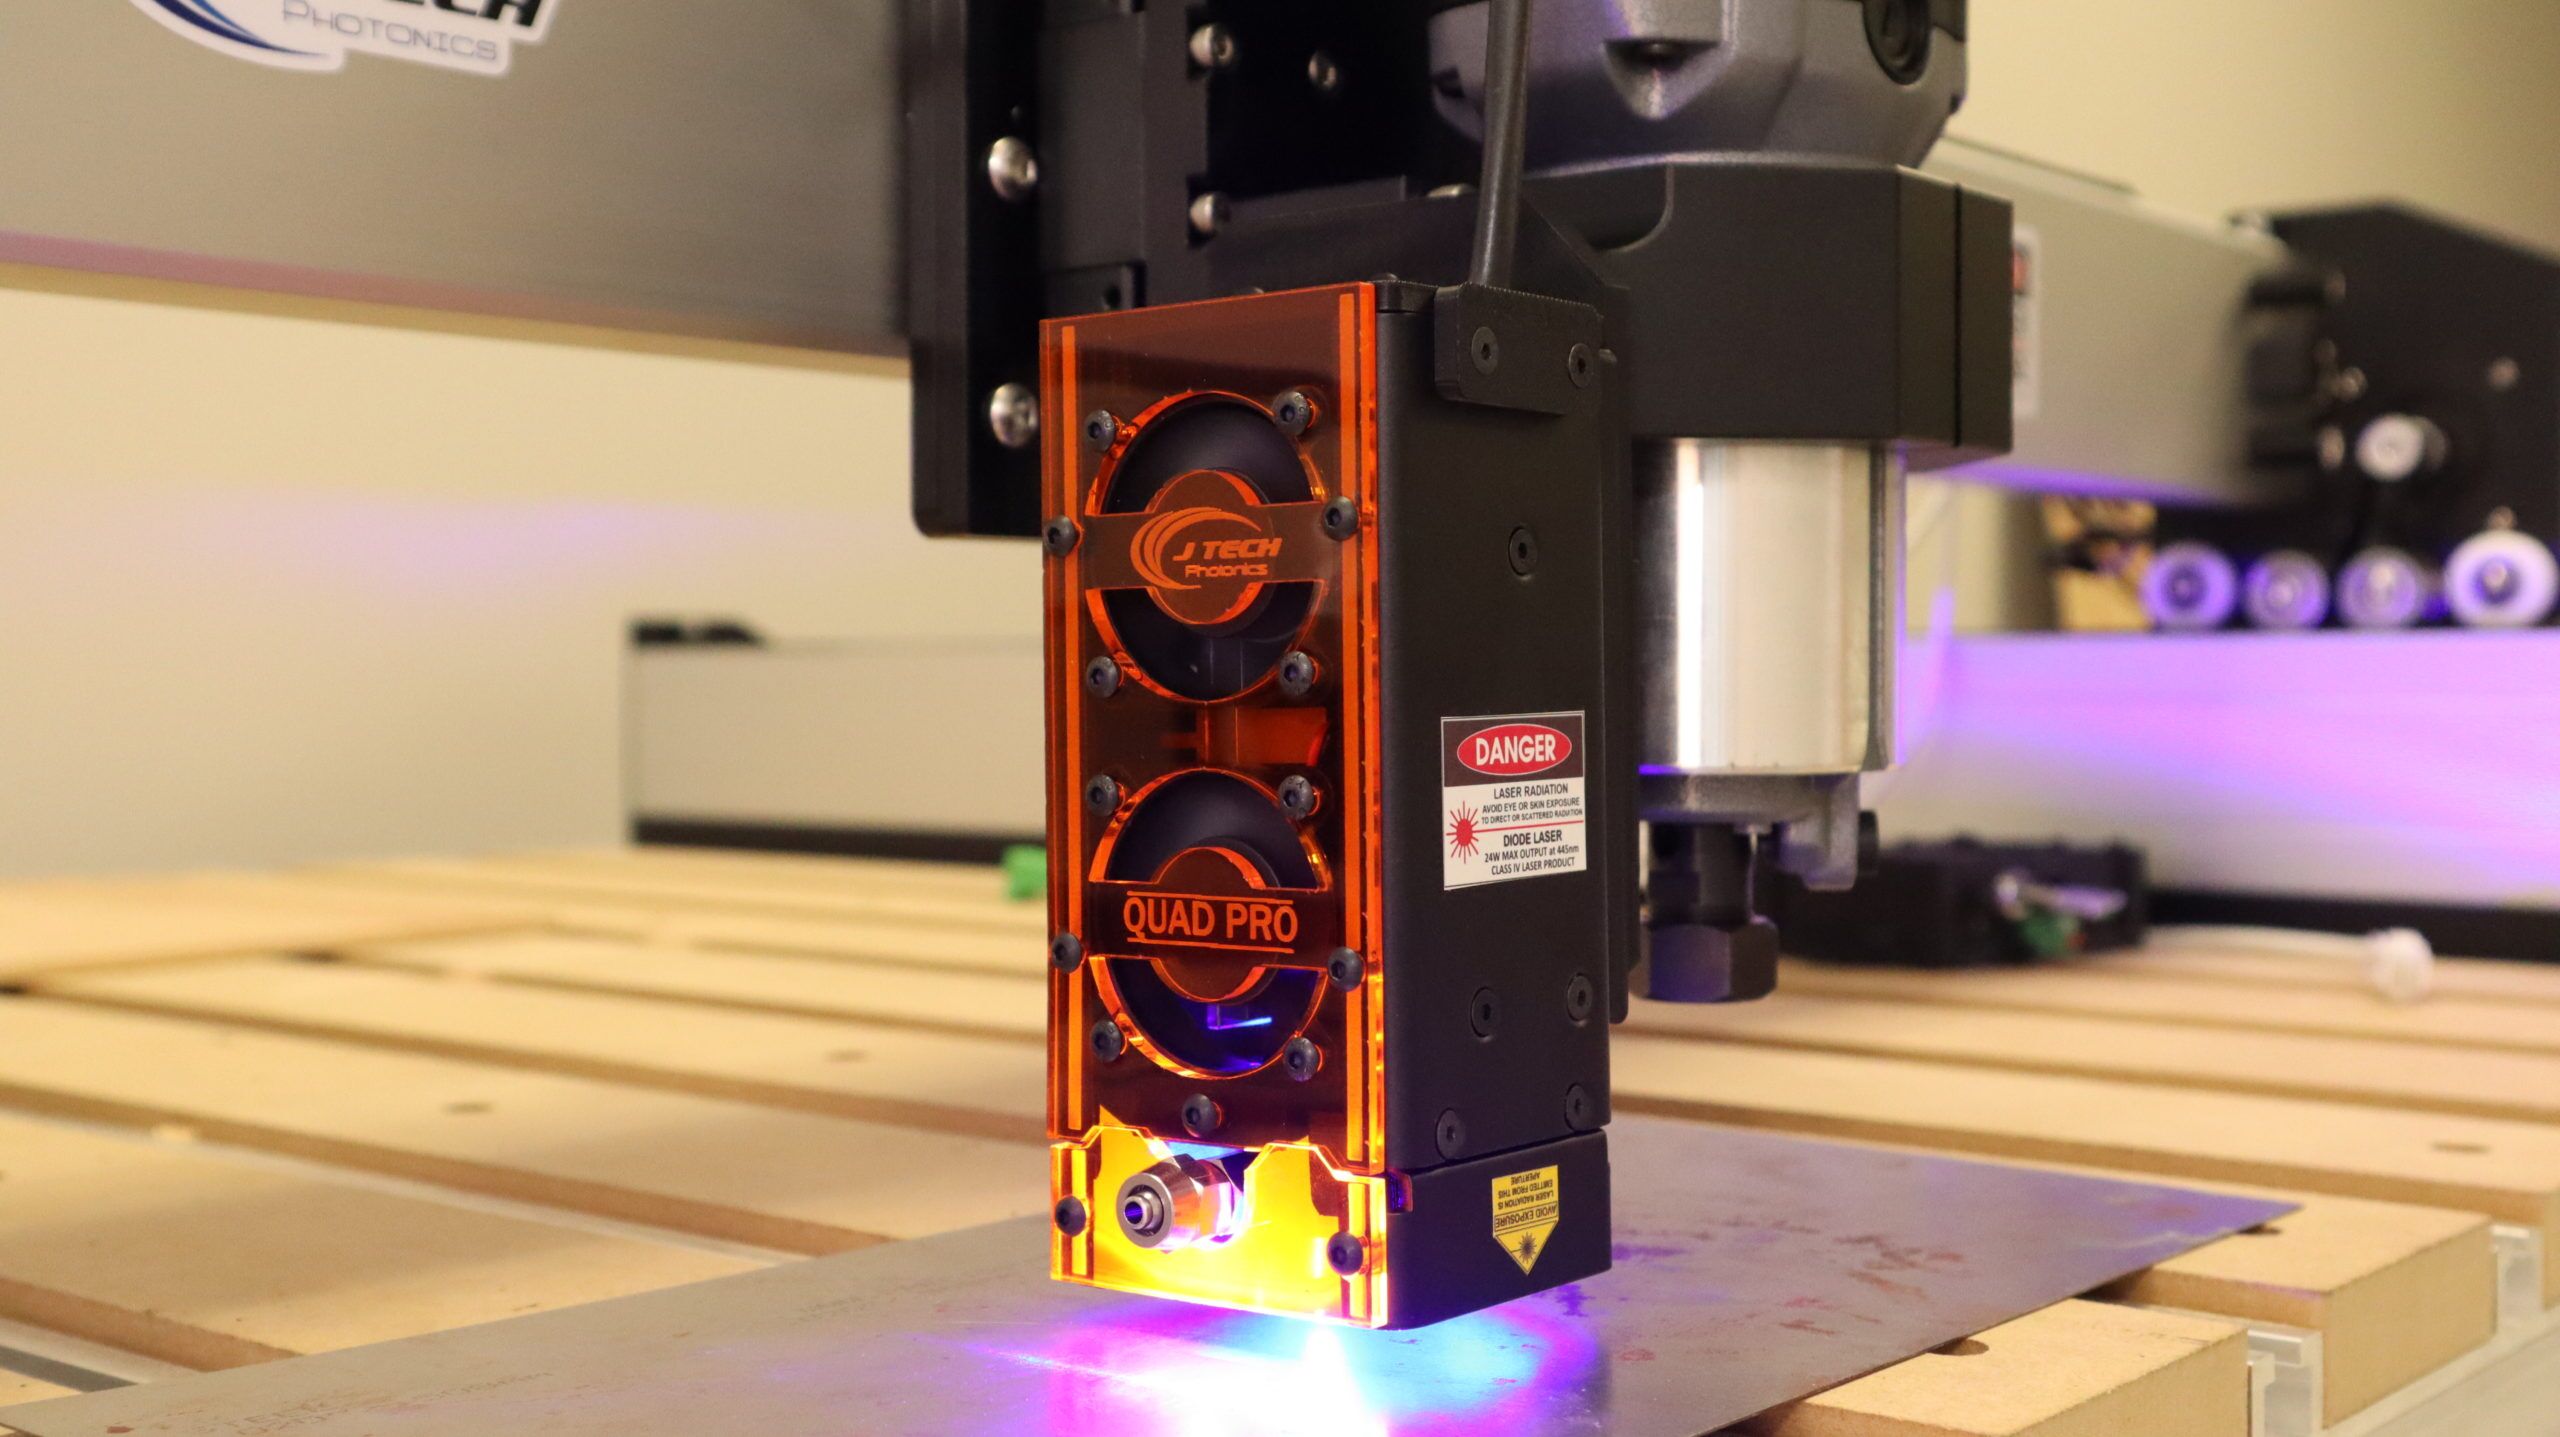
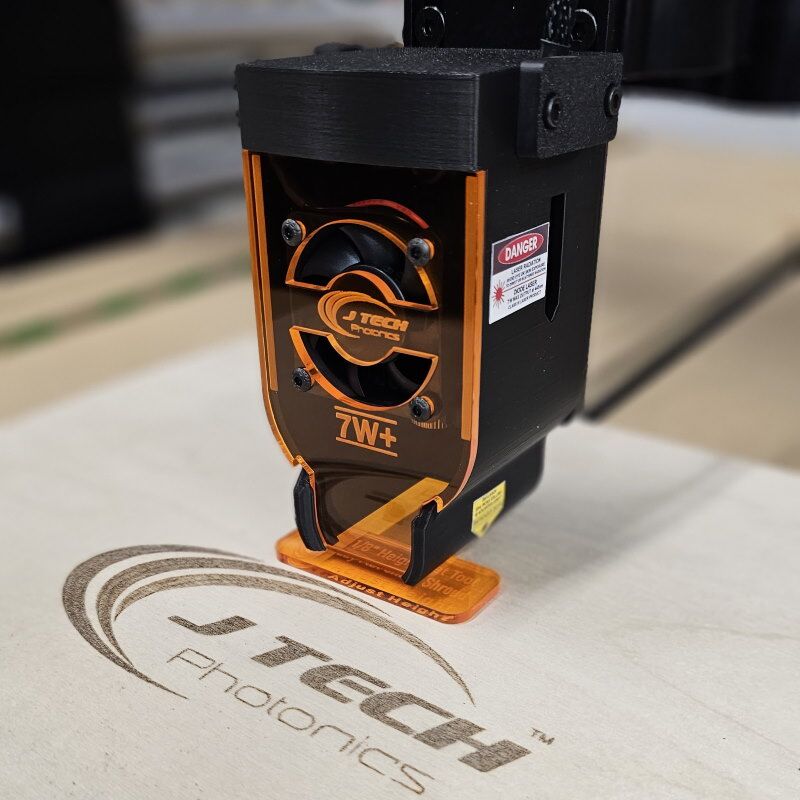
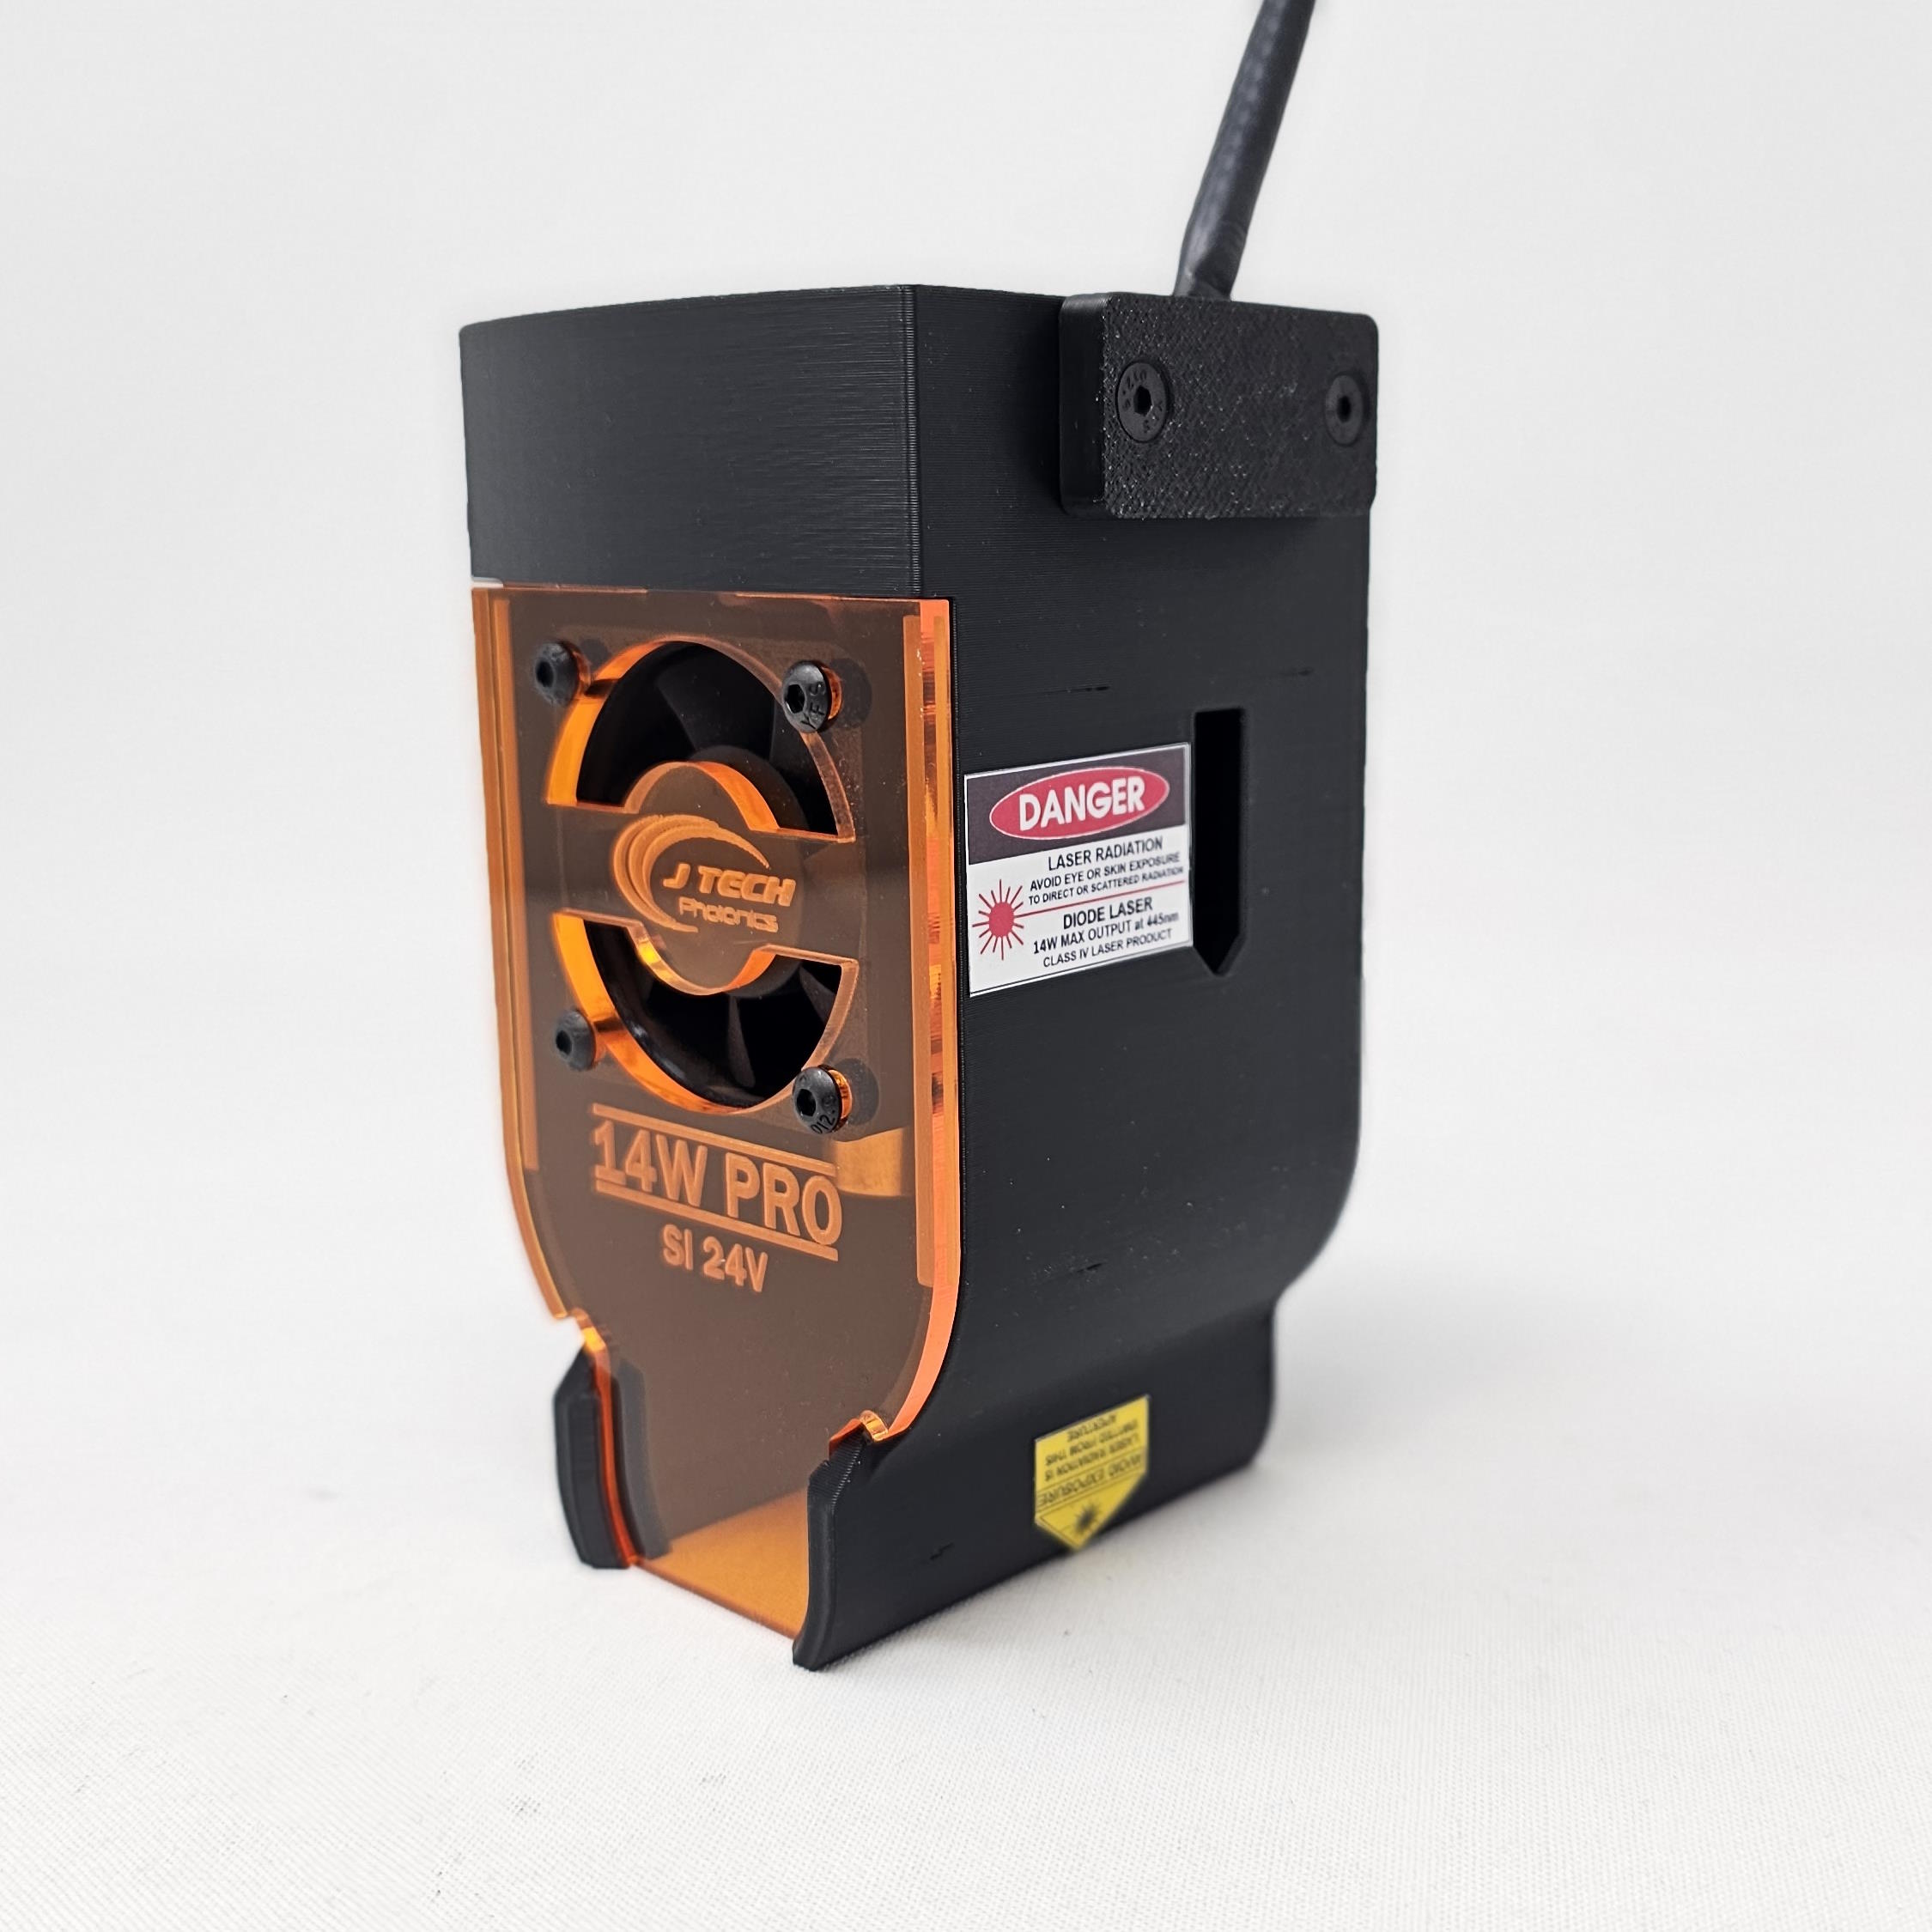
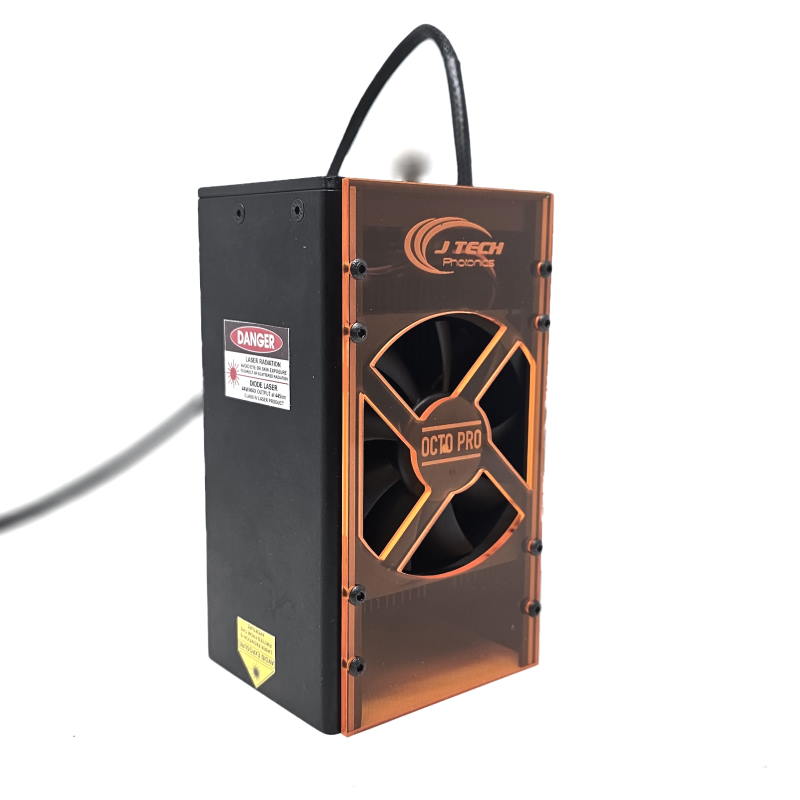
There are 5 wattage levels to choose from ( 7W+, Dual PRO 14W SI, 24W Quad PRO , 44W OCTO PRO or the new 64W PRO 3-in-1). Most customers go with the highest power they can afford. The lower power has a lower price, but will take longer to do the same burn level in an engraving. The 7W+ laser is made for engraving fine detail, the Dual Pro 14W SI laser will be for faster engraving. The 24W Quad Pro and 44W Octo Pro will be good for cutting and engraving and the 64W PRO will be the best for cutting and fastest at engraving.
2. Choose Your Power Cord:
We have options for U.S. (North America), UK (United Kingdom), EU (European Union), and AU (Australia).
3. Choose your mount option.
Side Dust Boot Mount
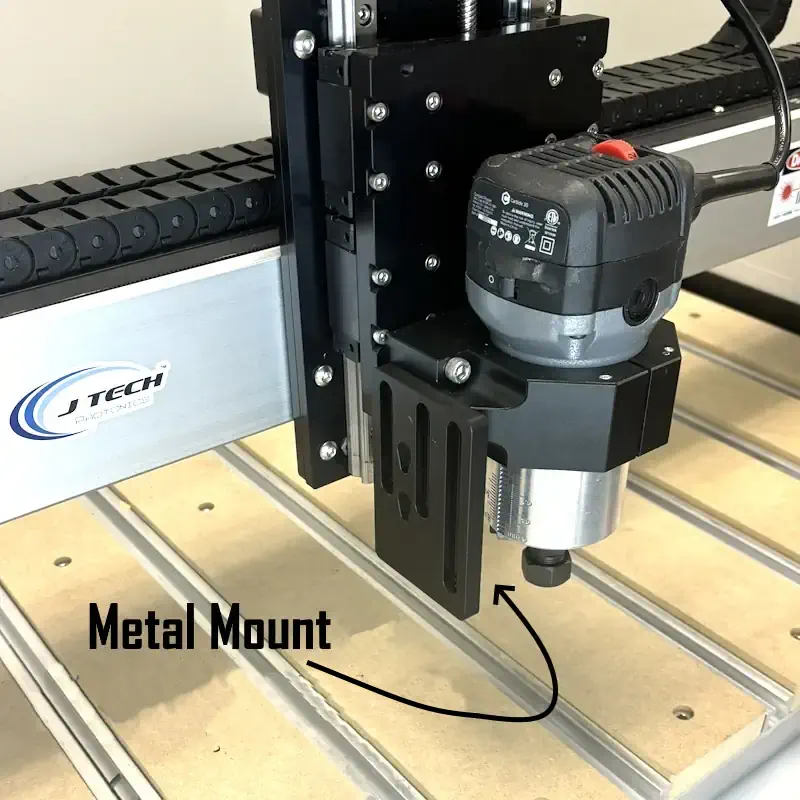
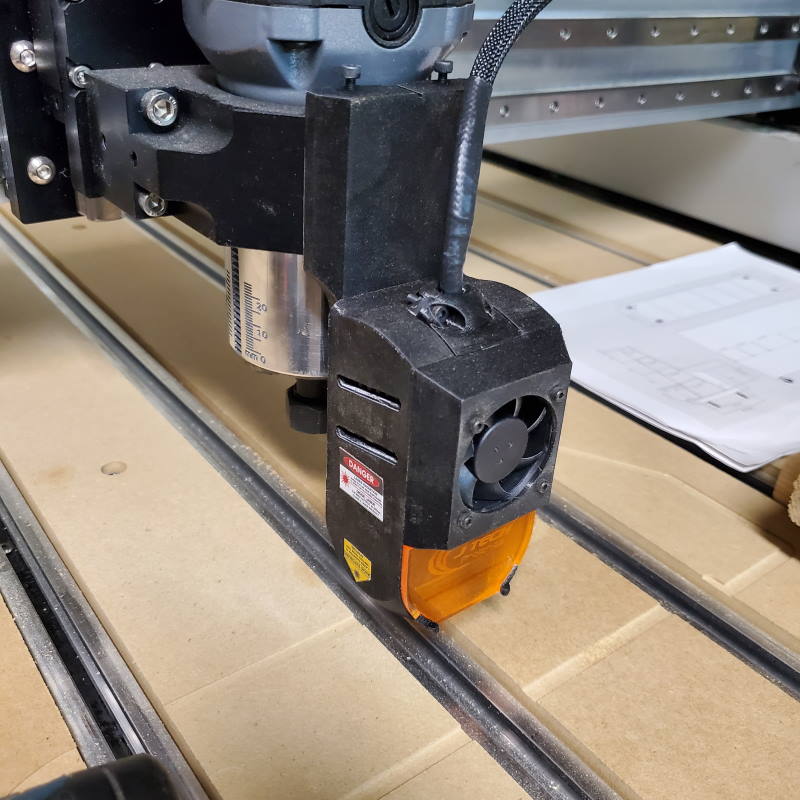
This is the “default” mount for this laser upgrade. It sits to the left side of the router/spindle holder and is attached securely with two M5 10mm screws. The mount is made of metal and is sturdy enough for even our largest 64W laser. In most cases, you can even leave the mount on with using a dust boot, making it easy to switch between CNC and Laser projects.
Front Mount
The front mount will go on the front of the router holder and is only available on the 7W+ and 14W lasers. They don’t weigh as much, so you can use this mount. It sits by “clamping” 4 screws onto the front of the router holder, so the position of the mount depends on your ability to get it sitting correctly on the front of the holder. You can choose either the 65mm or 80mm version depending on your router/spindle holder size.
The standard Shapeoko4 and PRO Laser Bundle comes with:
- Laser Head with Magnetic Mount
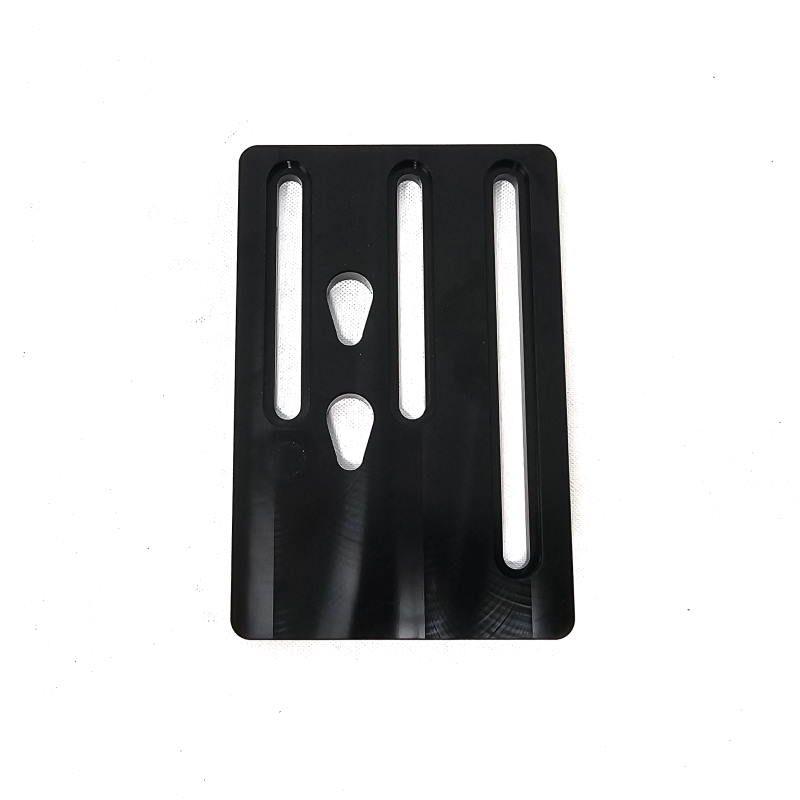
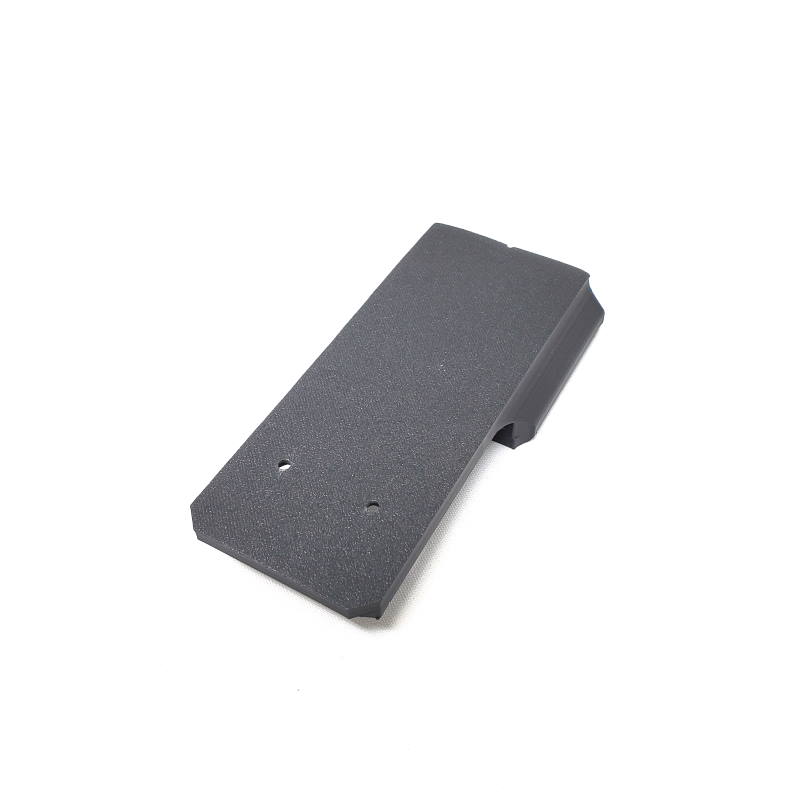
- Laser Shroud or Magnet Base Plate
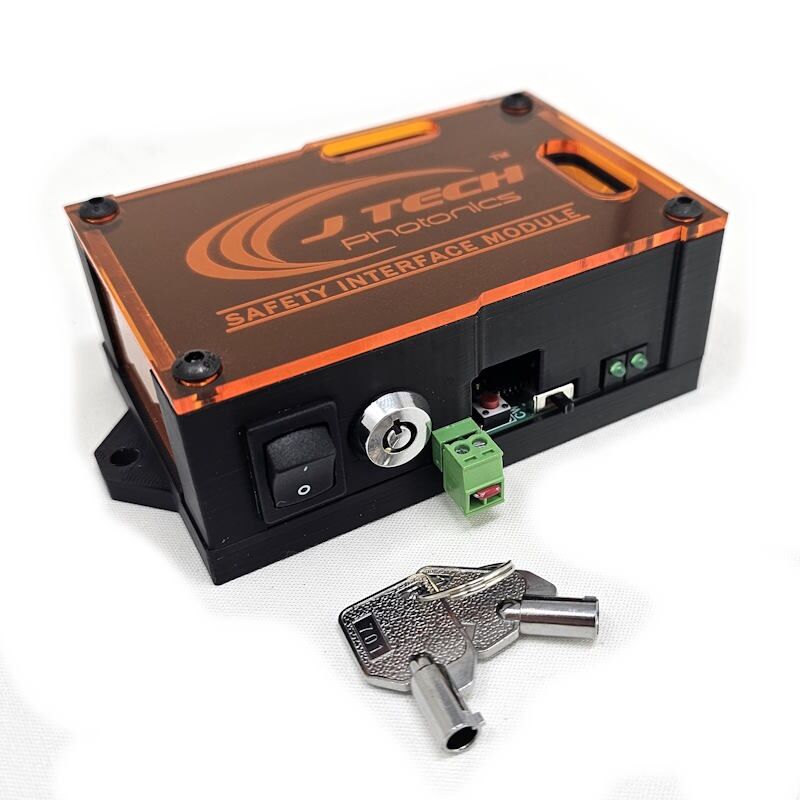
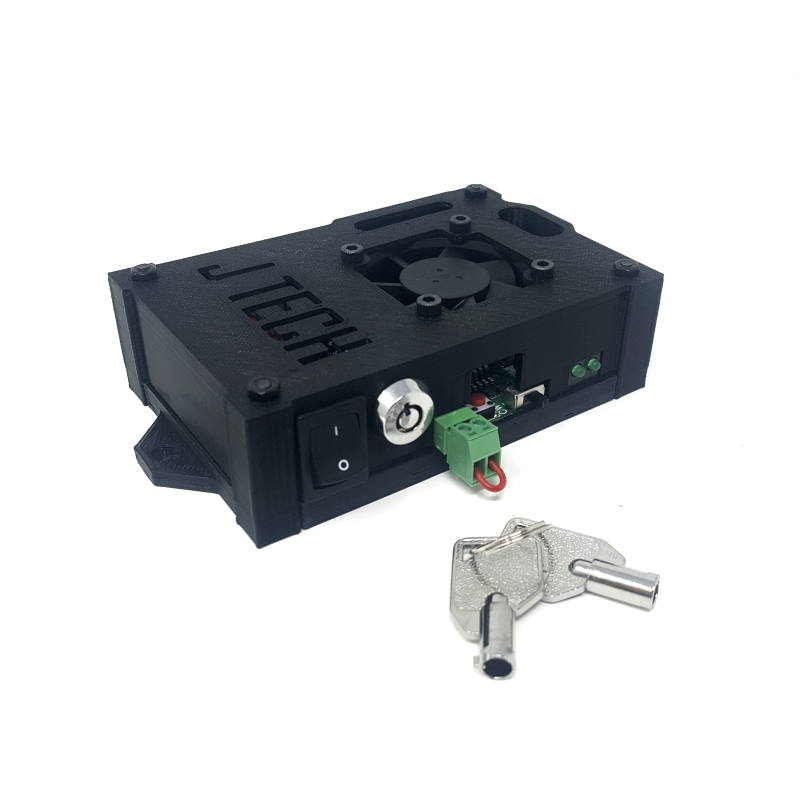
- Safety Interface Board
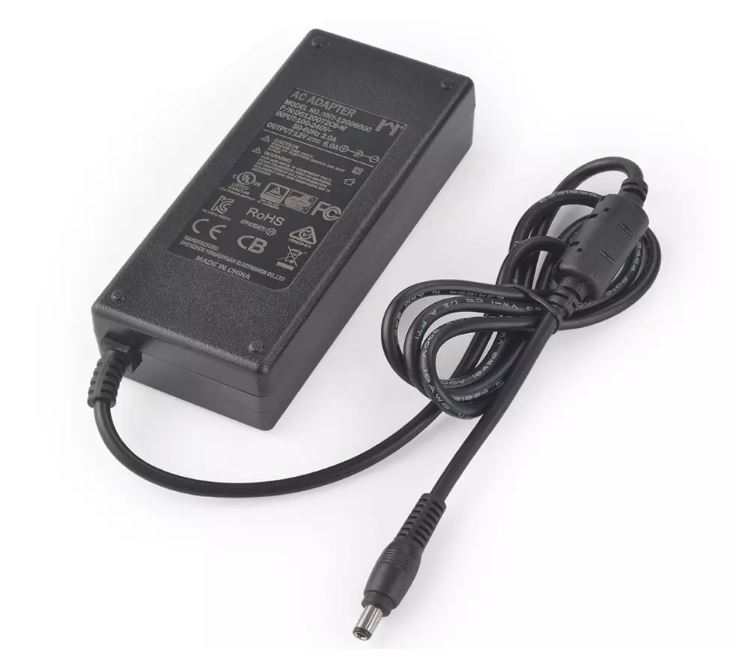
- Power Cord
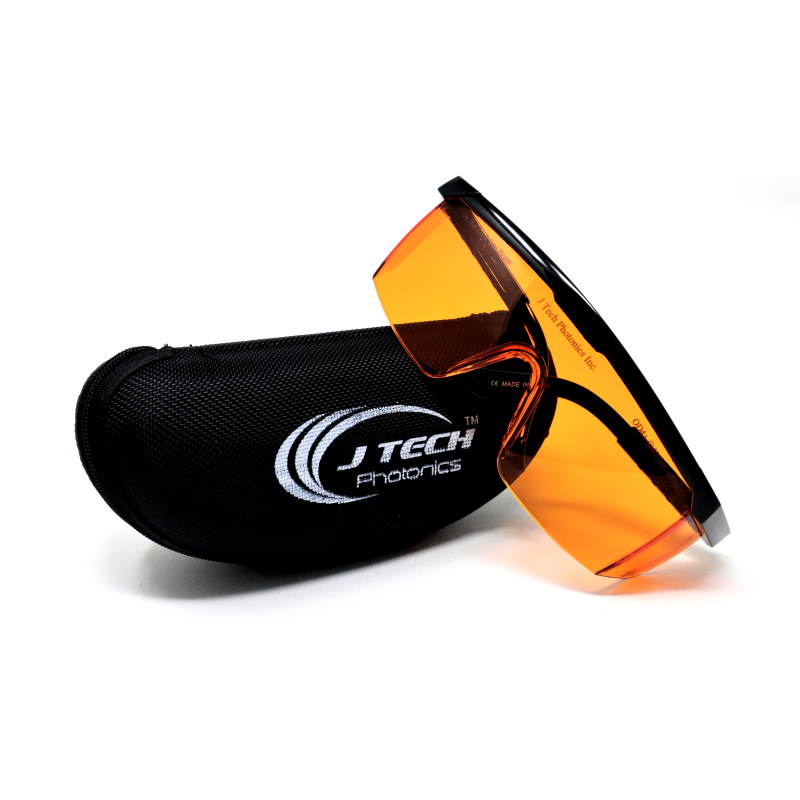
- Laser Safety Goggles for 445nm Lasers
- Laser Quick Connect Magnet Mount (*Metal mount for the 44W Laser)
- 3 foot Mini Molex Jr. Input Cable
- Mounting Screws
- Driver Mounting Sticky Squares
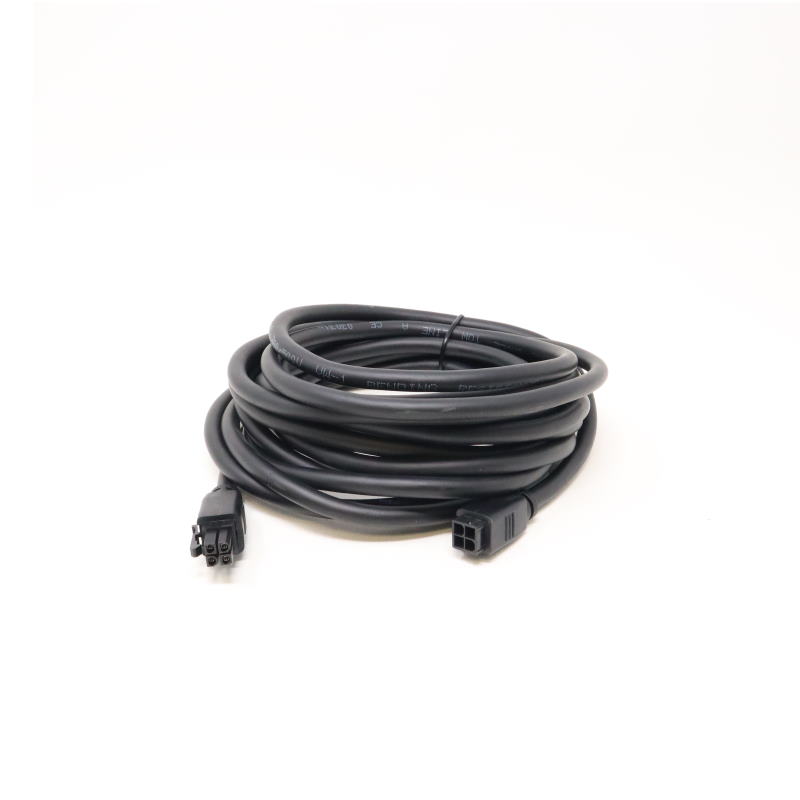
- Laser Extension Cables
- Zip Ties and Zip Tie Holders
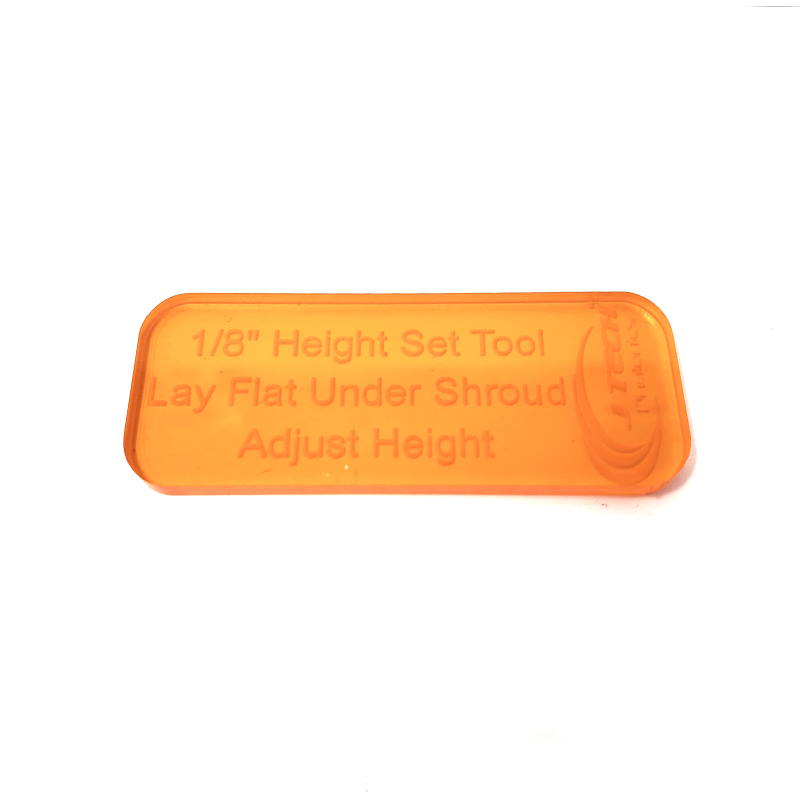
- Press Fit Connector and Tool
Air Assist Option:
The 64W, 44W and 24w laser comes with the integrated air assist nozzle, hose, and risers. Pump not included. 50W Aquarium Pump for Cutting
For 7W+ and 14W Dual PRO SI lasers, the air assist nozzle kit is here: Air Assist Nozzle Kit
Instruction Video:
Features:
We still have all of the features that make this laser kit awesome – precision laser trimmed regulators for constant current to the laser, 0.01 tuning resolution, digital isolation, soft start, esd protection, current limiting, and the list goes on. But NOW we have more safety in mind as well! The US Federal Government has requirements for operating these high power class 4 lasers. They might seem trivial, but they could save your eyesight! Here is a run down of the new safety features to protect yourself and others:
- Key Switch – This key enables the laser. Turning on the key switch activates the laser, and the key remains locked in place. You can remove the key only when the laser is disabled.
- Remote Interlocks – This feature allows you to add switches to your enclosure so when it is open, the laser will automatically turn off. Also provides for the addition of an E Stop button for the laser, which is great if you need to stop the laser super quick! Add as many switches as you want to make a super safe area for your laser machine so nobody can accidentally look into the laser.
- Power Fault Protection – This feature might seem unnecessary, but consider this: your power goes out where the laser is located. After a power loss, you might forget the laser was left ON. When the power returns, the laser is disabled to protect you. Press the reset button to resume.
- Emission Indicator – The small little LED on the front to let you know your really super bright laser is on… They require this in case you are using an infrared invisible laser.
Reviews
There are no reviews yet.